Project SA80 L85A2: Bolt Carrier

Project SA80 L85A2

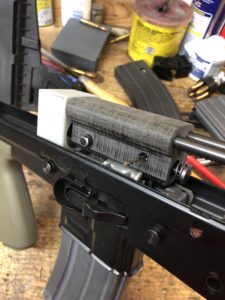
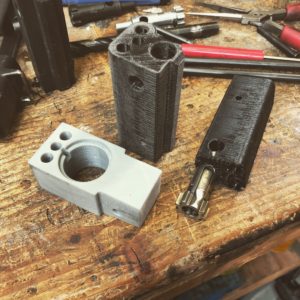
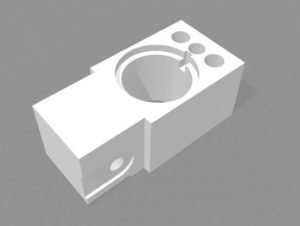
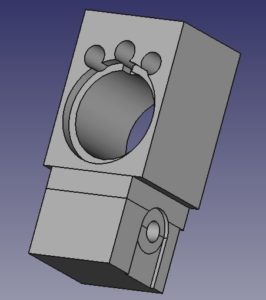
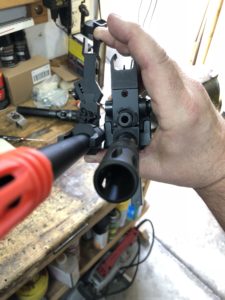
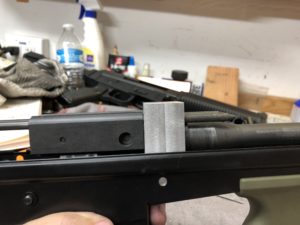
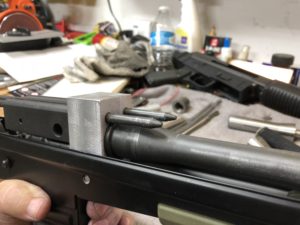
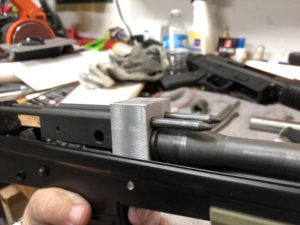
Had my daughter’s friend 3d print me some parts to mock up and it sure is easy to find your mistakes that way.

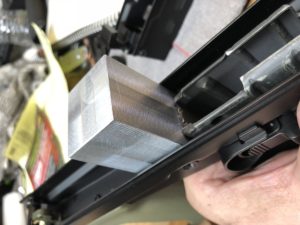
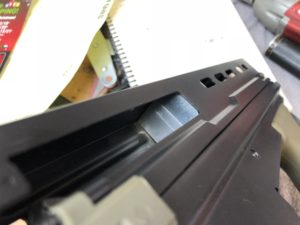
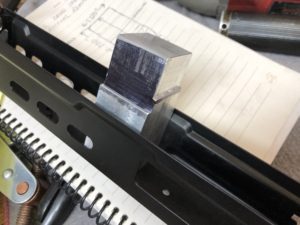
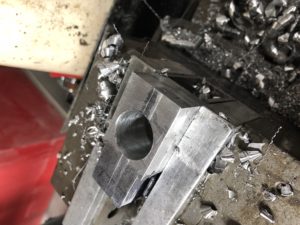
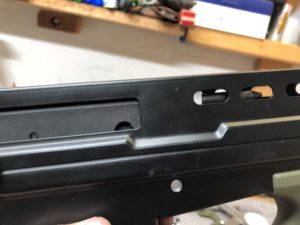
I have the firing pin retainer hole in the wrong spot as well as the charging handle. The outside dimensions are too big and the bolt carrier rubs on the inside of the upper receiver shell.

The design has been updated and I will get them printed up soon.

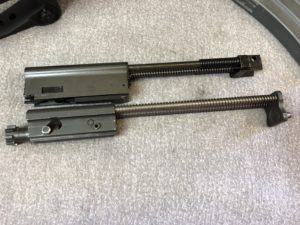
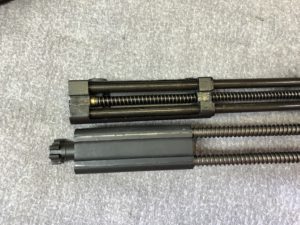
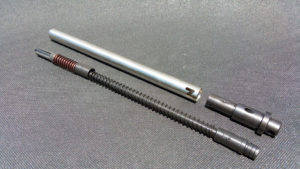
I also took the opportunity to model the original bolt carrier that I borrowed.

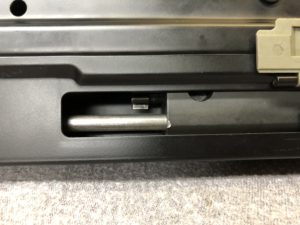
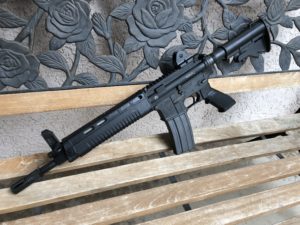
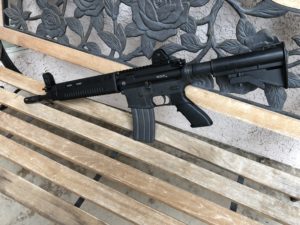
It is much slimmer than what I was building and it actually will ride on the airsoft guide rails since the holes are larger. This is where the frustrating part starts. When putting the original bolt and carrier in the gun it won’t strip rounds from the magazine. Either the original guide rails are lower in the receiver or the magazine is higher. I’m working on getting some more original parts to try in this shell and see where I am at.

I’m not giving up but I am having that nagging feeling that I might be stuck turning this into a .22LR instead of a 5.56.

Regardless of how it turns out I have learned a lot just from teaching myself Fusion 360 and from the study of these original parts.

Project SA80 L85A2: FreeCAD, Fusion 360, & Parametric Design

FreeCAD, Fusion 360, & Parametric Design

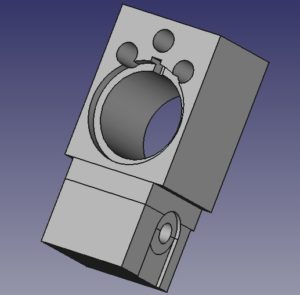
After building my prototype trunion and trial fitting it to the gun I was able to tweak some of the dimensions and put things down on paper so to speak.

As many of you may have noticed from earlier posts, I have been using FreeCAD. It is light weight and runs well on my laptop which allows me to work on my designs on the road.

When drawing up the bolt carrier I ran into a snag. The cam pin slot.

My first attempt was to create multiple cylinders that would approximate the path of an end mill.

I attempted to combine all of these overlapping cylinders into one object then remove it from the bolt carrier. FreeCAD choked, locked up my computer and I lost all my progress. When researching how this type of operation is usually done in CAD I discovered that FreeCAD does not yet allow you to draw a spline on a curved surface and then have a cylinder follow that spline. Whatever that means.

I was chatting with Chuck at GunLab.net and he said he has moved over to Fusion 360 and really likes it. I signed up and discovered that educators like myself (or quite frankly anyone who claims to be a student, educator, or hobbyist) get it for free. That sounds like a bargain to me.

Try it yourself and let me know how you like it. Click Here. 

I started playing around with it and after watching a few videos on youtube I was getting the hang of it and redrawing my trunion design. It was then that I happened across a series of tutorials that really connected with me. One in particular (Click Here) talked about parametric design. It was like a light bulb went off and I realized how this would be the perfect way to do my project as well as any projects down the road. I suggest if you are a complete newb like myself that you watch all his “Learn Fusion 360 or Die Trying” videos.

Parametric design deals with designing and dimensioning based on parameters or variables. Parameters are set up ahead of time and given a dimension. Drawing uses the name of the parameter and not the dimension itself. That doesn’t seam like a big difference but if you have to change a dimension because the part doesn’t fit or you want to modify it after the fact, it makes a world of difference.
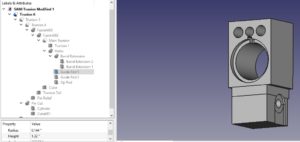
FreeCAD requires you to hunt down the actual step you performed in the design tree and if you did not rename them to something descriptive you will have a tough time. In fusion 360 you only have to change the dimension in the parametric table and it updates the entire drawing to reflect that.
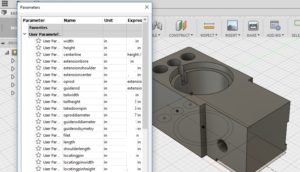
This is exactly what I need for this project because after building these two parts I will test fit them and make further refinements to the drawing. It will take seconds to update the drawing.

I built the trunion from the ground up in Fusion 360 and after a couple hiccups I have it ready to build. The bolt carrier that I drew in FreeCAD is good enough for now. I only extruded a hole for the cam pin and this will fix the bolt in the fully extended position. This will allow me to check if rounds will feed and eject. That is the next hurdle and what will require dimension changes in the current design.
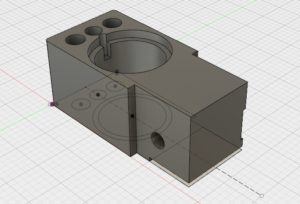
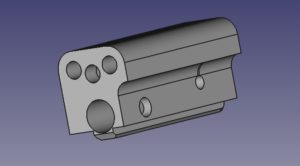
In addition to using CAD instead of paper drawings I also am going to 3D print these two parts for the initial trials. Only after I have the design working in plastic will I move ahead with making them in steel. I feel like I have actually moved into the end of the last century with my skills.
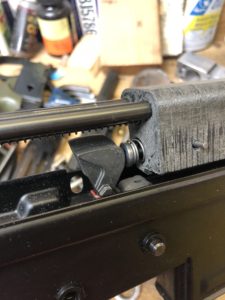
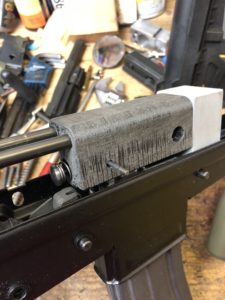
 

Project SA80 L85A2: Trunion Mock Up Part 3

Project SA80 L85A2: Trunion Mock Up Part 3

I have been playing around in FreeCAD on the dimensions for the SA80 trunion and have a couple versions.
Version one used the guide rod spacing of the AR180B. As we saw during the mock up phase, this will not leave enough room for ejection. The op rod is lined up with the other airsoft parts. This would require a custom front sight base and piston assembly.

I then decided to make use of the guide rod assembly that came in the Airsoft gun.

Taking measurements I moved and enlarged the holes in the trunion to line up with this assembly.

I also changed the position of the op rod hole. I have been wondering what I would do for a front sight base. Originally I considered a modified AR180B FSB. It may still be up for consideration but it would require the same barrel extension mods that the original 180B needed. The shoulder of the extension would need to be turned down and the locating pin removed. I wanted to avoid that if I could.

Then a new upper purchase lead me down a different path.

I saw that Atlantic Firearms had just released a 12″ Wolf A1 upper. It is a civilian version of the Taiwanese T91 and features a short stroke piston. Since I have been looking for a different upper for my SBR AR15 I took the plunge. As luck would have it, I got one of the first 100 made that are 12″. All remaining uppers will be 12.5″ Instant collectors item? Time will tell.

Of course the first thing I did when I got it was to take it apart. I really dig the self contained gas assembly.

Using the T91 front sight base and piston assembly would allow me to have a very robust set up that is very easy to field strip for cleaning. It is not adjustable but neither are most of my guns. I have had no problem dialing them in to work with different ammo.

The piston uses the same spacing between the bolt and the op rod that the AR15 uses between the bolt and gas tube. This gives more room and allows an unmodified AR15 barrel extension to be used.

I could drive out the roll pin that holds the top half of the front sight and then cut a dovetail. The airsoft front sight could then be attached.

Of course all of this will require a new bolt carrier to be built. I will be making some drawings of that next.


Project SA80 L85A2: Trunion Mock Up Part 2

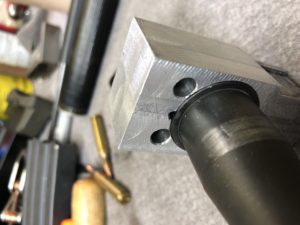
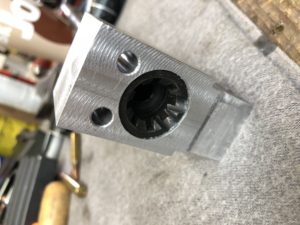
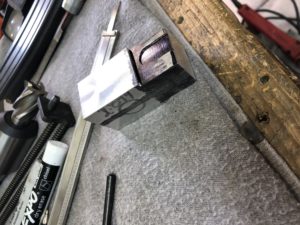
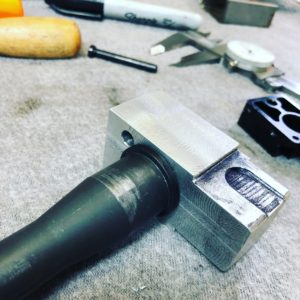
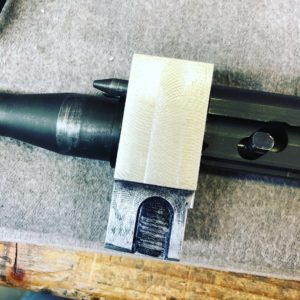
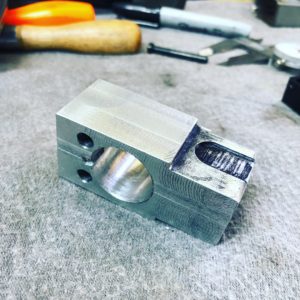
The operation shown above was done on my lathe with the 4 jaw. It was fun. I haven’t had that thing out from under the lathe in far too long.

Double checked my mill with a dial indicator and my X axis is off over .001″ per revolution of the handle. My holes are off further than that so it is partially my fault as well. Enough of this mock up works that I can feel confident making some adjustments and building a second. I’m also toying with the idea of a second piece bolted to the front of the trunion to hold the barrel in place. Then the barrel would not need to be pressed in and it could be replaced easily if needed.


Project SA80 L85A2 : Trunion Mock Up

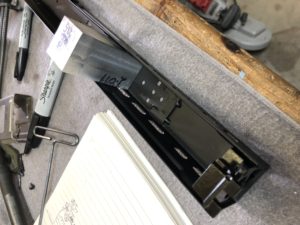
Long day in the shop but I got a lot accomplished. I worked on a mock up trunion so I can use an AR180B bolt carrier to get several dimensions worked out. My goal is to get reliable feeding from the magazine. The dimensions that I plan to work out will be the distance from the center line of the barrel to the center line of the take down pin. The other dimension is how far to the rear the barrel extension will sit.

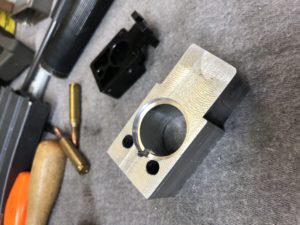
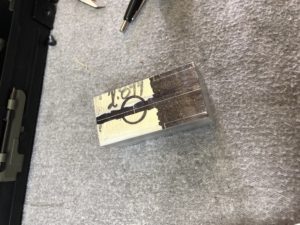
I started with some 1.5″ x 1.25″ aluminum bar, cut and squared on the mill.

I then started cutting it down to fit within the confines of the Airsoft L85.

A little more work and it will be done and ready for a trial run feeding cartridges.

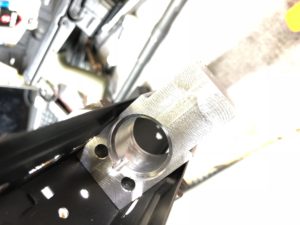
I need to break out the 4 jaw for the lathe and turn a recess for the shoulder of the barrel extension.

There is more room inside this receiver than on a 180B, which is what I am basing my trunion design off of. Because of this I do not need to modify the AR15 barrel extension at all. On the 180B the barrel extension would need to have the shoulder turned down considerably to fit within the trunion. This prototype has a larger hole for the barrel extension than will the final product. It is a slip fit but the final will have a press fit just like the 180B. The trunion is made to fit very tightly into the upper and lower to increase rigidity. If I have to make a new bolt carrier the guide rods will be higher to help open up the path way for ejection.

I also think found that the dials on my mill table do accurately reflect the true movement. My guide rod holes are off by about .015″. I actually hope it was a mistake on my part and not the machine itself. Time for some more testing.