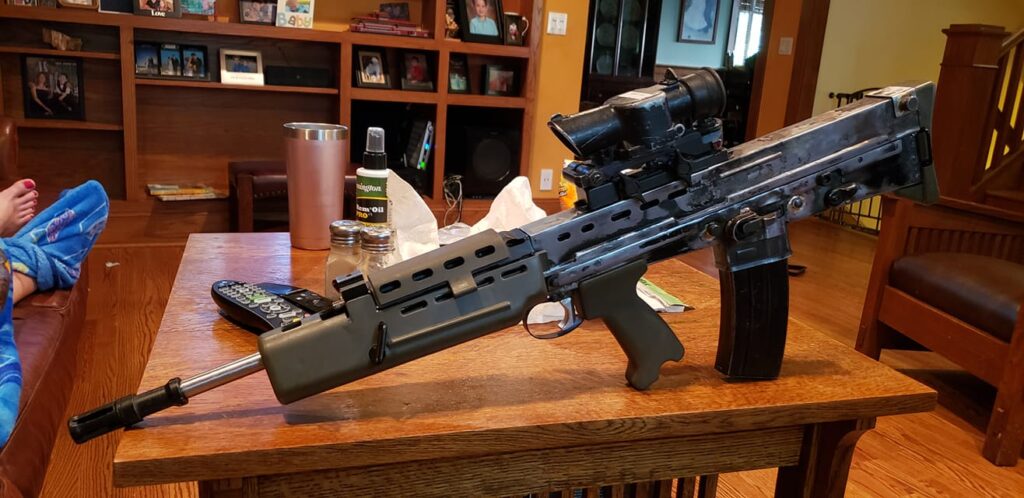
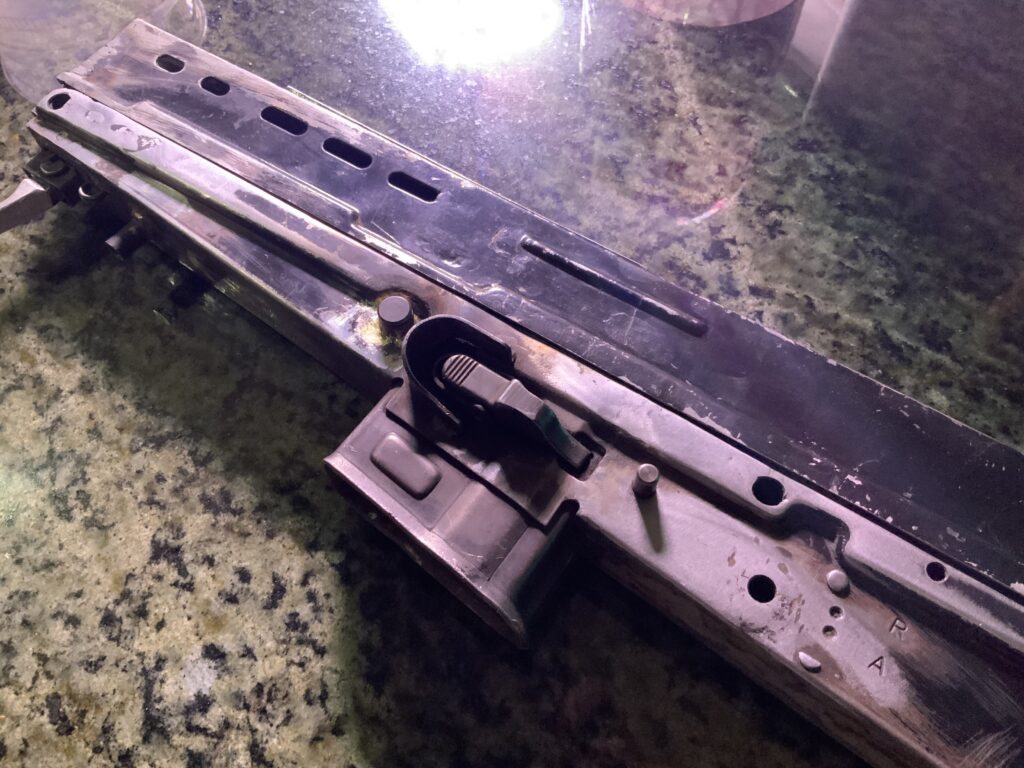
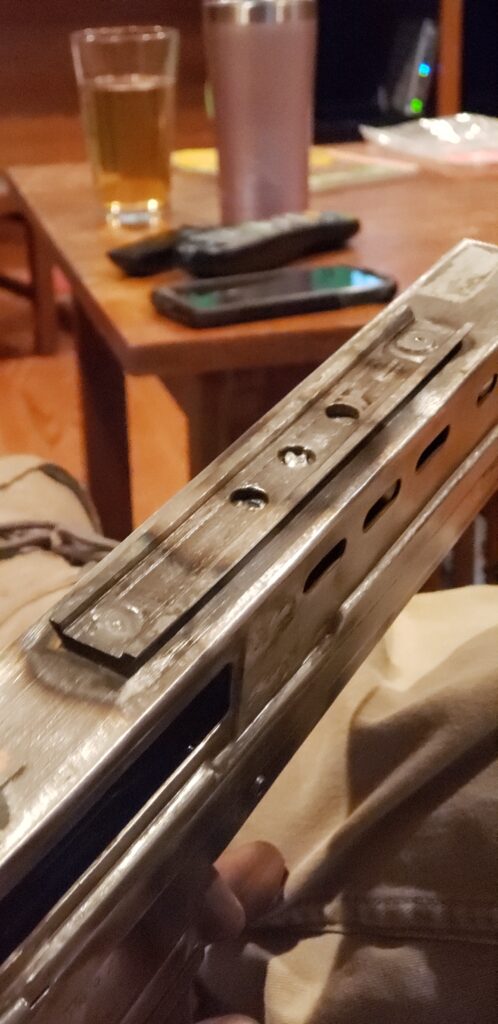
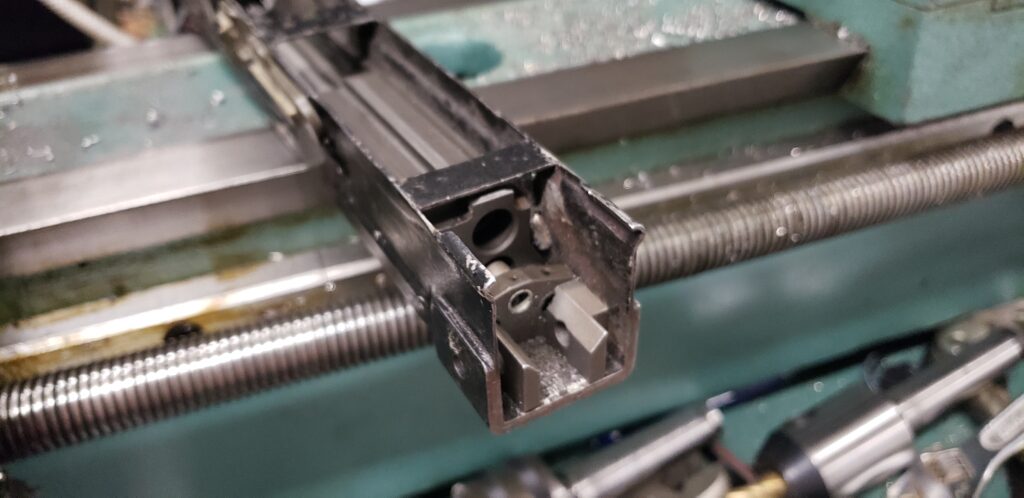
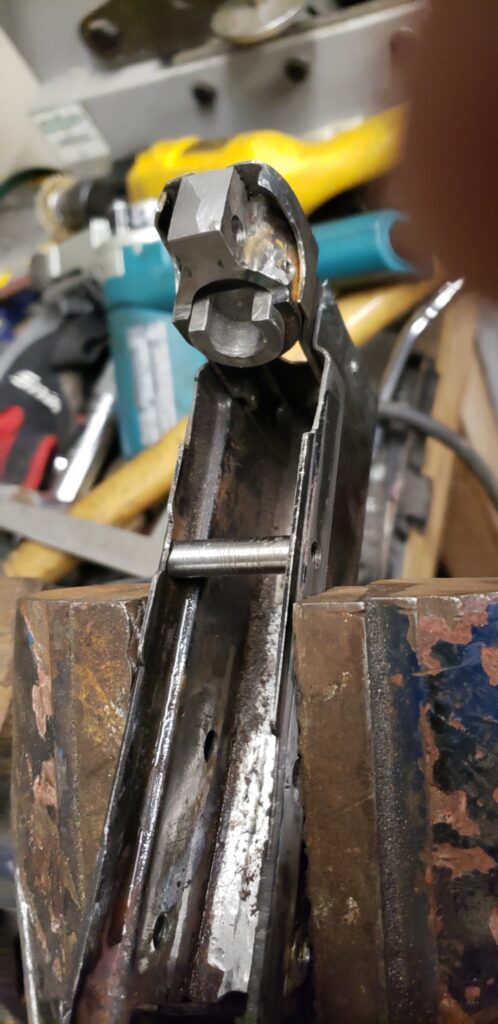
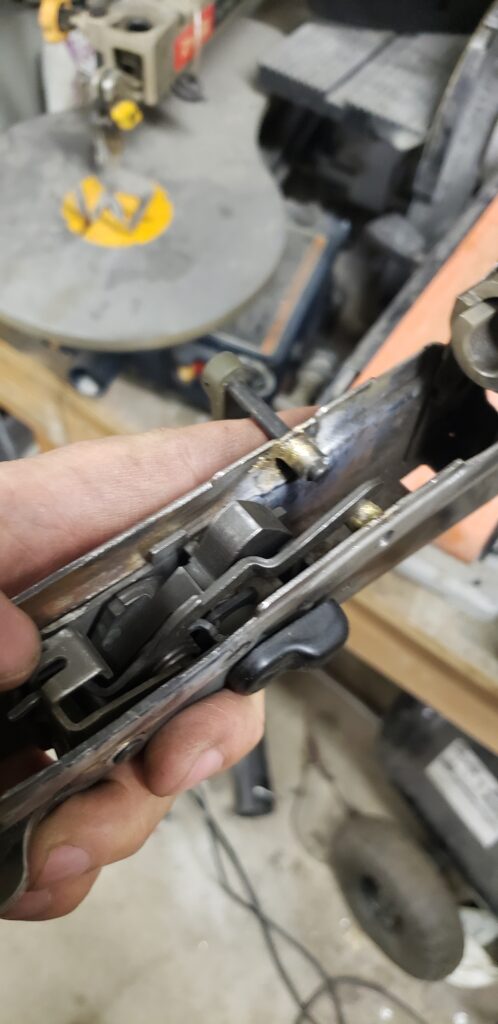
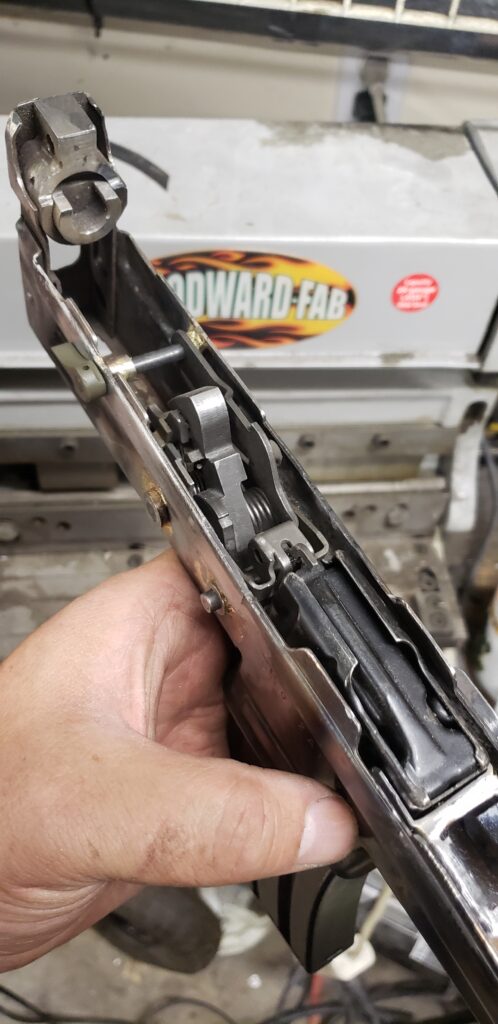
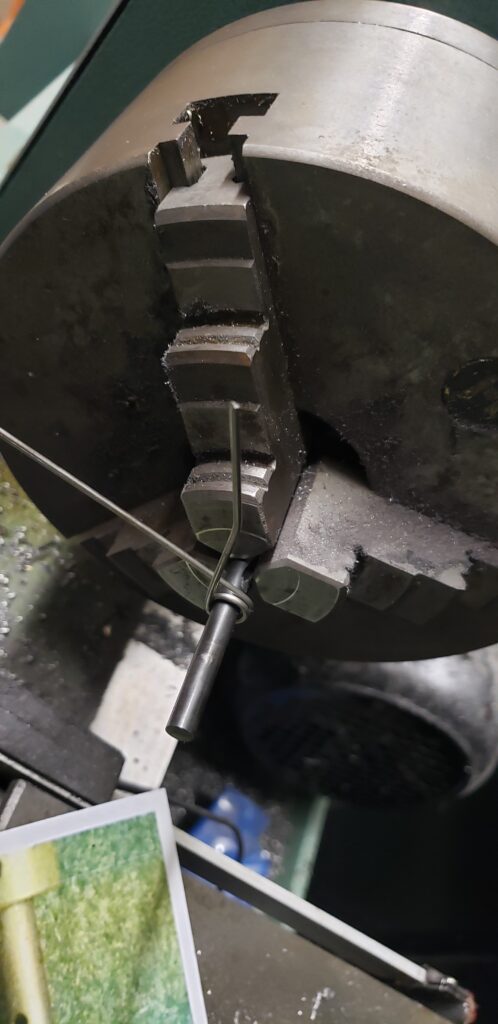
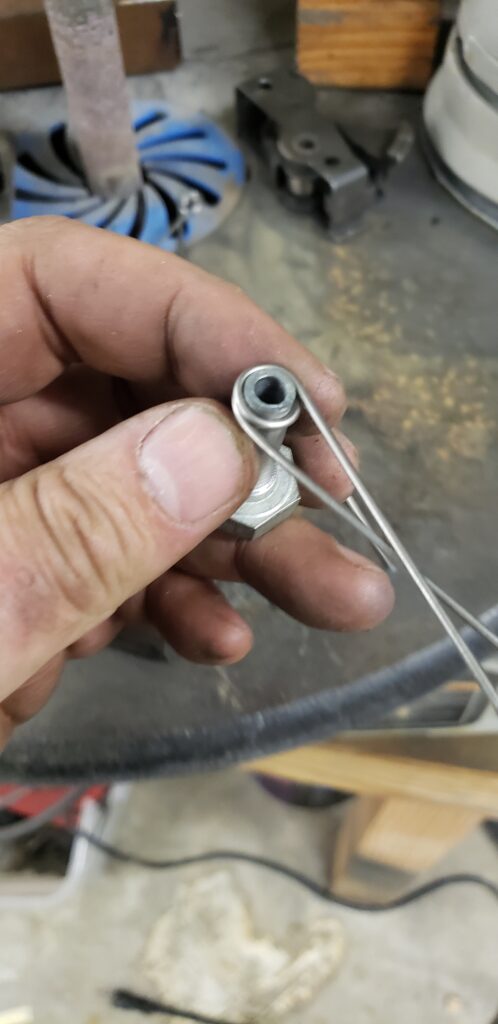
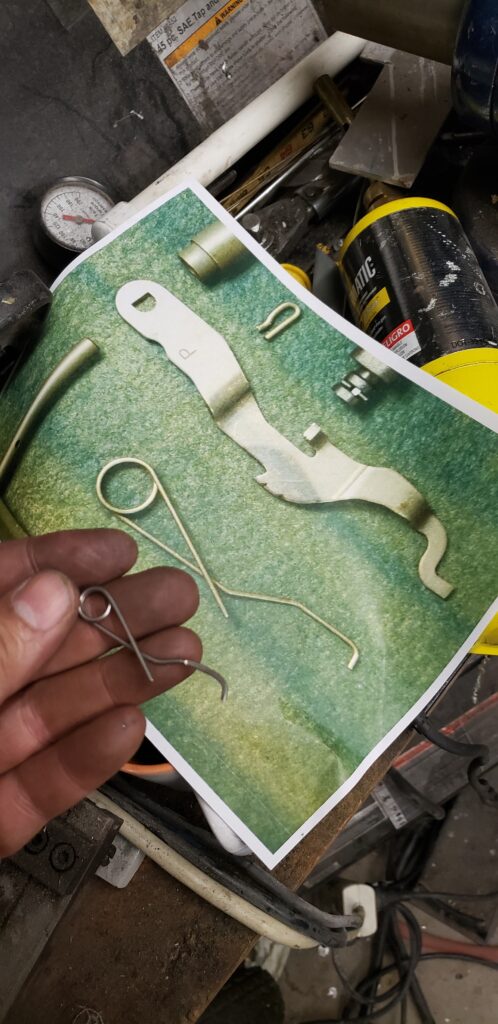
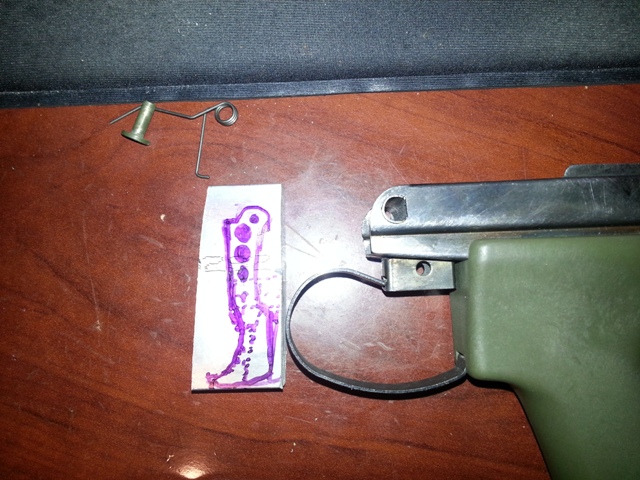
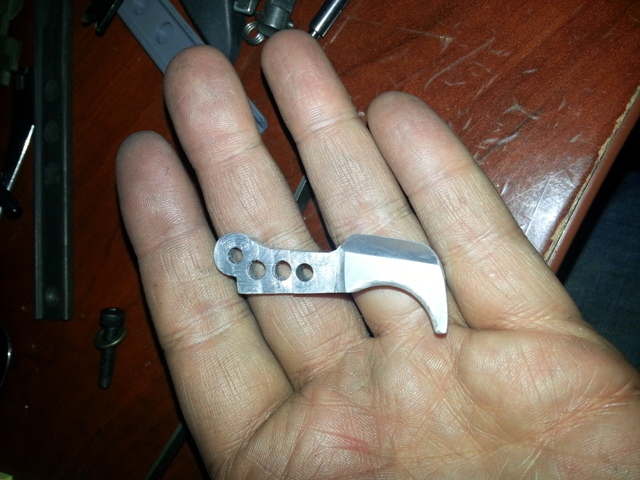
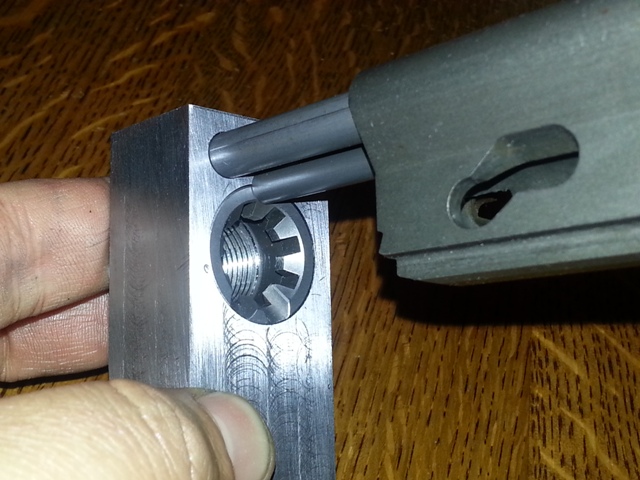
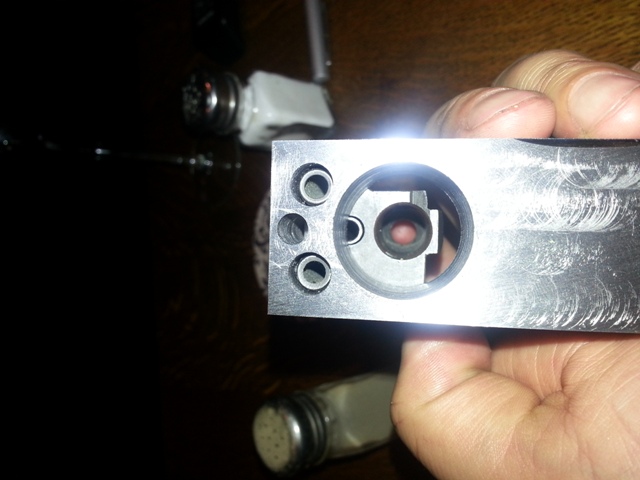
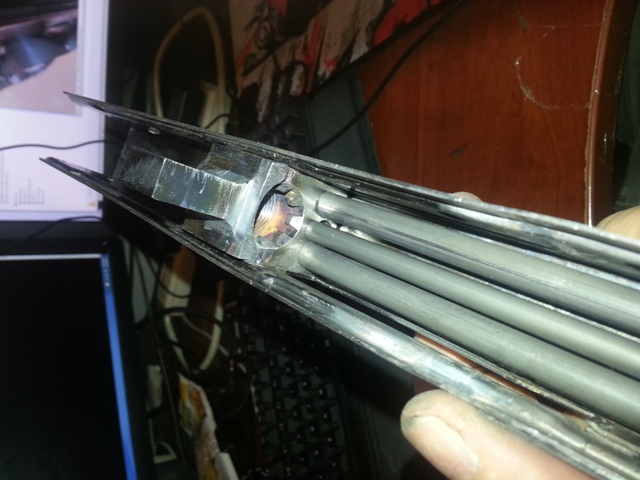
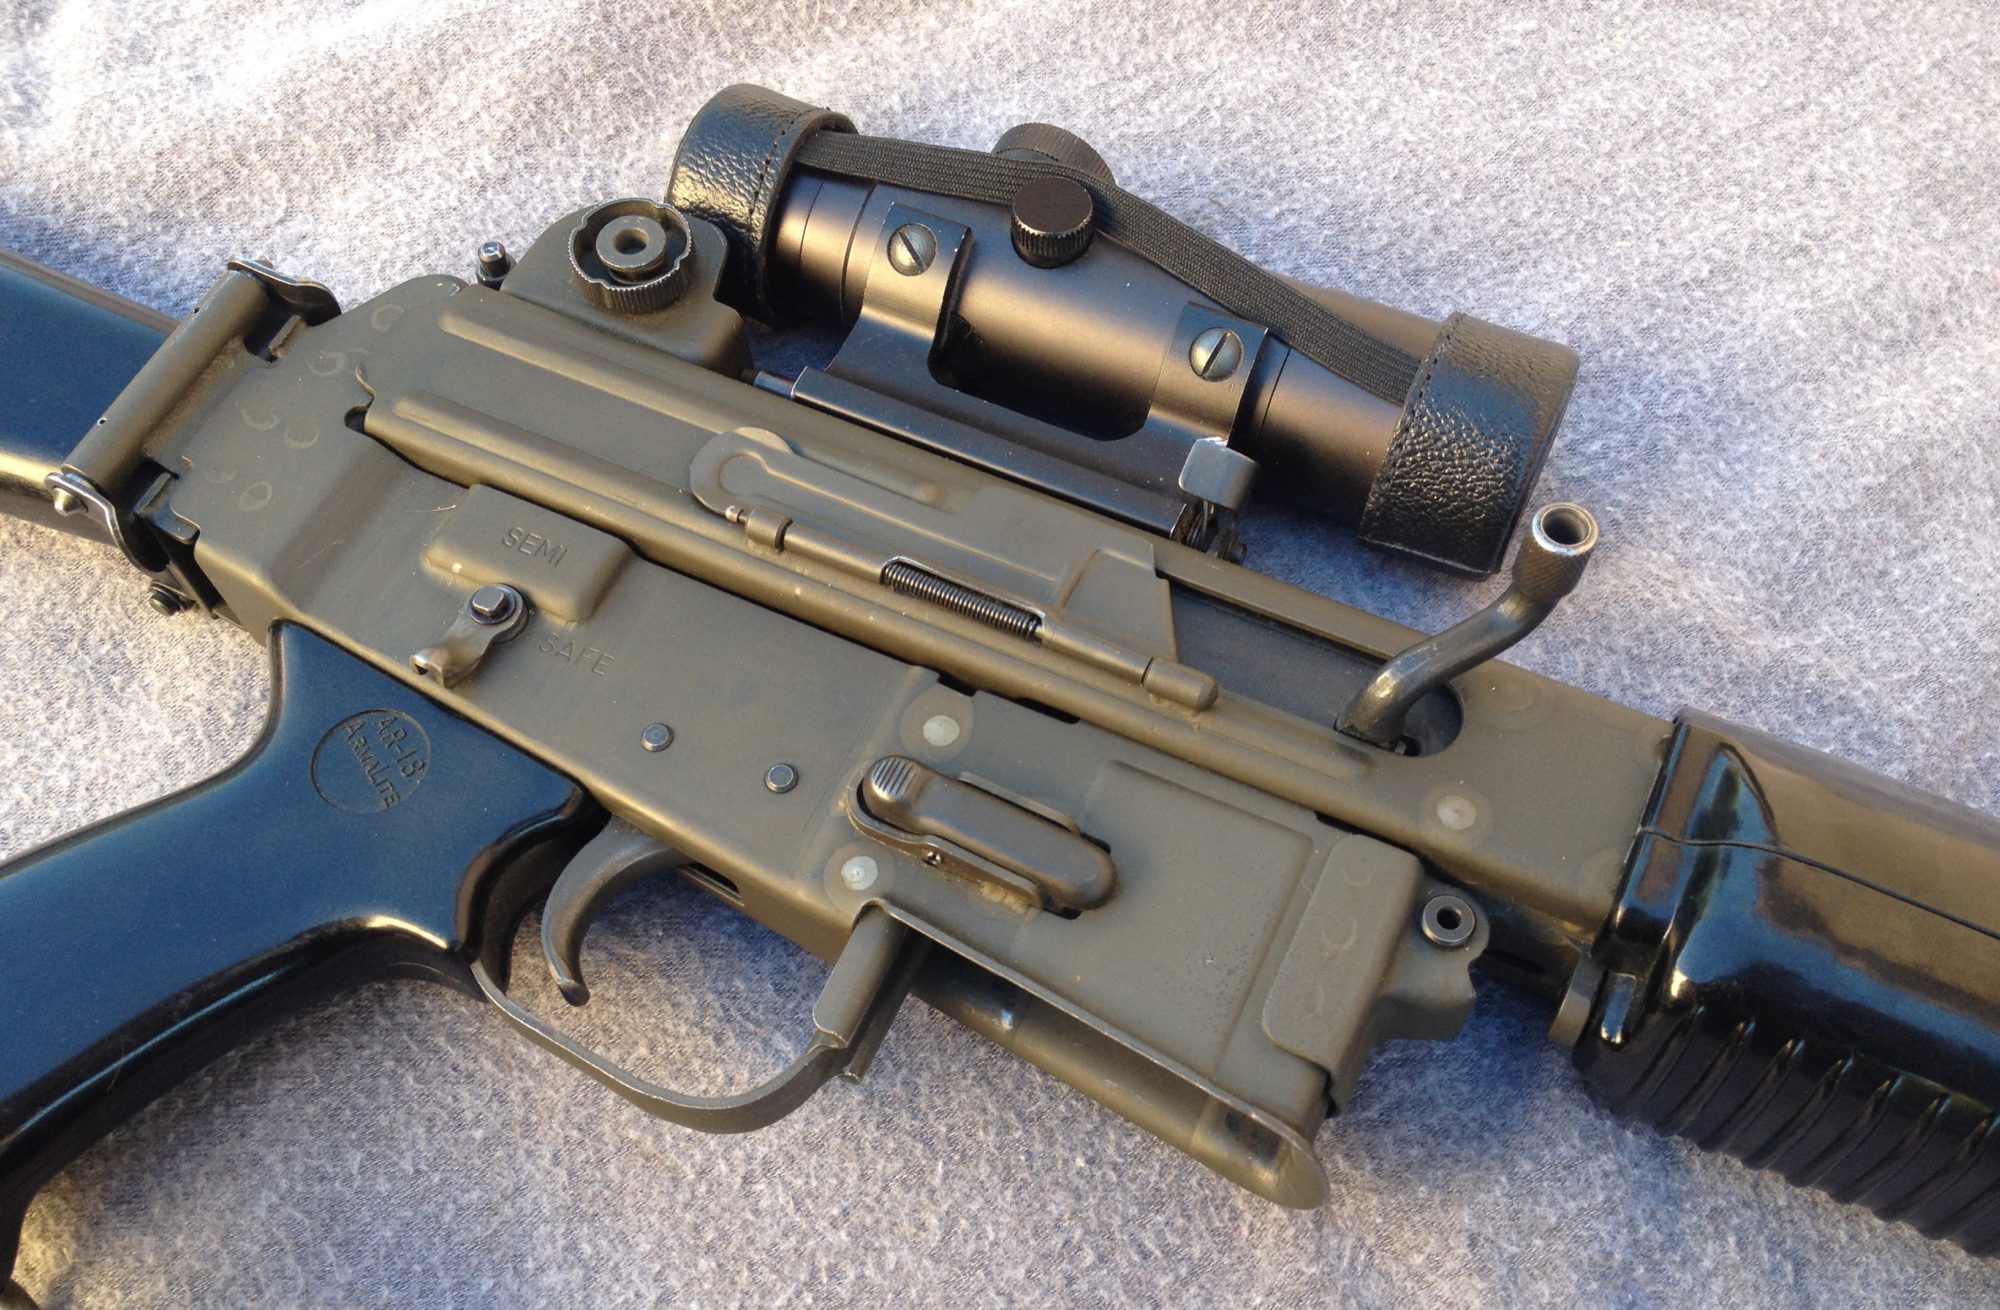
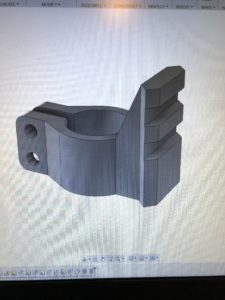
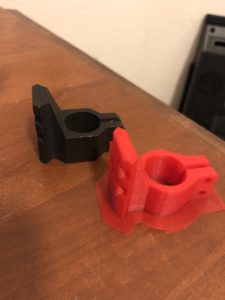
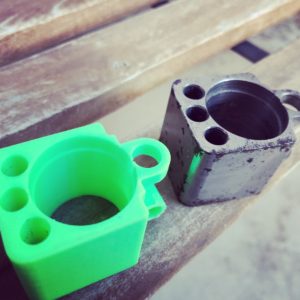
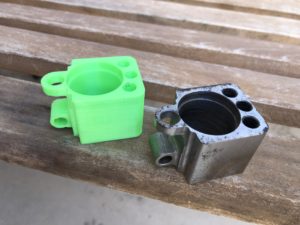
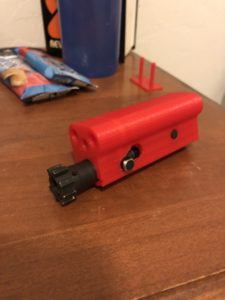
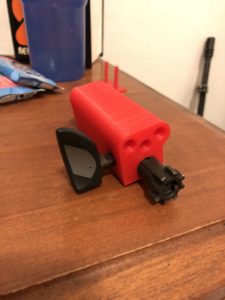
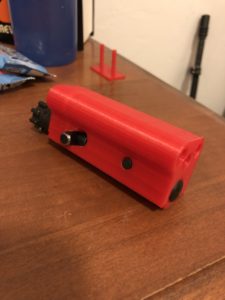
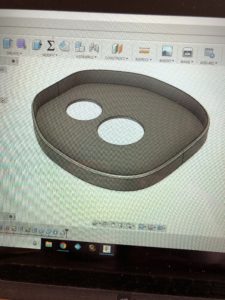
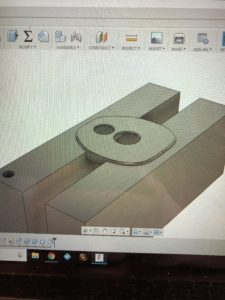
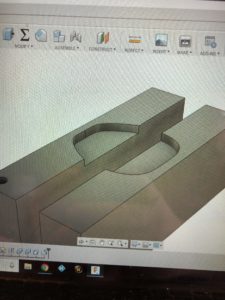
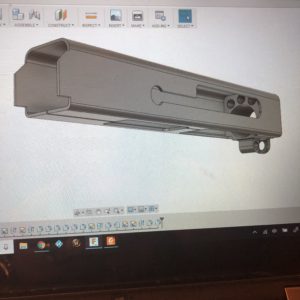
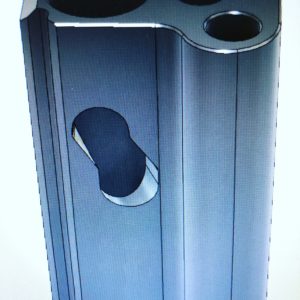
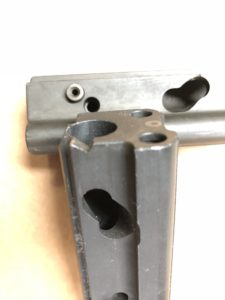
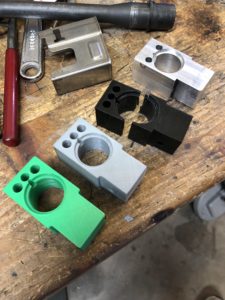
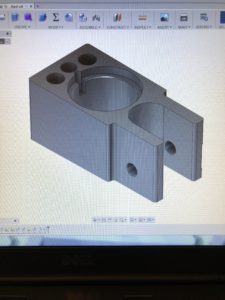
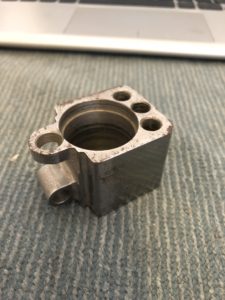
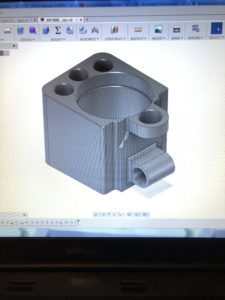
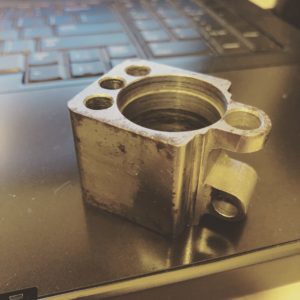
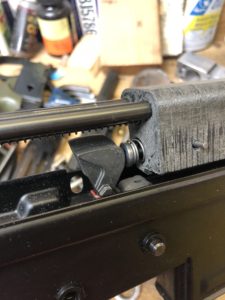
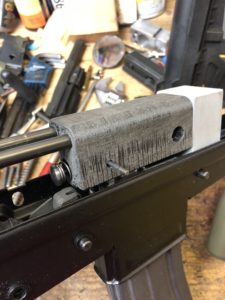
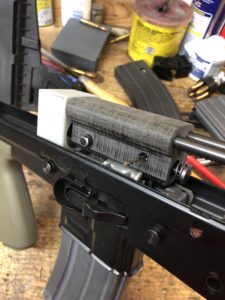
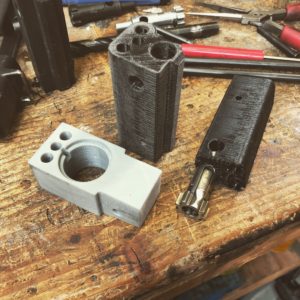
Reader James put together an Airsoft based SA80 and I thought you would like to see some pics of his process. He also wrote me the following in an email which helps explain a lot of the problems I had trying to put mine together.
James wrote quote;
This is a bitch to put together……
For the upper and the lower. I used a Star Airsoft cause the metal was
a bit thicker then the G&G. They all had issues with spacing.
Basically… Here’s the deal.
You have to use an Airsoft body unless you have a massive press and dies.
But the airsoft guns all put the magazine too far forward and too far
apart from the trigger pack holes.
The airsoft guns are all too wide by about 2mm. And in some guns like
the G&G, the mag well is too short.
So basically… All uppers and lowers have to quartered and welded back
together. I have some images of how I did this and where I too material
out.
I used the STAR because its was 2mm too long all in the area between the
Magazine and the Trigger pack so I could just take out 2mm right down
the middle, and the mag well accepted AR15 mags without modification.
However, its probably the least like the real steel guns. The G&G and
Army bodies of which I have 2 or 3 each could work, but you’ll need 2
guns to make 1 gun cause the length of the airsoft gun is spot on, but
you need to remove 2mm from the length between the magazine well and the
trigger pack. This is all based on were the trigger is and having an
actual trigger rod and a trigger pack. You know the spring guide from
the back of the gun will locate the back of the Barrel extension block
or trunnion. And then the bolt in battery will basically just pass the
Auto sear location.
In AutoCAD i made blocks of the pieces that I had for the real gun.
Those I wanted to fit absolutely and I found that those told me where
things had to go to make things work. Key points. Spring guide rod.
Trigger Pack holes. Length of bolt hold open level to catch magazine
follower. HK magazine. Auto Sear location on Trigger pack. Auto sear
cam on bottom of bolt. Bolt face with lugs in battery will tell you
where the barrel extension goes.
Length of trigger bar from trigger to trigger pack. Those all all
fixed elements which when placed will show you that airsoft bodies need
a shitload of work to make things fit right.
The G&G and Army bodies although they’ll look better need to have 2
airsoft guns each cut into 4 pieces, 1 cross cut and one length wise
cut. Because they don’t have the extra length.
Hope this is helpfull to you.!
Enjoy the pictures, there are a lot of them!
