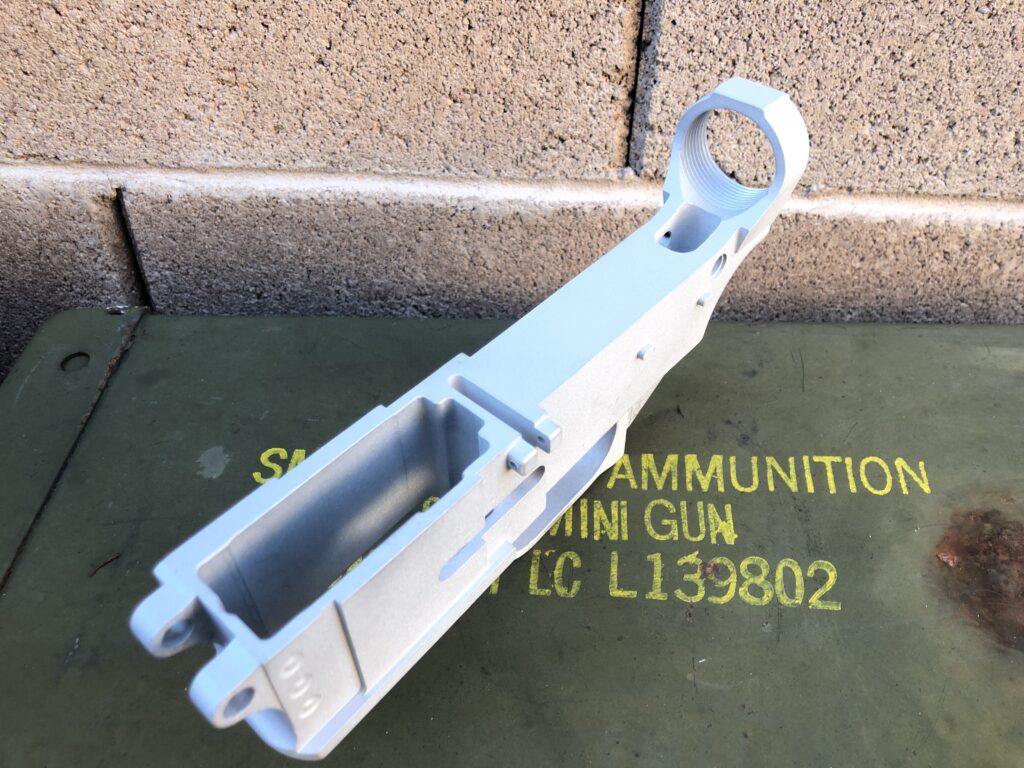
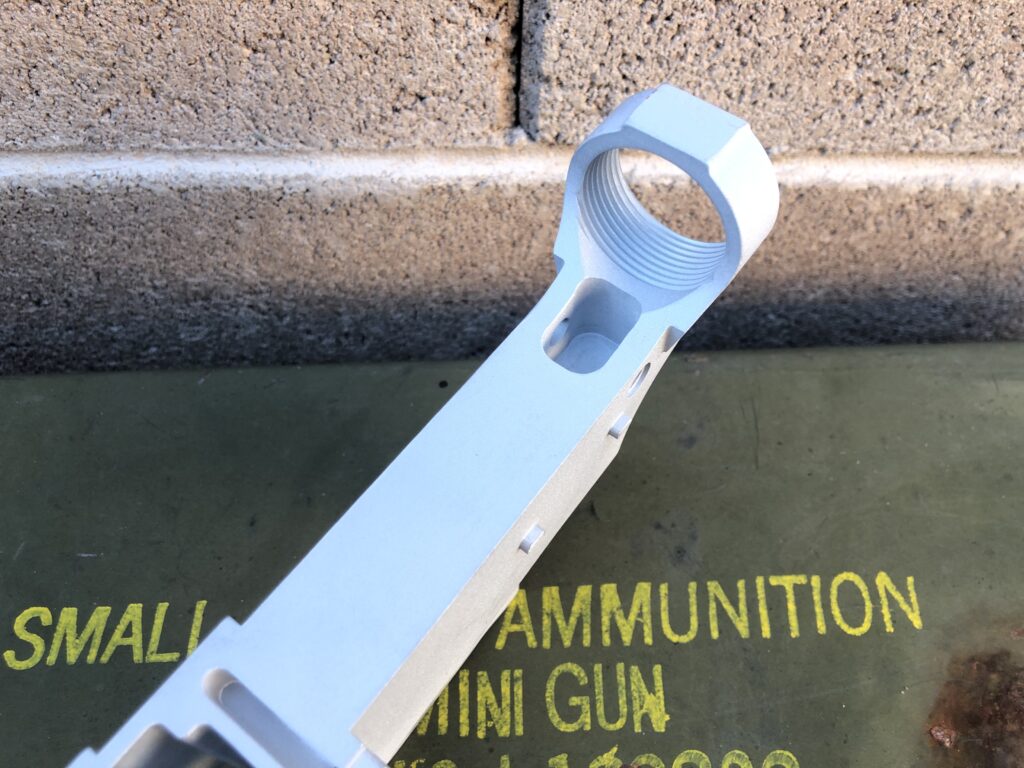
AR-16 Style Hand Guards For The BRN-180

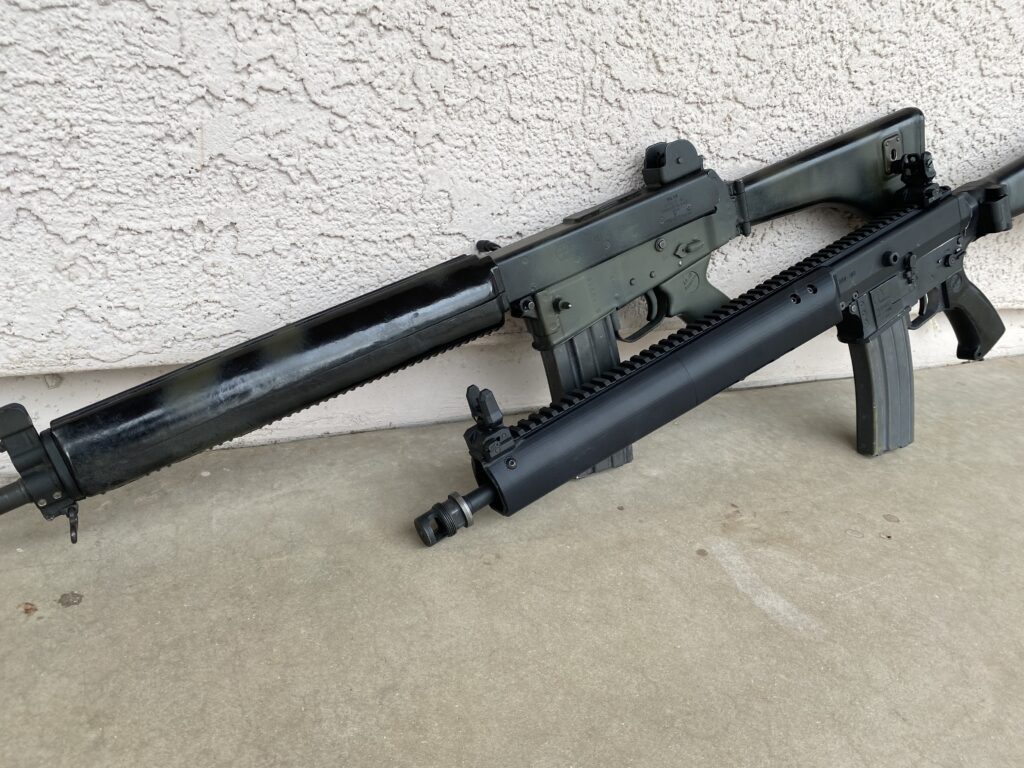
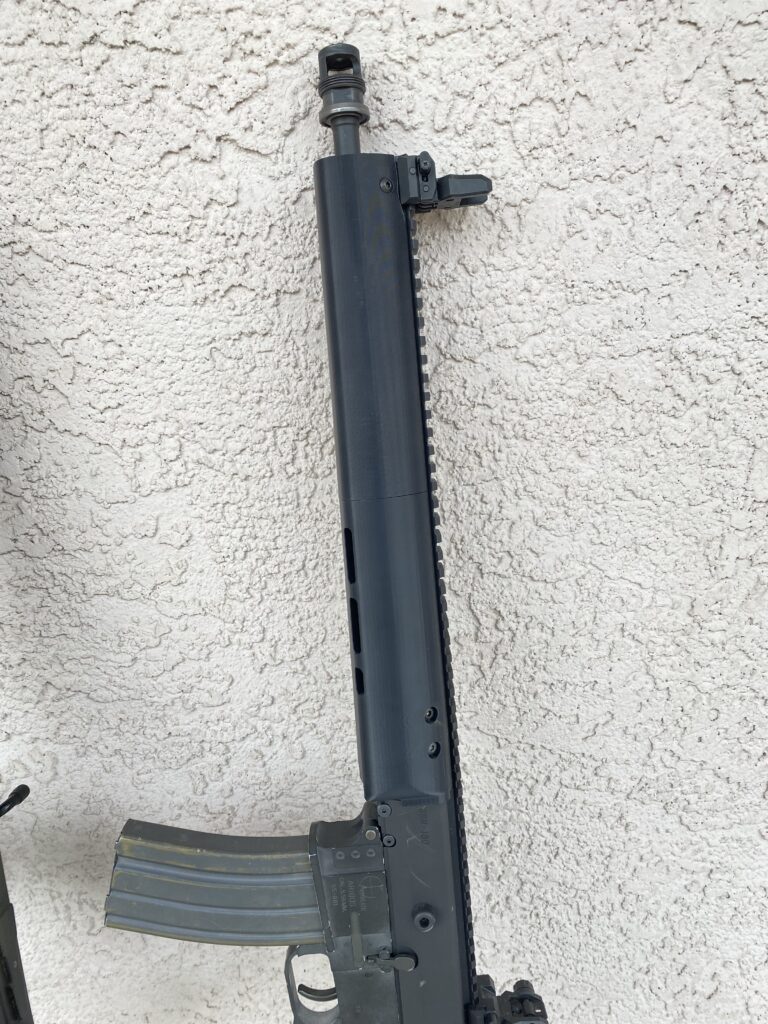
Playing with some ideas I have had floating around in my head as well as trying out some a new filament color, Army Green.

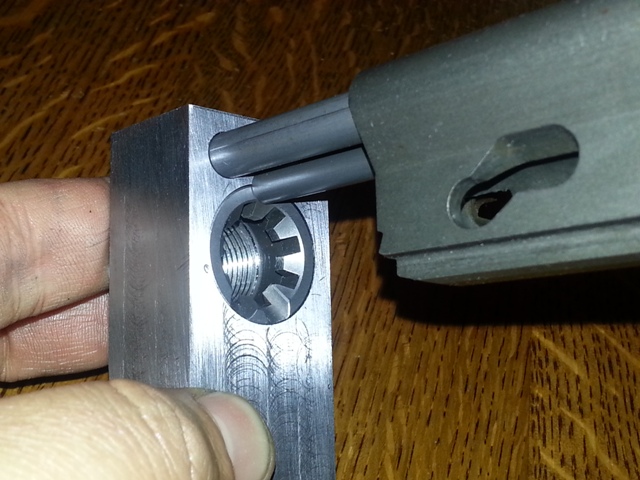
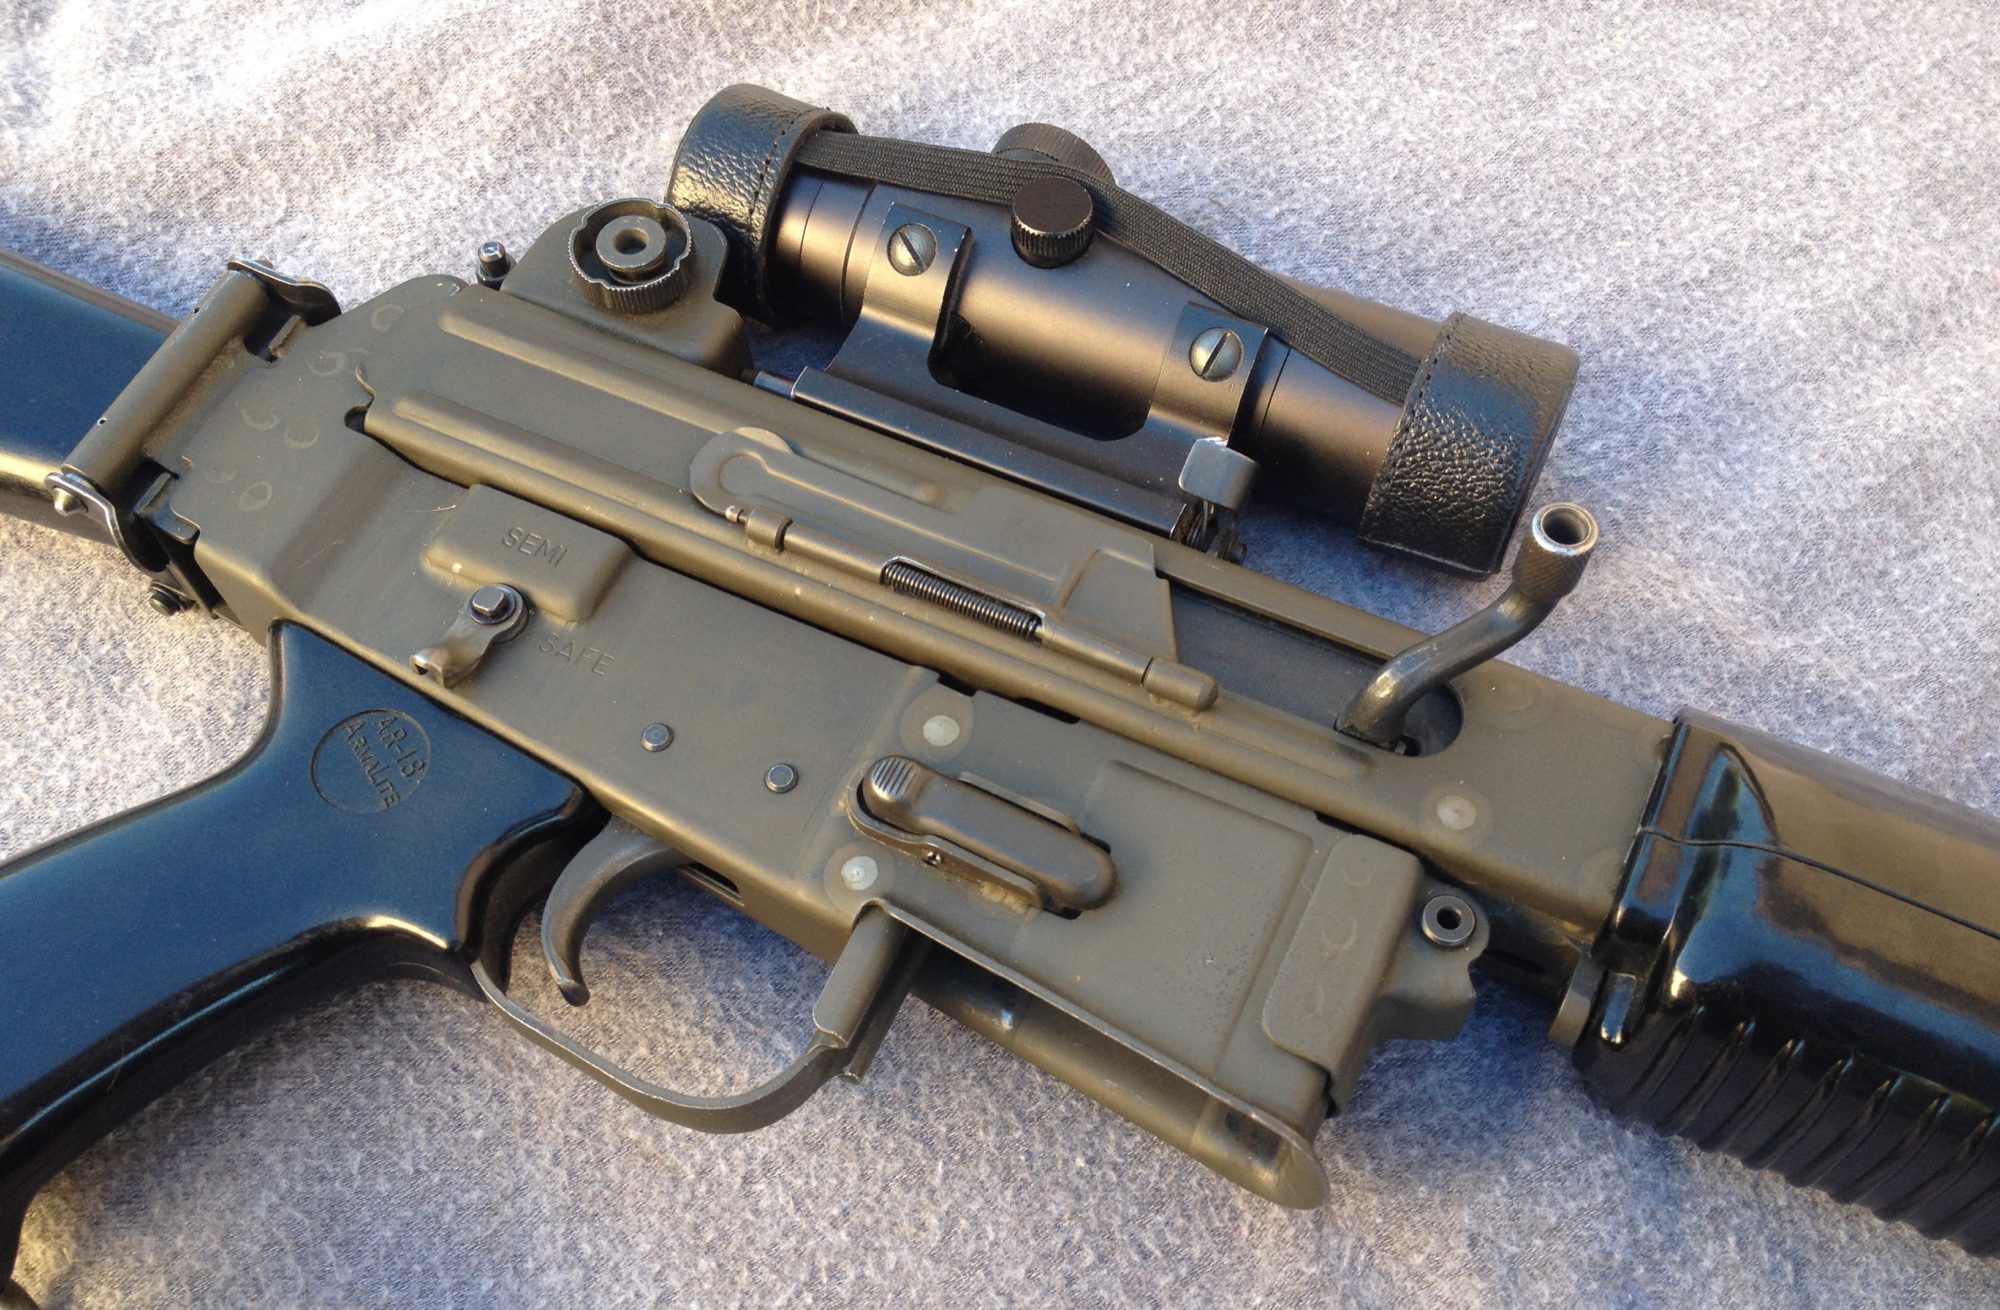
For those not familiar, the AR-16 was a prototype designed by Eugene Stoner when he still worked at ArmaLite. The furniture was wood but I always liked the shape of the hand guard. The part that stands out for me is the hand stop and the metal heat shield that sticks out the front.

I decided to give it a go and designed a couple prototypes.

photo sourced from gunlab.net

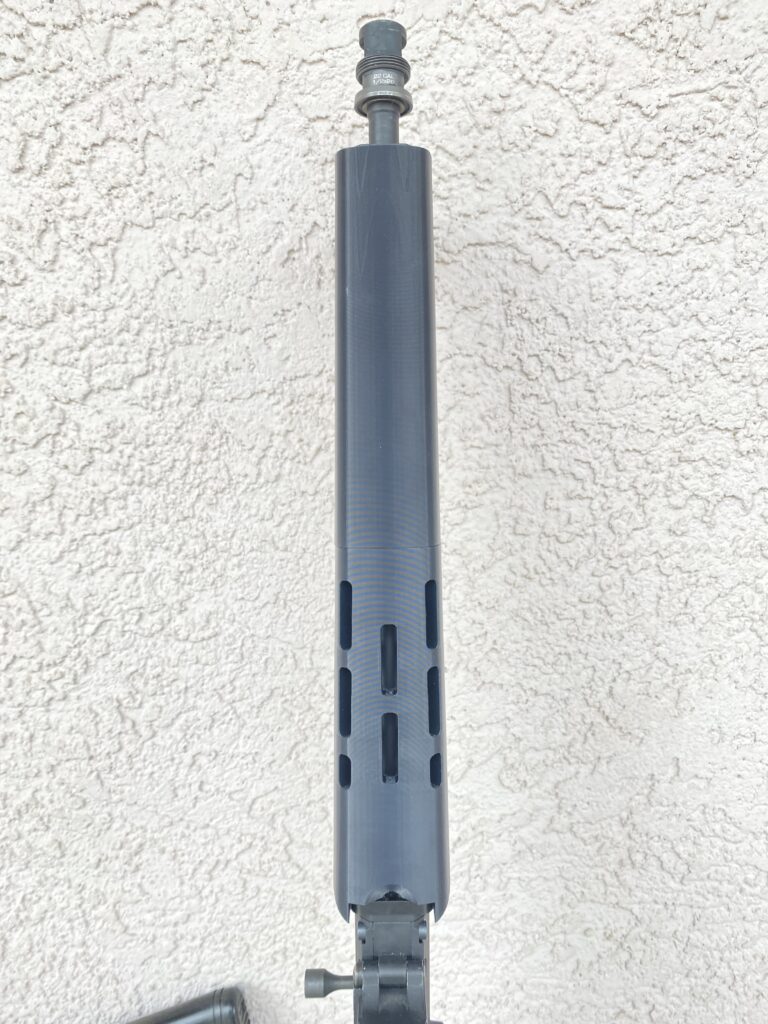
So far I am very pleased with the outcome. The goal will be to creat one hand guard that works for both the long and short versions of the BRN-180. The green might not be your cup of tea but it photographs well. It will certainly be available in basic black.

What do you all think? Leave me your comments below and no this isn’t an April fools joke. I actually posted an article!
What Has BigRix Been Up To?

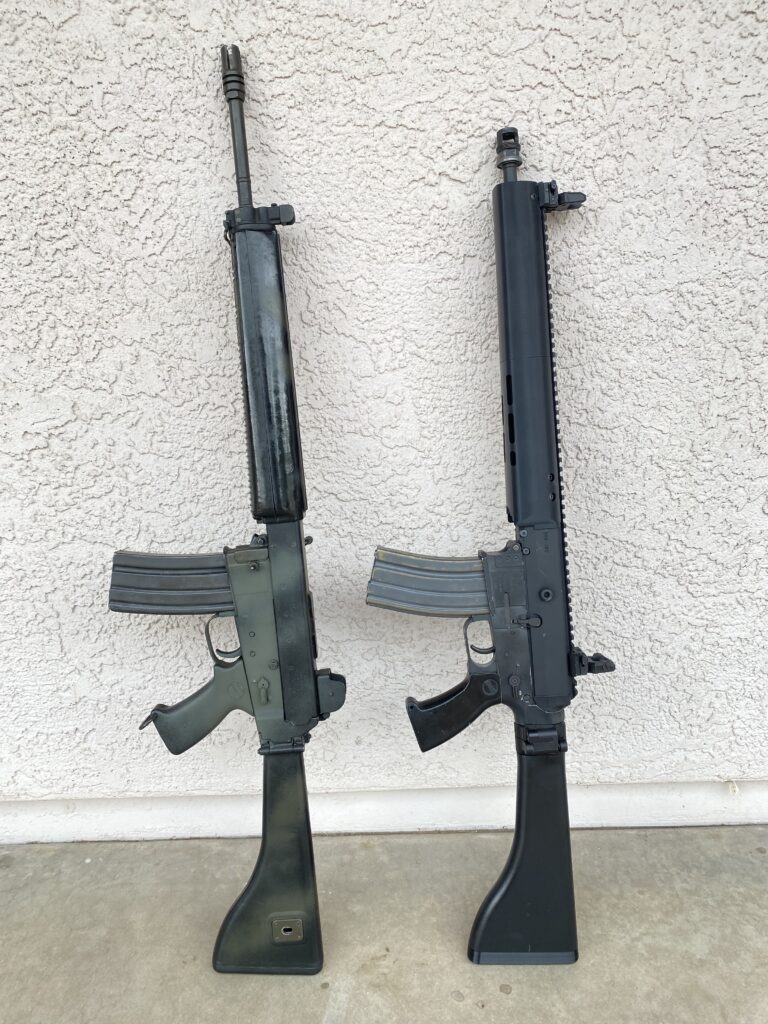
Lots of new products over at ar180parts.com. The newest prototype is the hand guard set for the BRN-180 rifle.

This is the first prototype, literally hot off the press. I already have a shorty hand guard on the site but I’ve had lots of folks asking about a version for their long bois.

What do you all think? Let me know in the comments below.

New Filament, Nicer Prints

I recently discovered ASA filaments and they are producing some outstanding prints.

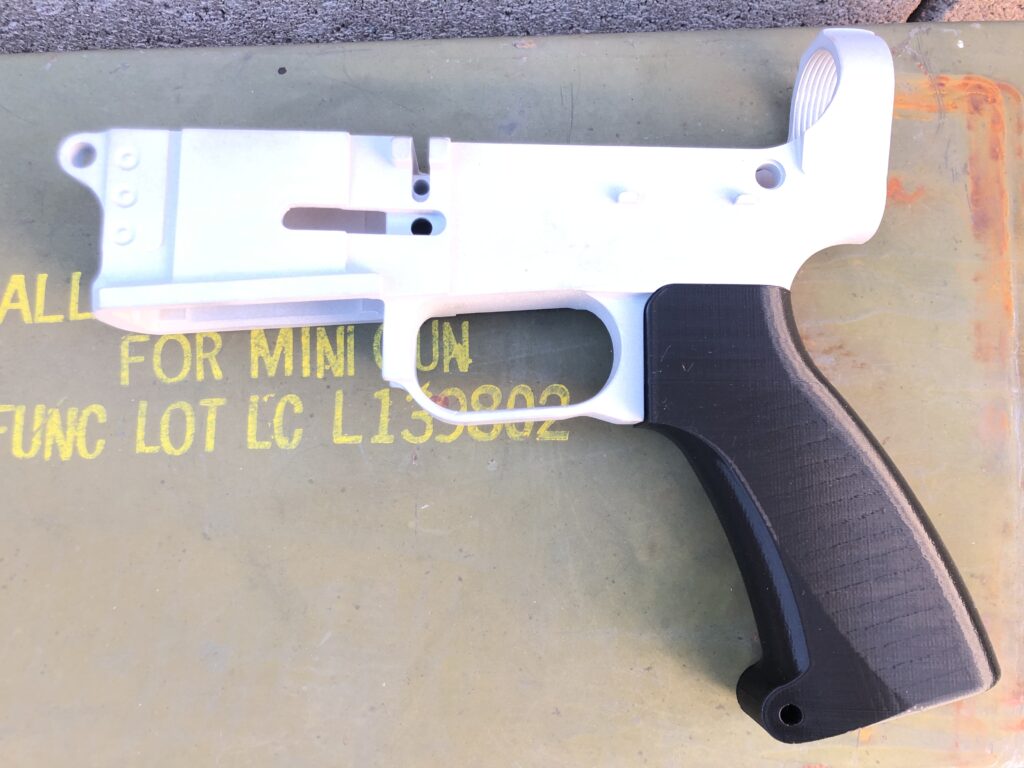
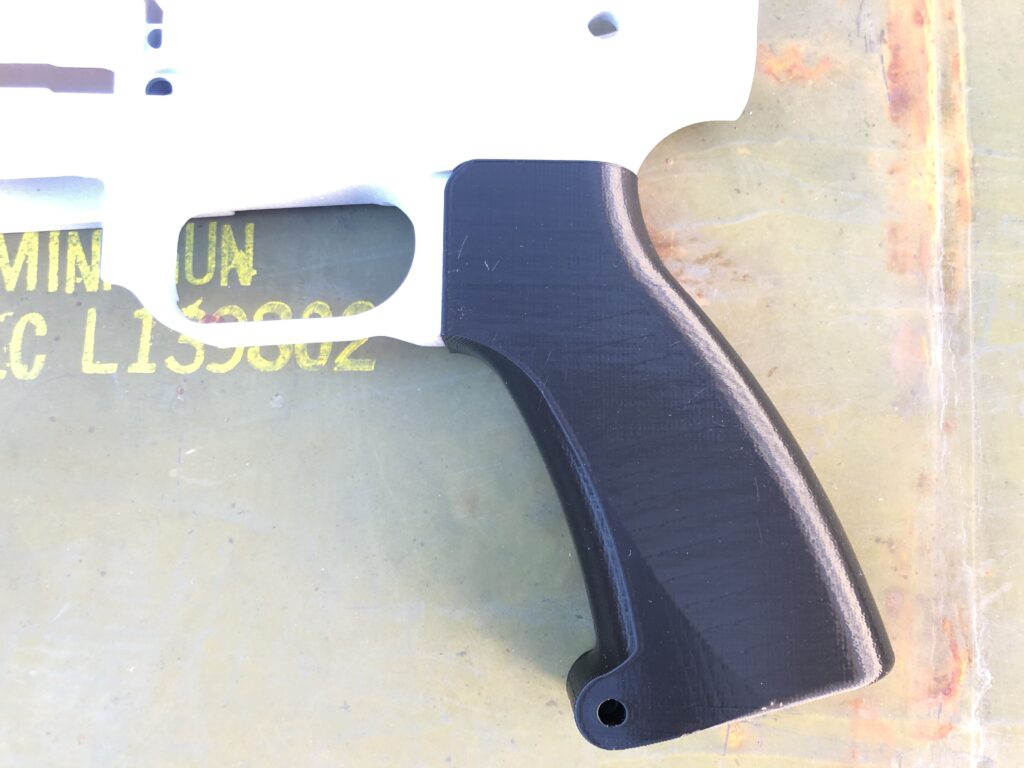
Shown here is my N1 pistol brace and the Fusion pistol grip. The ASA filament requires more work on the front end but will require less work for you. Many folks who have purchased from me before run their parts as is, so I strive to make them as nice looking as possible.

For those that want to sand and paint there parts to make them look ‘less 3d printed’ they will have another option, acetone vapor smoothing. Exposing ASA to acetone vapors will melt the outer layers together and the parts become smooth as glass. I will be experimenting with this process over the next few weeks and report back my findings.

For those that are interested here is a link to an article that outlines the process.

https://rigid.ink/blogs/news/acetone-vapor-smoothing

I almost forgot to mention the BRN180 butt stock kits are available now in case you haven’t heard.

These parts and many more are available in my store.

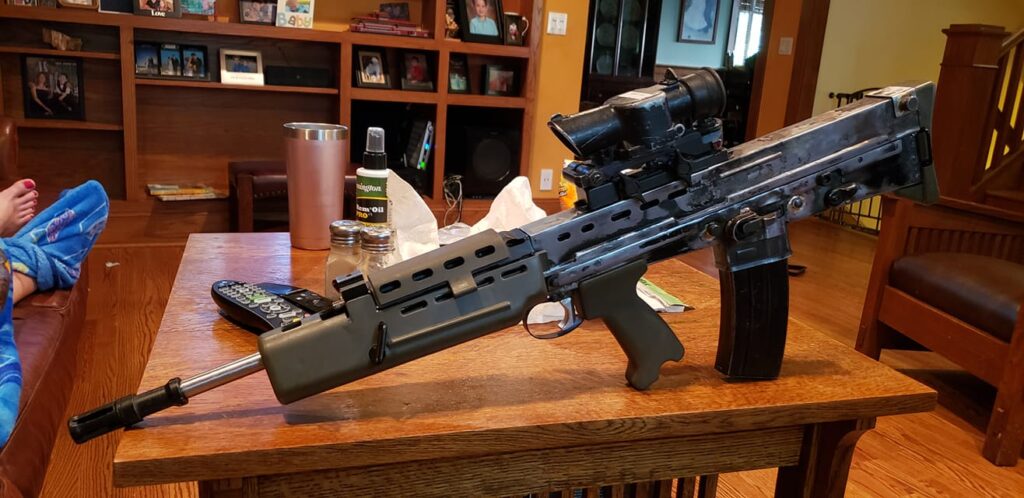
Reader Builds SA80

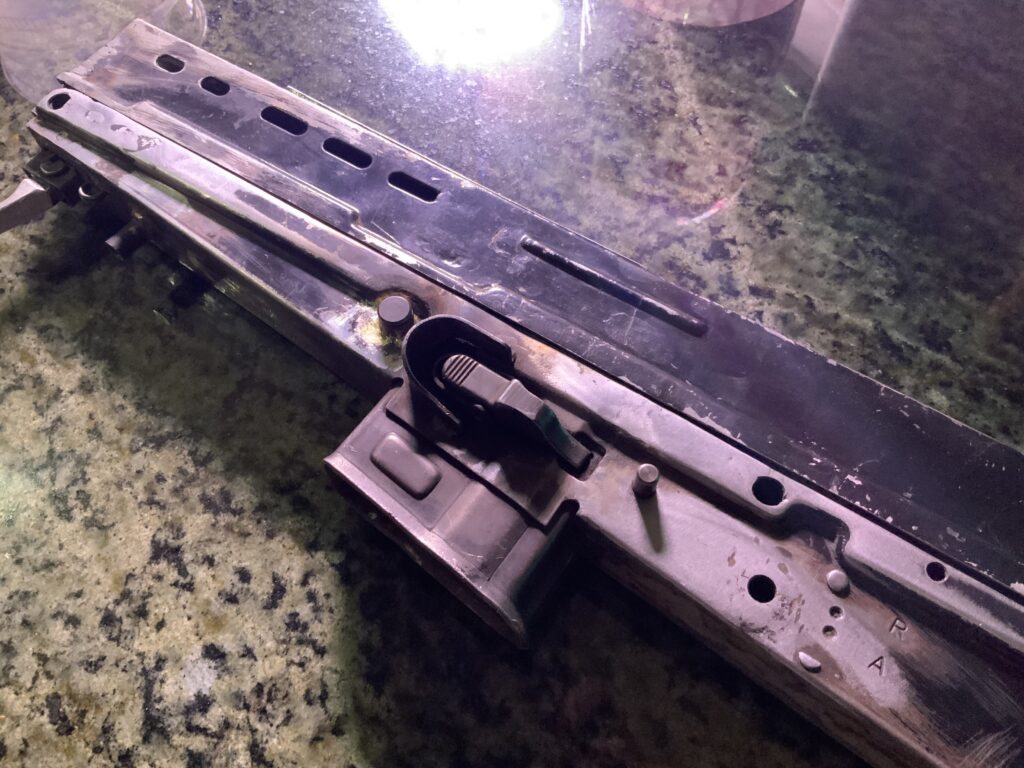
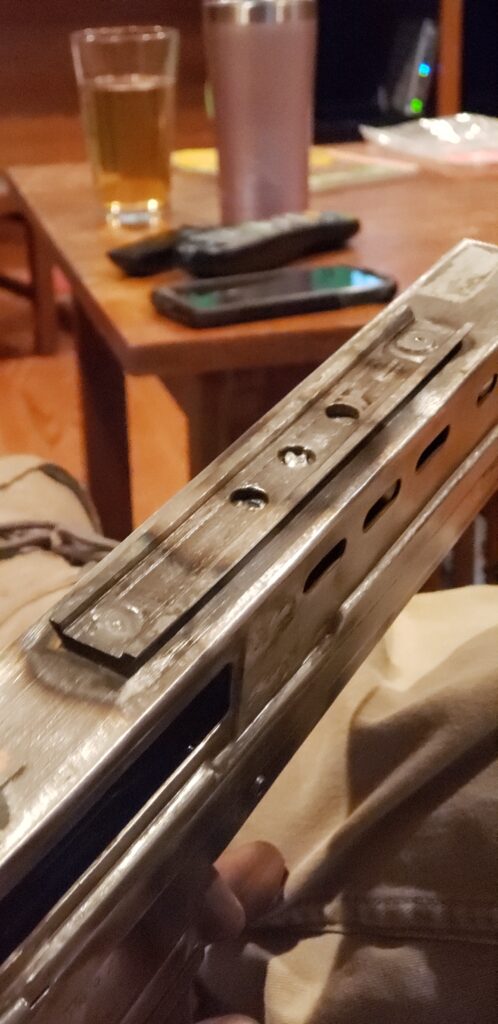
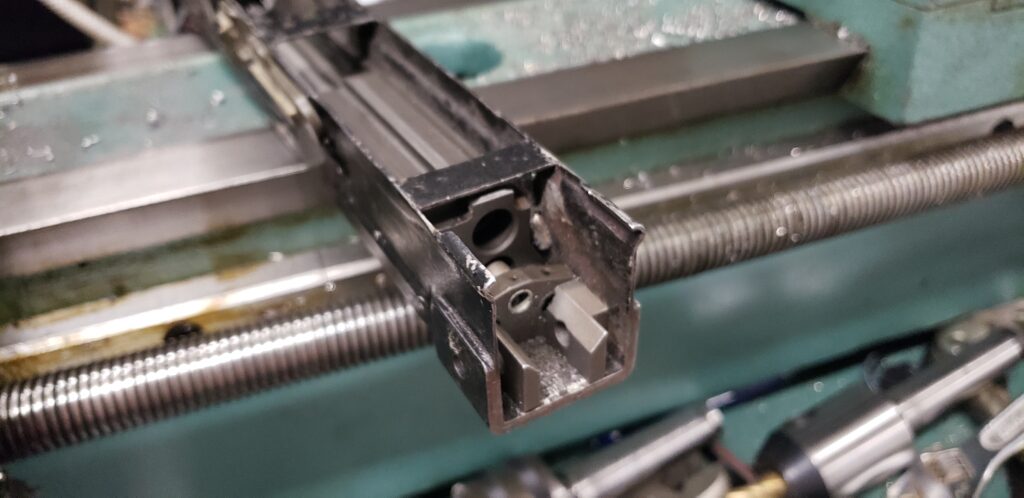
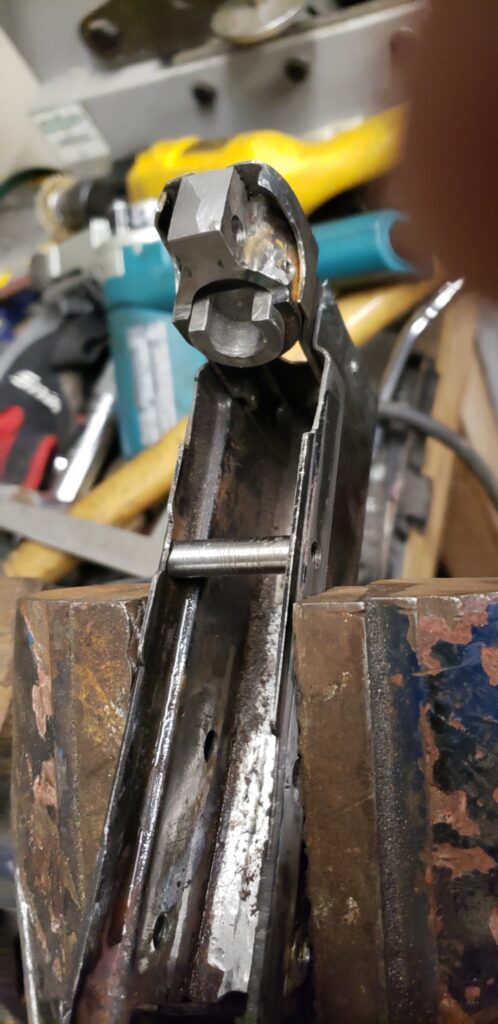
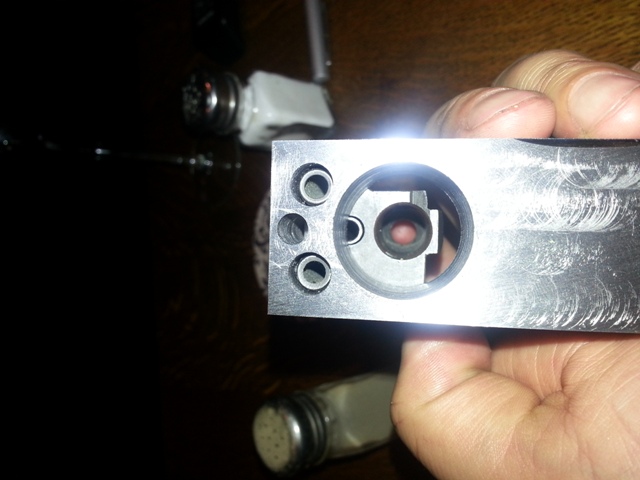
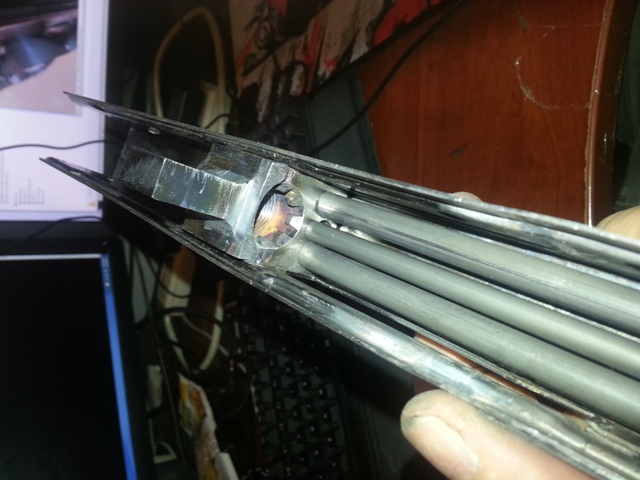
Reader James put together an Airsoft based SA80 and I thought you would like to see some pics of his process. He also wrote me the following in an email which helps explain a lot of the problems I had trying to put mine together.

James wrote quote;

This is a bitch to put together……

For the upper and the lower. I used a Star Airsoft cause the metal was
a bit thicker then the G&G. They all had issues with spacing.
Basically… Here’s the deal.
You have to use an Airsoft body unless you have a massive press and dies.
But the airsoft guns all put the magazine too far forward and too far
apart from the trigger pack holes.
The airsoft guns are all too wide by about 2mm. And in some guns like
the G&G, the mag well is too short.
So basically… All uppers and lowers have to quartered and welded back
together. I have some images of how I did this and where I too material
out.
I used the STAR because its was 2mm too long all in the area between the
Magazine and the Trigger pack so I could just take out 2mm right down
the middle, and the mag well accepted AR15 mags without modification.
However, its probably the least like the real steel guns. The G&G and
Army bodies of which I have 2 or 3 each could work, but you’ll need 2
guns to make 1 gun cause the length of the airsoft gun is spot on, but
you need to remove 2mm from the length between the magazine well and the
trigger pack. This is all based on were the trigger is and having an
actual trigger rod and a trigger pack. You know the spring guide from
the back of the gun will locate the back of the Barrel extension block
or trunnion. And then the bolt in battery will basically just pass the
Auto sear location.

In AutoCAD i made blocks of the pieces that I had for the real gun.
Those I wanted to fit absolutely and I found that those told me where
things had to go to make things work. Key points. Spring guide rod.
Trigger Pack holes. Length of bolt hold open level to catch magazine
follower. HK magazine. Auto Sear location on Trigger pack. Auto sear
cam on bottom of bolt. Bolt face with lugs in battery will tell you
where the barrel extension goes.
Length of trigger bar from trigger to trigger pack. Those all all
fixed elements which when placed will show you that airsoft bodies need
a shitload of work to make things fit right.

The G&G and Army bodies although they’ll look better need to have 2
airsoft guns each cut into 4 pieces, 1 cross cut and one length wise
cut. Because they don’t have the extra length.

Hope this is helpfull to you.!

Enjoy the pictures, there are a lot of them!

Design Changes

Just a quick update on the Fusion “paperweight” and the Fusion grip.

The Fusion grip will now be printed as a slickside. It will require little to no sanding and polishing by you and for most it will be used as is. Bolt it on and go!

The Fusion “paperweight” has eliminated the buffer detent hole. Don’t worry, it will still work with your AR15 upper but will be a bit more fiddly when taking down for cleaning. Most are planing to use this with their BRN-180 upper and this will make it an even more perfect match.