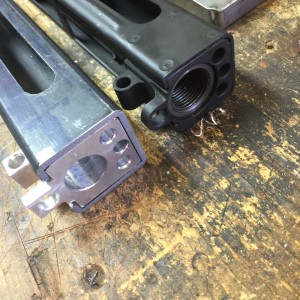
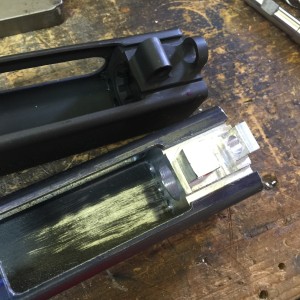
AR-180B Shorty Project Pt. VIII: The New AR-180S

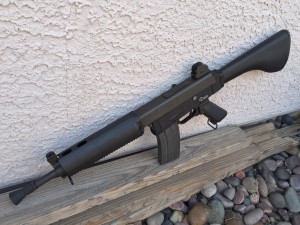
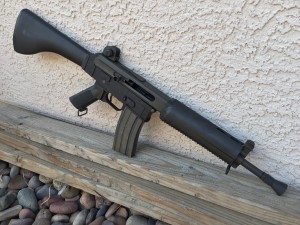
A quick update on the AR-180B Shorty Project or what I like to call it, the New AR-180S.

I had some time to attend a therapy session in my shop this past weekend and I have to say it was successful.

I have been bothered by the hand guards on this gun from the very beginning and I finally decided to do something about it.

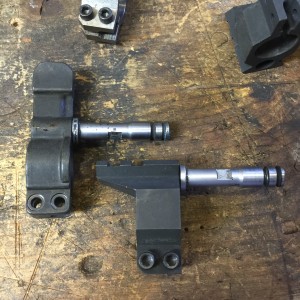
I have tried and failed to make a retainer for the hand guards out of sheet steel like the originals. I’m good with my hands but I am no body man.

I have long thought about machining a retainer from aluminum but a figured in could only be done with CNC, which I don’t have.

I decided that I would throw caution to the wind and try to mill it manually on my mill. Whats the worst that could happen?

For reference, this is the method I am trying to emulate.

ar-18S-3_zpse5b9be05

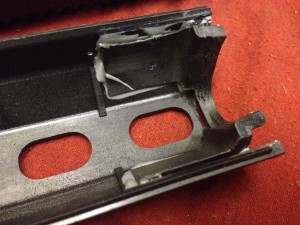
My original, and always temporary method, was to take the end of the cut off piece and glue it inside the remaining piece. It has already broken once and was coming loose again.

29BD1D93-D685-4543-882F-3BA61D95E8B7_zpsconwgqxs (1)

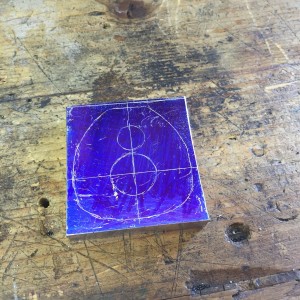
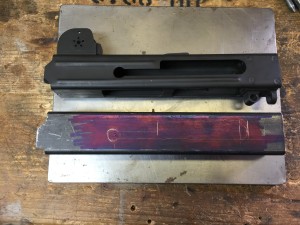
I started with a piece of 6061 and laid out the shape a needed.

D6711AE4-0FDA-47E8-BD48-2A513E2D05CB_zps2r2pdecv

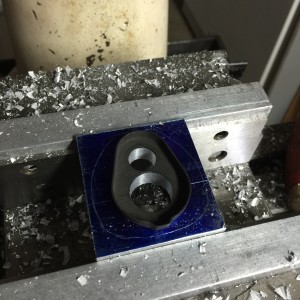
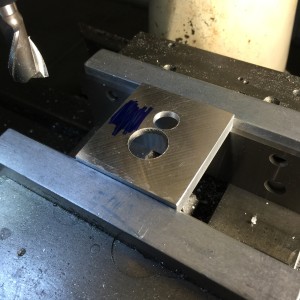
I squared up the sides then drilled out my holes and checked to see if I had my dimensions correct.

E4A57599-D9B6-47B0-B973-EE8BD534901D_zps3wehkyti

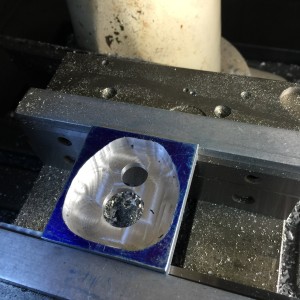
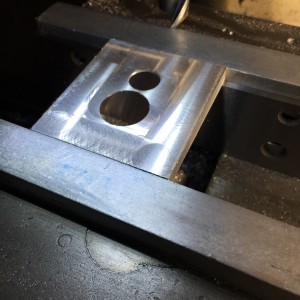
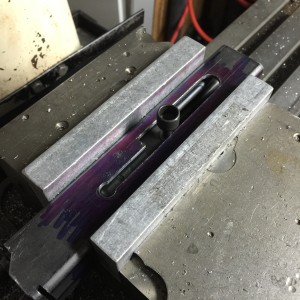
I then moved my end mill down to the depth I wanted and followed my layout lines using both knobs at the same time. This is where the therapy came in. It took a lot of concentration but in the end I think I did a pretty good job, if I don’t say so myself.

7B97C424-C476-4BFF-B02E-385A1D3F54C4_zpsalxqy7ei

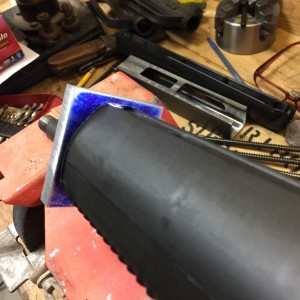
I made sure it actually fit the hand guards.

1D51FB7A-4168-4560-93FA-E9737B233438_zpsvetendrn

98ADE074-63F2-4A0E-B56E-07B6B474F0D9_zpsnhz1d95u

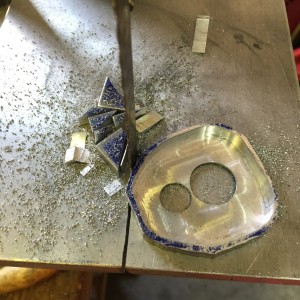
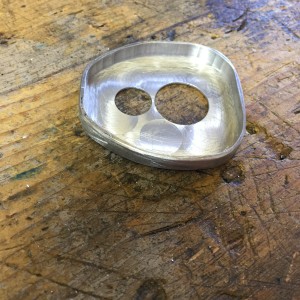
I then flipped it over and shaved it down to .035″, the same thickness as the steel retainer.

E73B3478-A948-4C2B-ADC8-BB35514FF746_zpsywt3hfyu

EAB29619-F706-4F37-8929-B84D8B9C8284_zpsob4izh8e

Then I trimmed up the sides on my porta-band.

BCC37AF7-C853-4A55-AFF5-7DF34B821889_zpsswvrxg0s (1)

And finished up with some flap disc and file work.

803741D6-638E-4D2F-927C-387604342775_zpscpxvbqmo

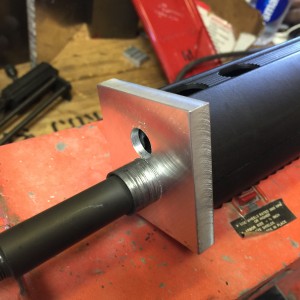
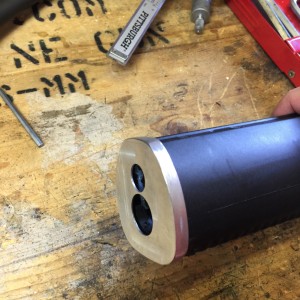
A final test fit.

D41EF00B-AE17-4C2B-8F6D-45FD8062D588_zpsgp4c0see

B8F48DE3-571D-45B0-A440-60F39E5AFD73_zpslocf8gno

Since I have no way to anodize I shot it with my favorite substitute, Rust-Oleum Dark Grey Primer.

EA5CA35C-7AE8-42D8-B11C-1CFFBBCB4290_zpshjdyky02

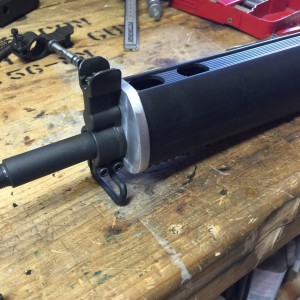
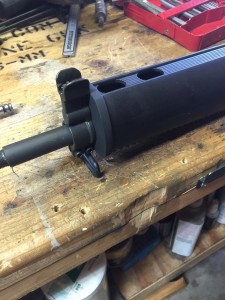
And here she is an all her glory the New AR-180S!

885E4A38-DC6E-4D43-8F04-0E1D121176B7_zpsb3z3mngu

705762BD-0AA5-40D3-B59D-922E4E8989A2_zpsrbzvzl7p

I can’t tell you how much better the hand guards feel. They have always moved a little and never felt secure.

Now they are rock solid.

Fingers crossed that I can get some time this weekend to go shooting. I hasn’t had a round through it since it was a pistol.
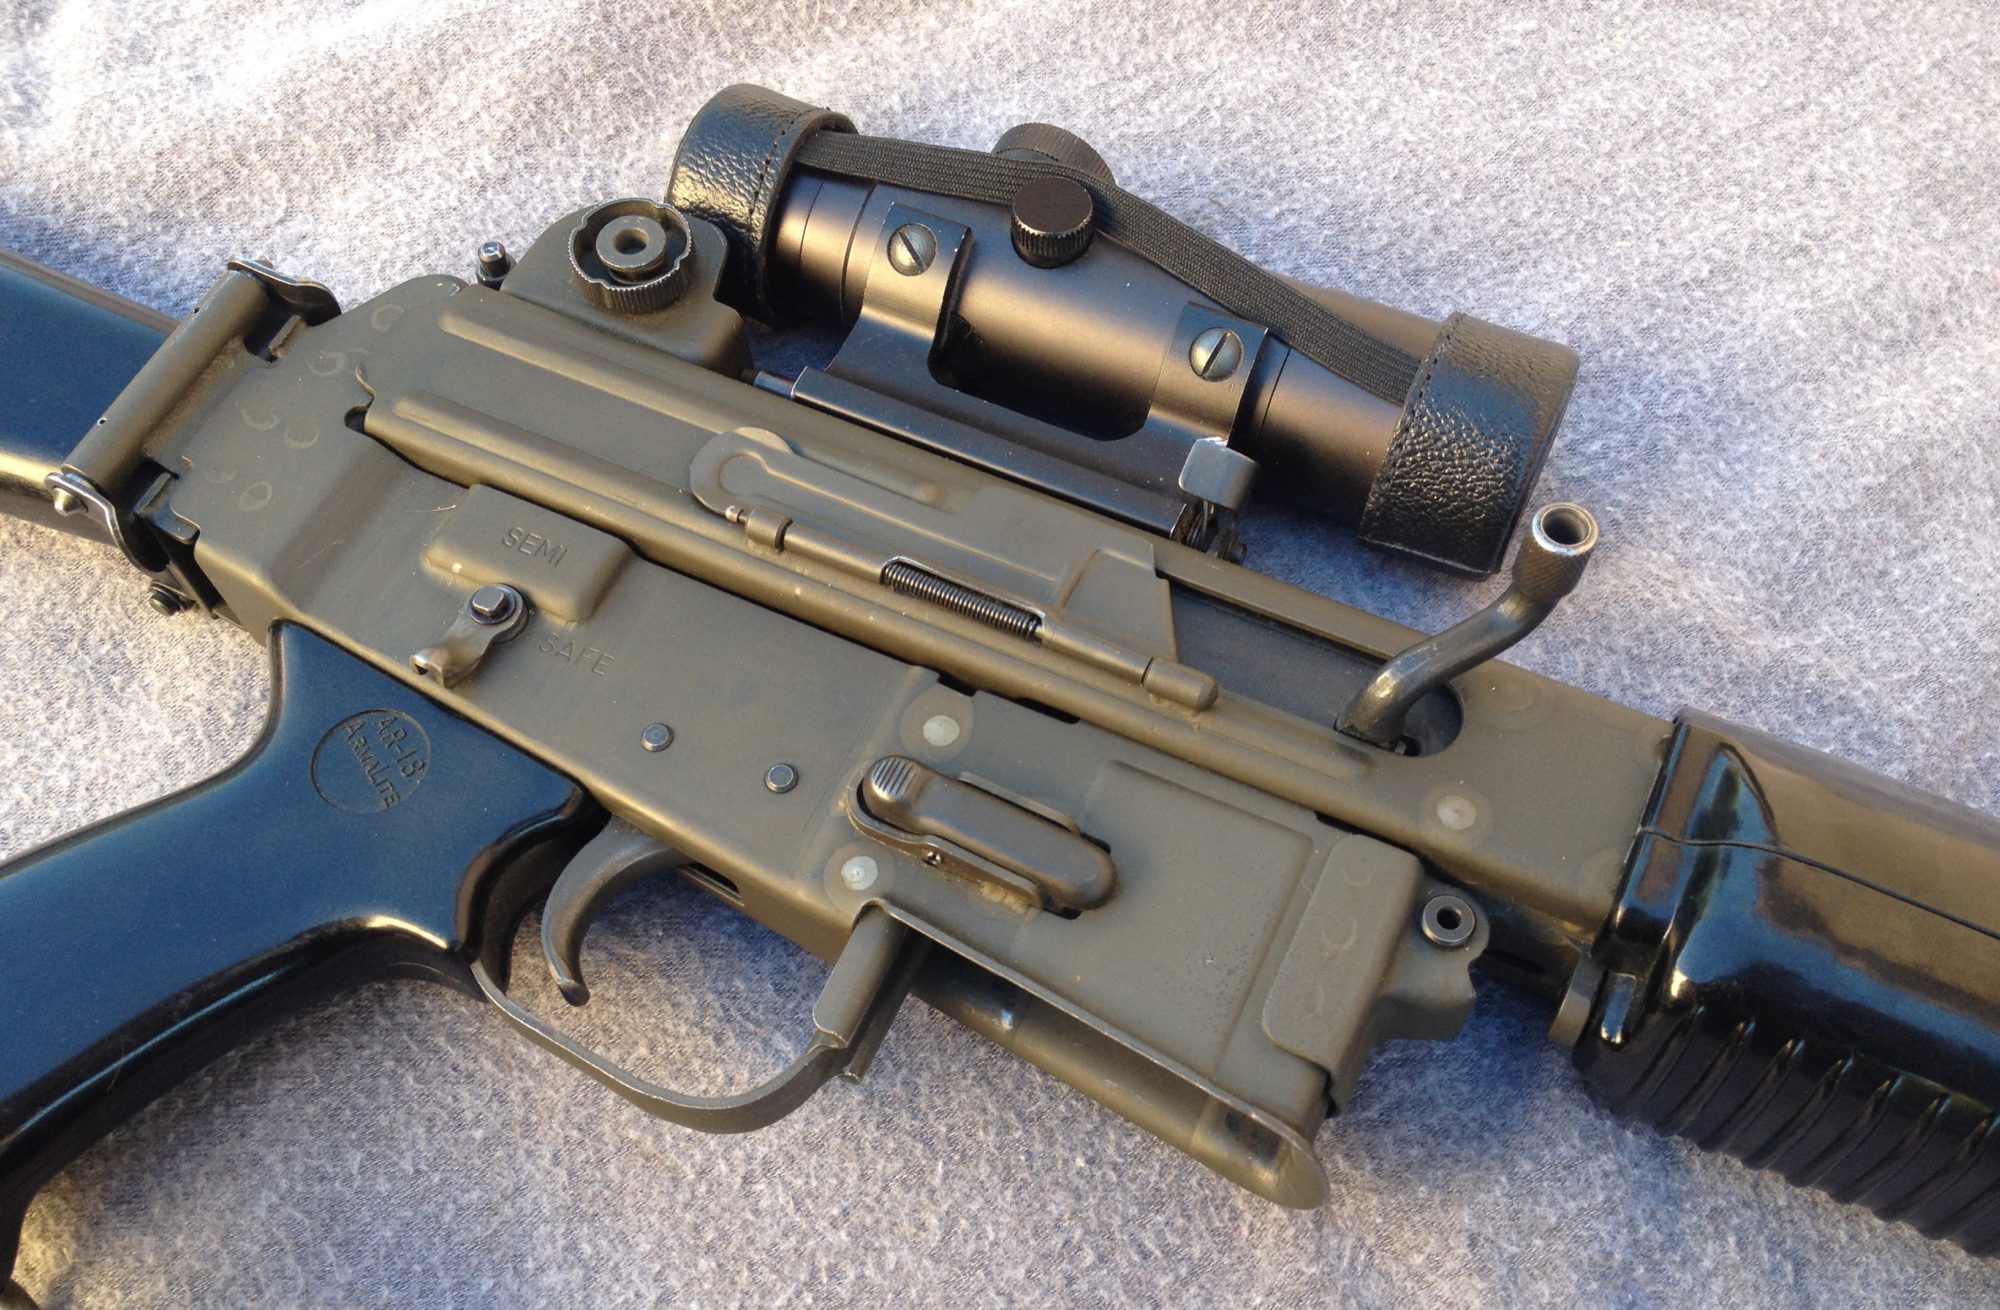


AR-180B Shorty Project Part VII

It’s been far too long since I updated y’all on the project that launched about the same time as this blog, The AR-180B Shorty Project.

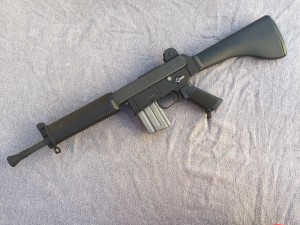
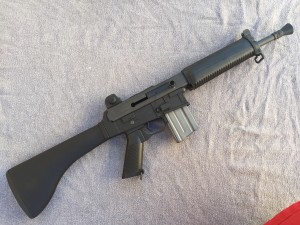
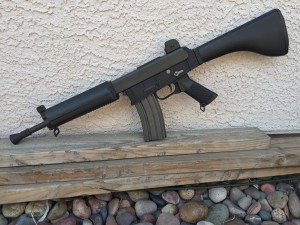
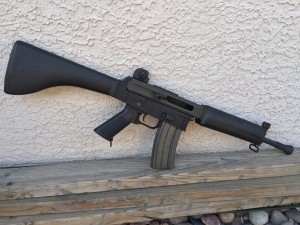
I was not entirely happy with the VZ-58 stock and although I want a folding stock, I could not resist attaching an original AR-180B butt stock to see how it looked and handled.

I could not be happier. I’m hoping to get it to the range now that it has cooled off and put it through it’s paces.

As shown, with an empty magazine, it is weighing in at about 6.5 lbs.

Shown with the GunLab lower completion kit, which should be ready to ship soon.

Make sure you hit me up and get your name on the list to save your spot. Just use the Contact form at the top of the page.

A48311DC-8FDB-4E96-A495-D7FCDB0EBE28_zps2ali4e2o 0D588257-874A-4590-A2B8-4BC1CA385D16_zpszz9dgut5

522FB5C5-5F6B-47A6-8594-0ED571867F43_zpsk2so854b0D804A03-55B7-4F3F-AAB2-26FFA0A58B34_zpspen6mk9d

I need to make a hand guard cap and park the flash hider (it is painted currently) and I will call this one done.

Lessons learned by taking on this project?

I actually found an original AR-18S lower hand guard and discovered that my reverse engineered from pictures attempt was off by about 3/8″.

The placement of the front sight block is further back than it should have been and I can’t replace these hand guards with 180’s because of where the stiffening ribs are.

I guess I will just have to build another one!

Much thanks to those who helped make this project possible.

GunLab

NoDak Spud

Retro Arms Works

And a special mention to Ian at Forgotten Weapons for the inspiration to write about these cool weapons. I ran into Ian and Karl at the last gun show and I have to say, they are a couple of really nice and knowledgeable guys. I hope to get this particular gun closer to completion and let them shoot it. If anyone can find it’s flaws, they can.


A Visit to the GunLab – AR-180 Parts

This past Saturday I  had the opportunity to visit Chuck at GunLab.net and it was an awesome and overwhelming experience. I wished I had taken the time to take more pictures but I think I was a little in shock at all the cool guns, parts, and equipment. By far the best part of the trip was the company, Chuck and Shirley are two of the nicest folks you could ever have the pleasure of meeting.

We chatted at length about his work on the AR-180 parts he is building. The lower parts that he is making to fit your AR-180B and Nodak NDS-18S lowers were at heat treating and should be back this week. Parkerization and final inspection along with one final operation on the springs will finish this phase. They should be ready to ship very soon.

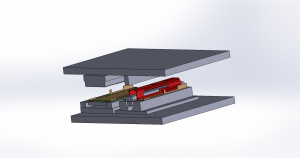
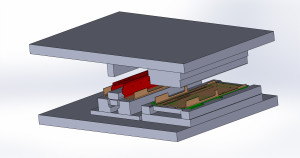
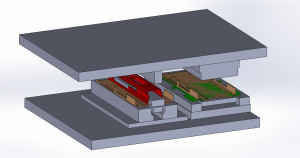
Next up he is working on uppers. We are hoping to have them available in several configurations from flats to complete uppers with trunnions and rails. He sent me some pictures of his solid model of the stamping die he is building.

AR180 Complete Die1 AR180 Complete Die2 AR180 Complete Die3

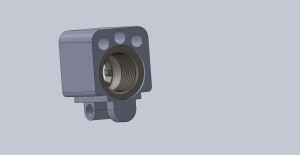
Trunnions have also been modeled and those should be coming shortly after the upper sheet metal.

AR-180B-barrel-extension-180B-proper-1


I also gave him one of my original prototype AR-180C railed front sight bases and I am hoping that we can get a few of those made.

3FAE2804-4E91-47F1-95DB-8E5A70D4F7D9_zps90dziymz

The AR-180C flat top might become a reality after all!

5f66c272

Finally yours truly with the only picture from my visit, holding an MP-44 for the very first time. I find it astonishing that they were able to crank these out in the numbers they did, with allied bombs dropping all around them, and that the complexity of manufacture I see in this gun was actually a time saver compared to older weapons.

52A0C11B-C0B6-4A7F-ACC8-EB375F6FF781_zps6yw7g7qf


Make sure to subscribe so you don’t miss any new posts.

More AR-180 Upper News

Chuck at GunLab.net has been working on AR-180 uppers and has reverse engineered the trunion and has put up a very interesting article.

AR-180B Trunnion Design

I on the other hand, lacking any semblance of expertise in CAD took a differing approach when I reverse engineered my AR-180B upper.

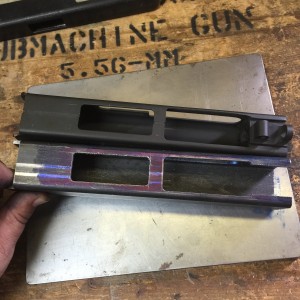
Good friend of the site, Carl, sent me some square tubing that he has successfully used in his home builds. I decided to duplicate my upper using this material. It is much thicker wall than the original and I will have to shave this down at least on the bottom surface to get it to work with my lowers.

I did this for two main reasons. I wanted to refresh my skills on the mill as it has been many years since I last used one, and secondly, just to see if I could.

I made my first trunion out of 6061 aluminum just to test my measurements out and I have found that a few needed to be adjusted.

I learned a lot from this project and I find things like this much more rewarding than the usual beginners projects.

I will continue to tweak this until I am happy with it then I will start a new one using the first as a template. I think I will make the trunion out of 4140 unless y’all have any advice.

Some pictures that show what I have been up to for the last two days.

BAA27431-FC29-4C64-A01D-7BA5B691A574_zpsupjjv6pk A8E5D090-0D64-4122-9EF5-4E1F0425FE7B_zpswfvpyqae DA7C5E48-16C7-4747-8461-3EB436C12881_zpsxjaqzspa 109826B5-10FE-4A0E-81BB-1D1F8AF25A9E_zpsa4ffx1zk C2674BD1-29E5-4544-9617-A70BA6015107_zpsfmhx7zun

Some things to note if you attempt one of these yourself. The interior of the tubing is not perfectly square so some hand fitting will be necessary. The tubing spreads open once the bottom is cut. Some method of squeezing it back before welding would have to be considered. Lastly, all of this will be rendered moot once Chuck makes new uppers and flats available. Until then I will use this as a way to improve my machine skills and better learn my tools.