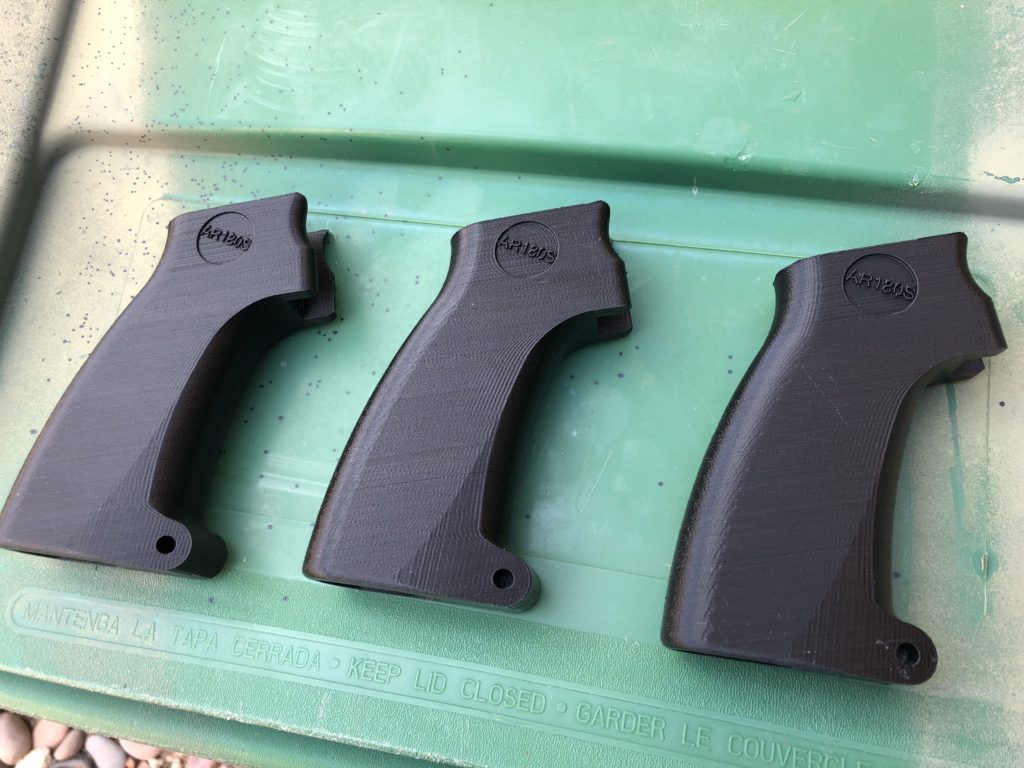
AR180S Pistol Grips Ready To Ship

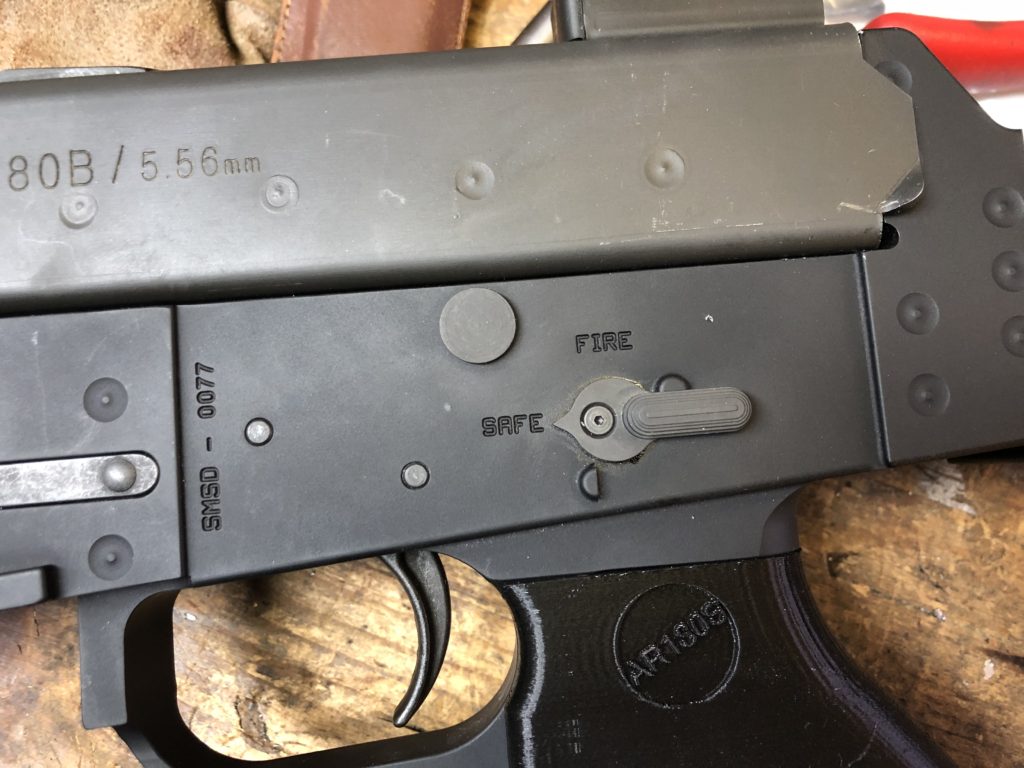
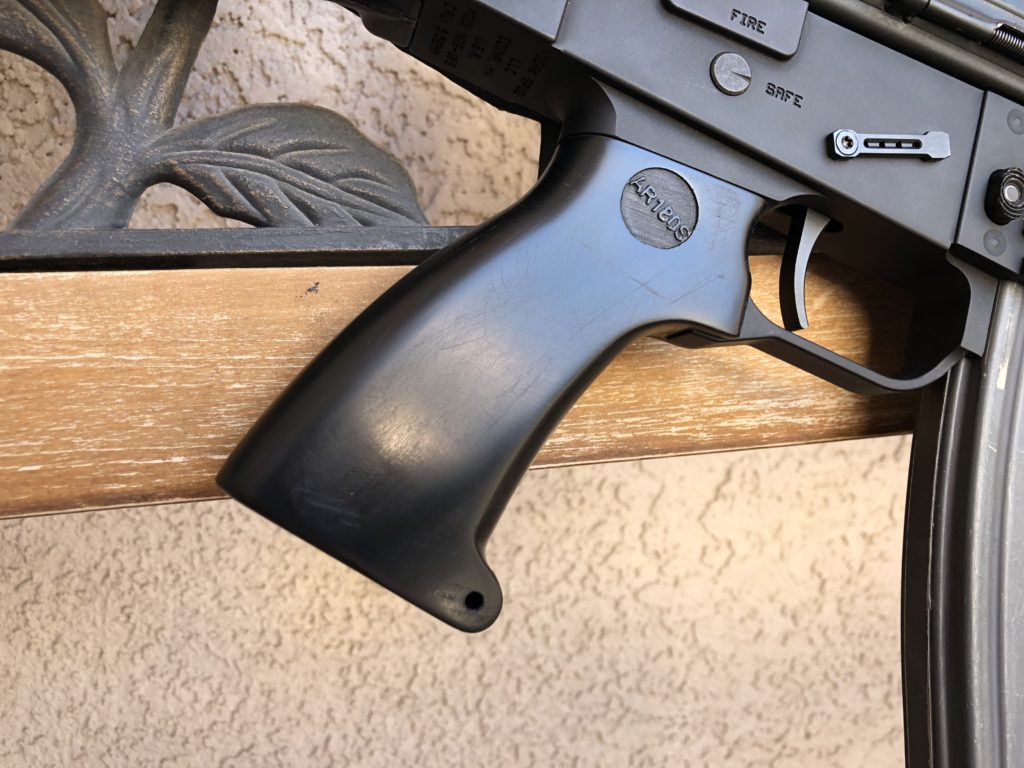
Well I have 3 ready to ship.

I have reworked the model and done modifications to my printer and I am happy with how they are printing now.

I have also decided to put them up for sale and will print and fill orders as they come in. That might take awhile to fill as they take quite some time to print. 18+ hours to be exact.

These can certainly be used as is but really need to be sanded, polished, possibly even painted.

Here is an early prototype that I sanded and rounded the edges then polished.

First 3 will ship right away, first come, first served. Just click on the link at the top of the page to take you to the Shopping Cart.

I am really looking forward to getting some pictures of how your pistol grips turn out!

As always use the “Contact Me” link to send me an email if you have any questions.


Reader Pics: New Sharpshooter Kit

Got an email the other day and I knew y’all would be interested in it.

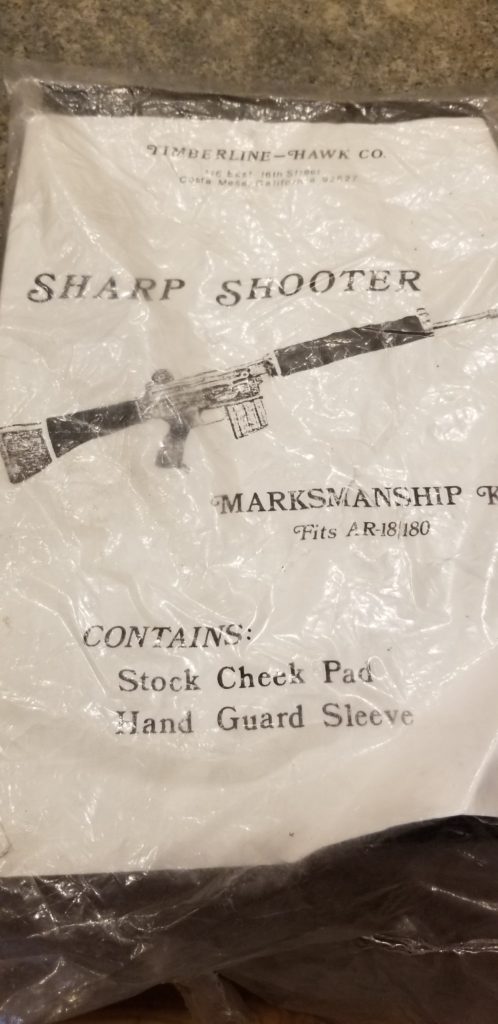
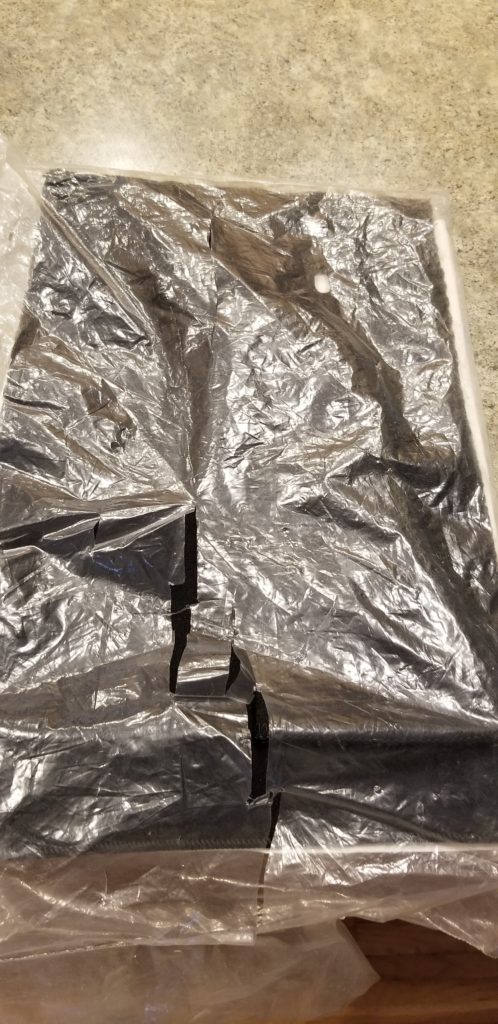
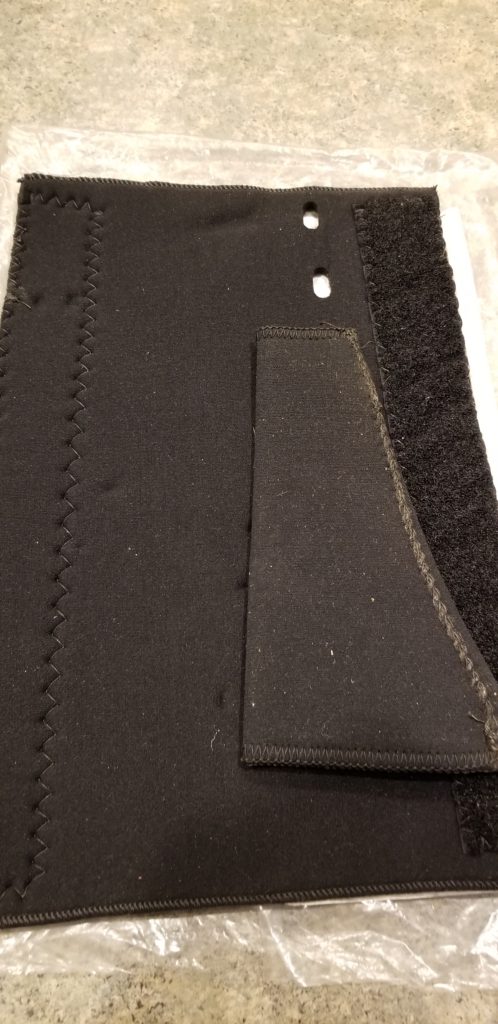
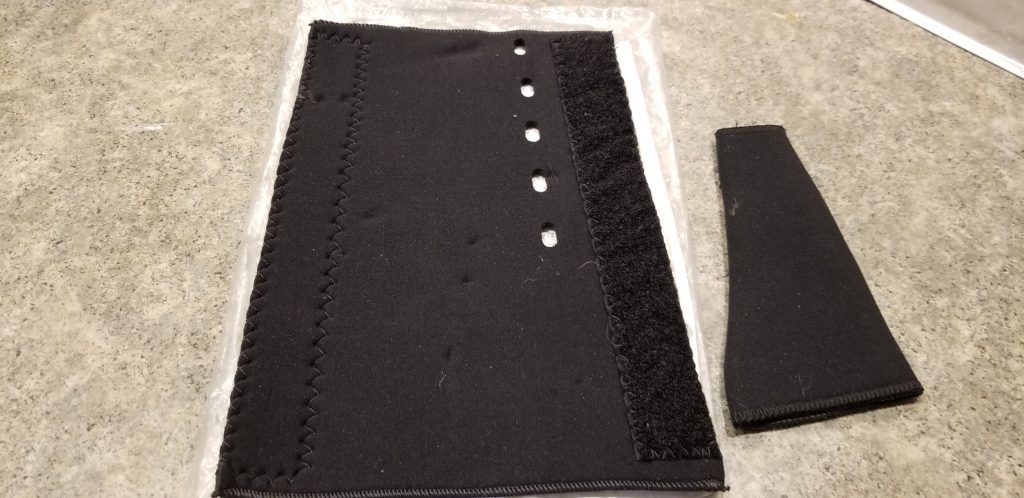
A brand new Sharpshooter kit.


This one is packaged as coming from Timberline Hawk and differs in construction from my example. The hand guard cover is improved by the addition of Velcro to allow it to be removed easily. The butt stock cover is the real pain in the ass to install. If I made a new version of this I would certainly use Velcro for that as well.

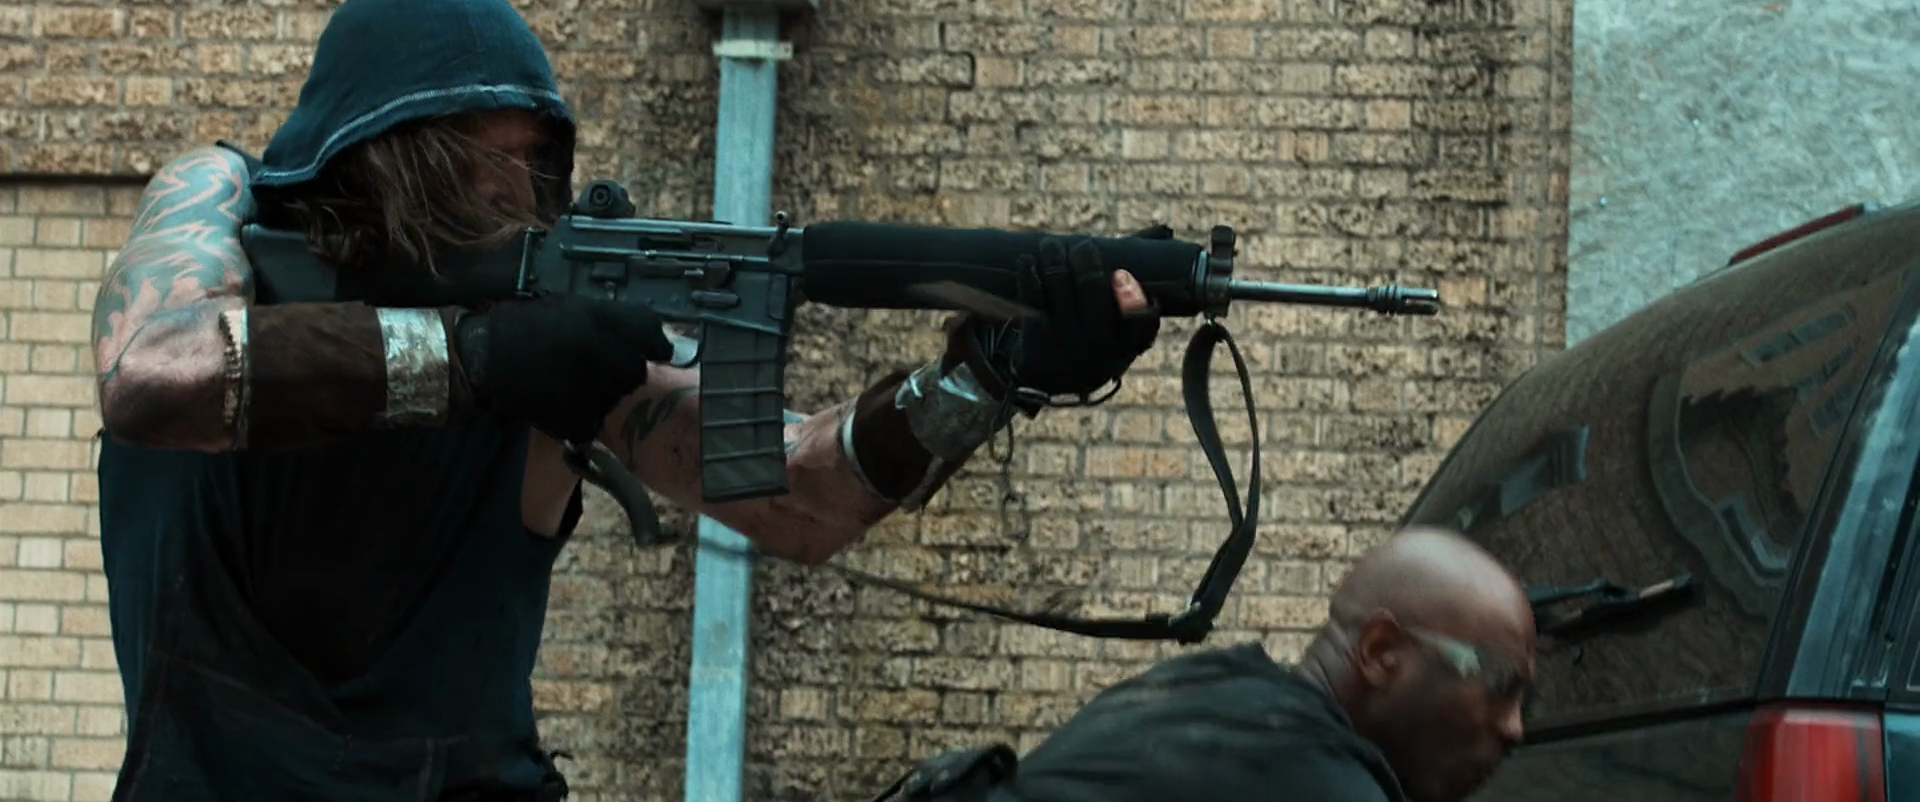
Just for fun I am including a pic from the movie Daylight’s End showing a Sharpshooter in use.


A Day in the Shop

Spent a full day in the shop just playing with stuff and it was very relaxing.

Started off with a new purchase that arrived while I was out of town.
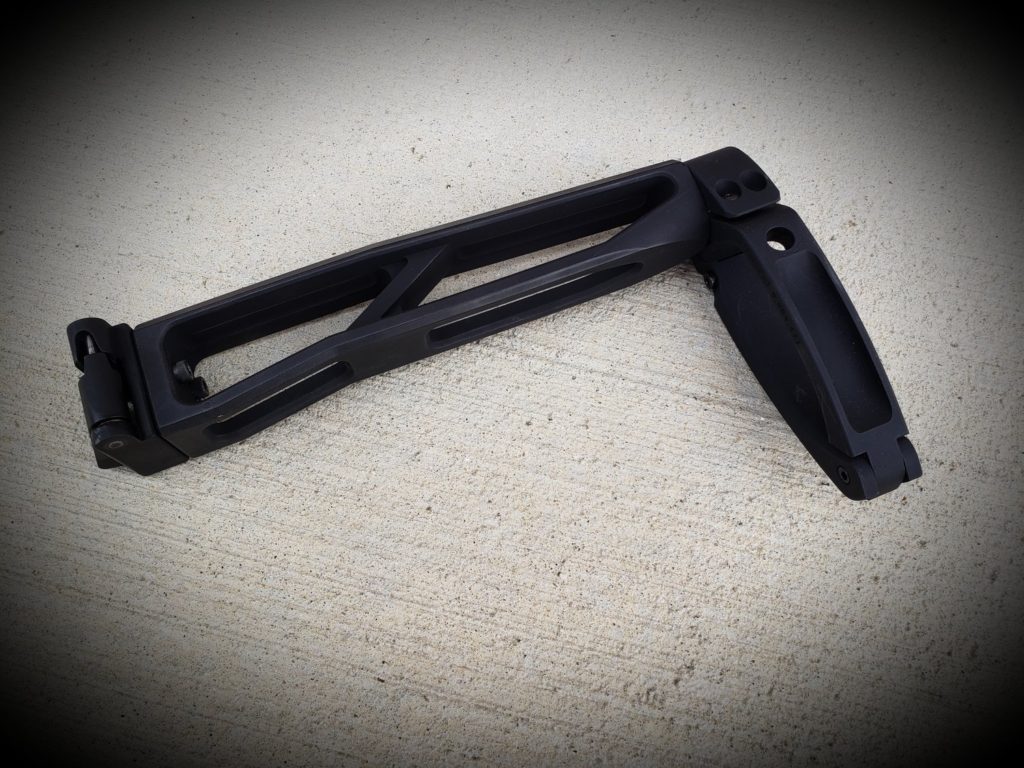
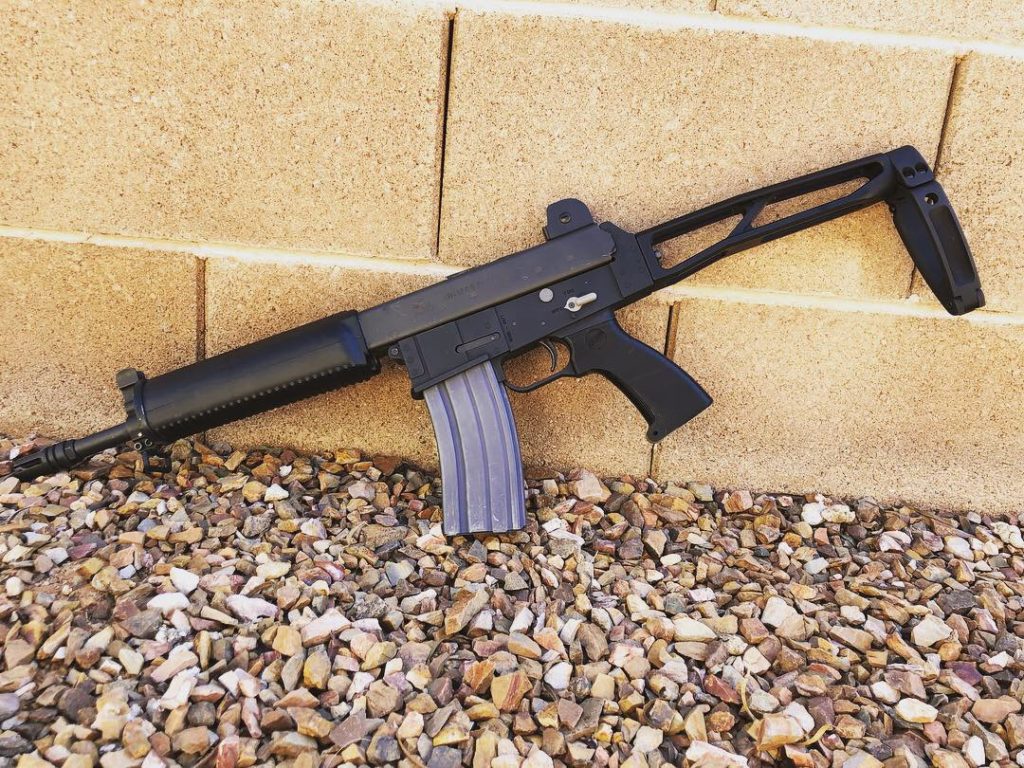
The KGB Stinger47 pistol strut. It is designed for AK pistols and allows the use of a TailHook pistol brace. For those that haven’t heard the ATF now allows you to add a pistol brace without turning it into an SBR. I kept seeing Josh at Stormwerkz posting pics of his on different guns, including an AR180B. I had to snag one. Click here for info.

I have one of my pistol lowers that has been modified with two holes drilled and tapped so I didn’t need an adapter for mine.
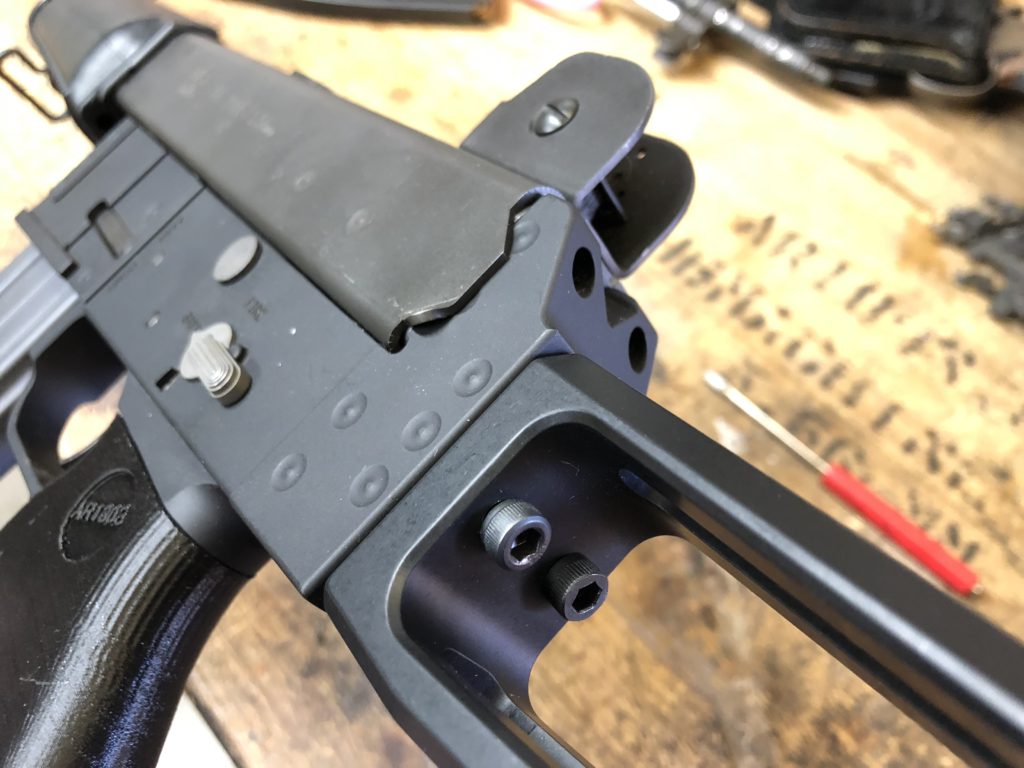
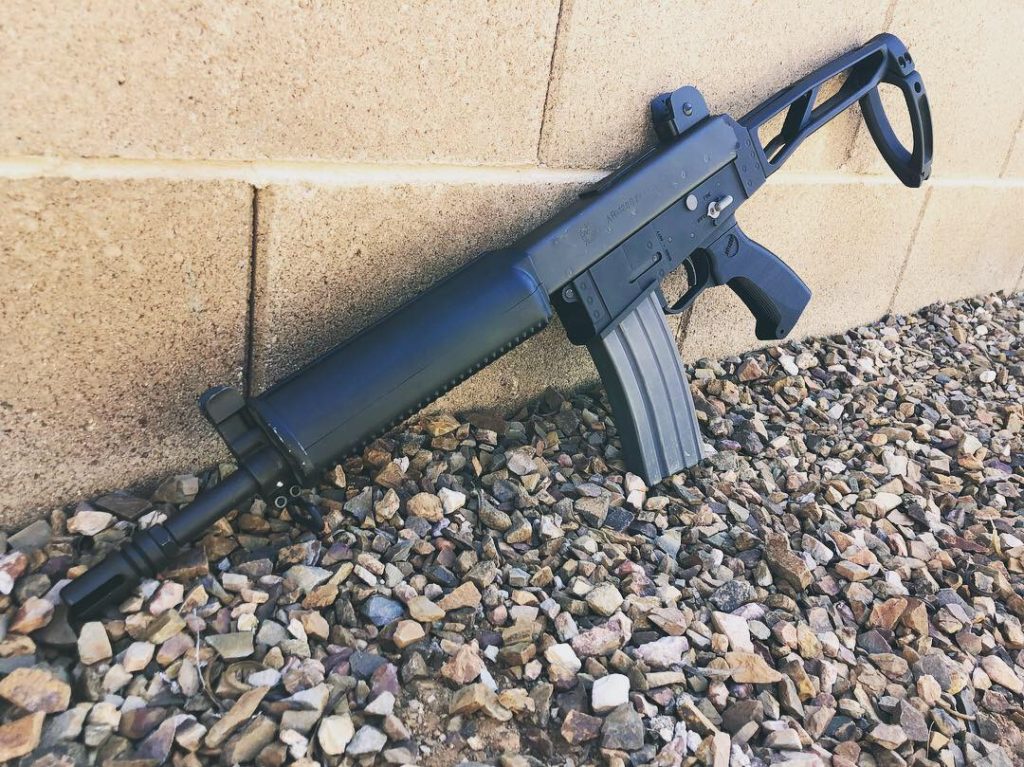
 

I then decided to try out the folding mechanism I have. I was thinking I would fold it to the left like an original 180 but it blocked the safety so to the right it is.
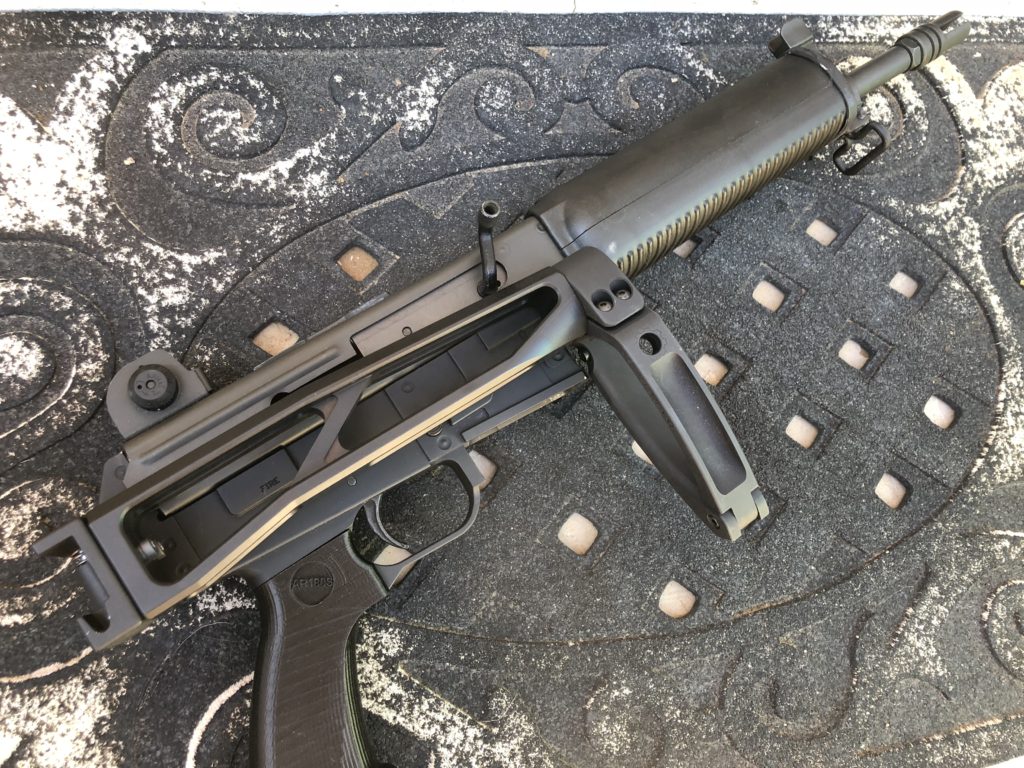
I could not use the 180B charging handle so I swapped out the bolt carrier for one that I had modified back in the day. Stuck a Sterling charging handle in and Bob’s your uncle.

It then struck me that I have always wanted to add an original 180 ambi safety on a 180B so I fanally said “No more thinking about it, just do it.”

Took a spare safety that I sell as part of the Lower Completion Kit and broke out the tig welder. Stuck a big blob on the end then started turning and milling and filing and cutting a grove for the snap ring.
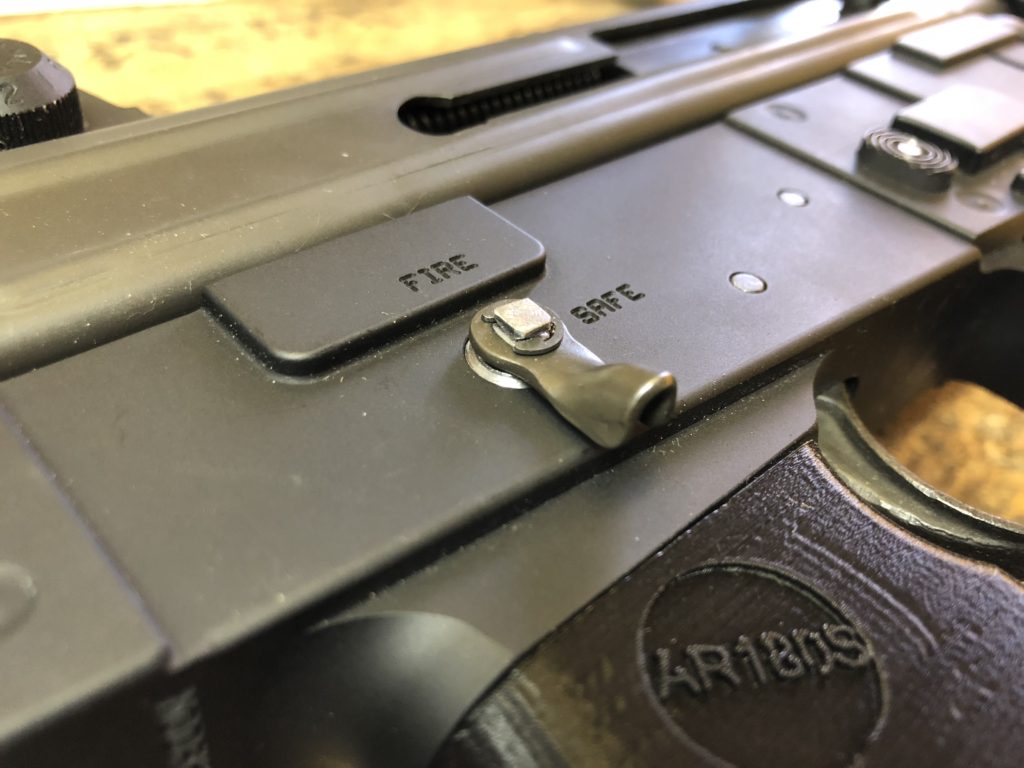
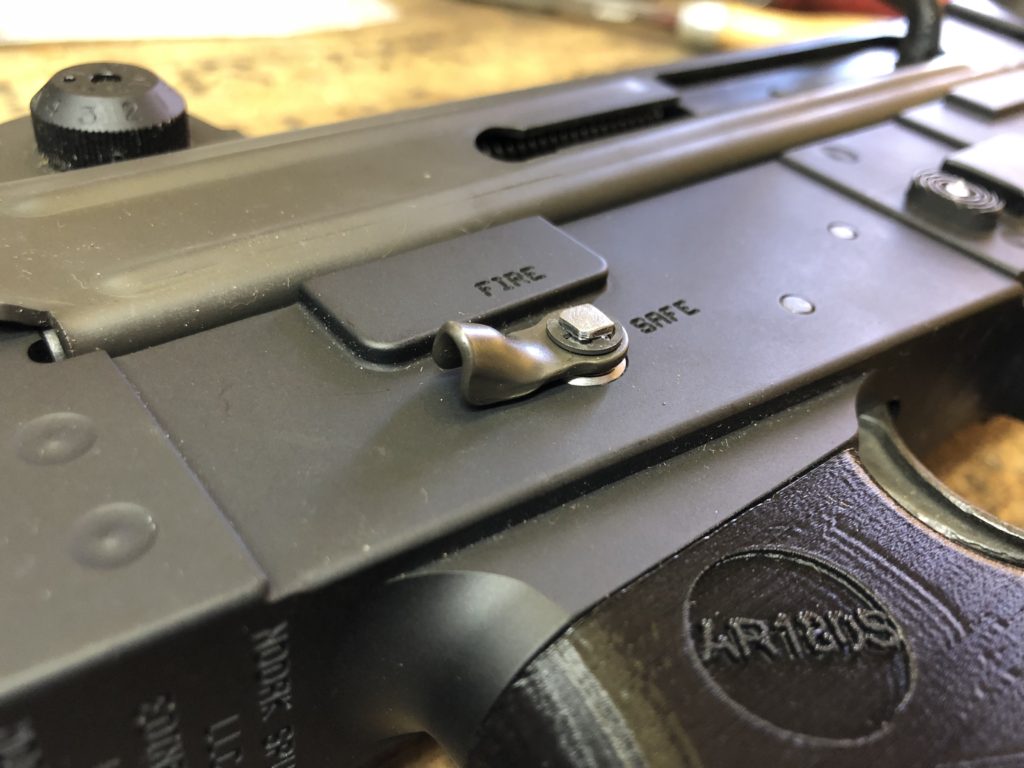
I then took it back apart and ran it through my table top park tank. The welded on section did not get as dark as I would have liked. Maybe I need to try a different filler metal next time.
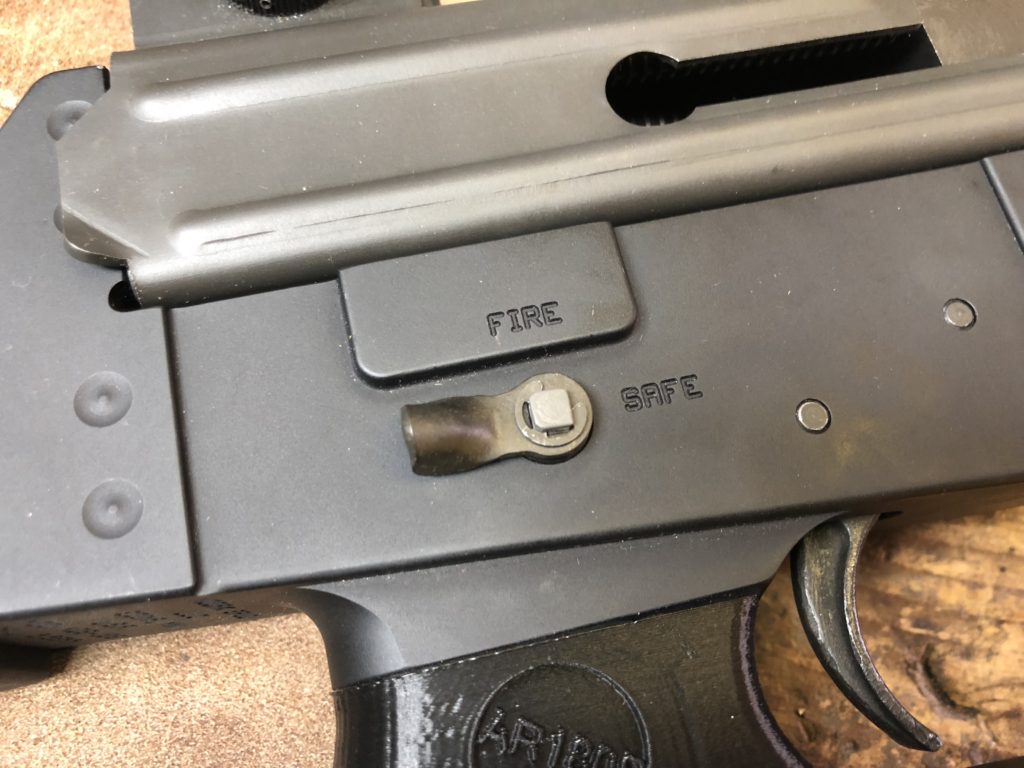
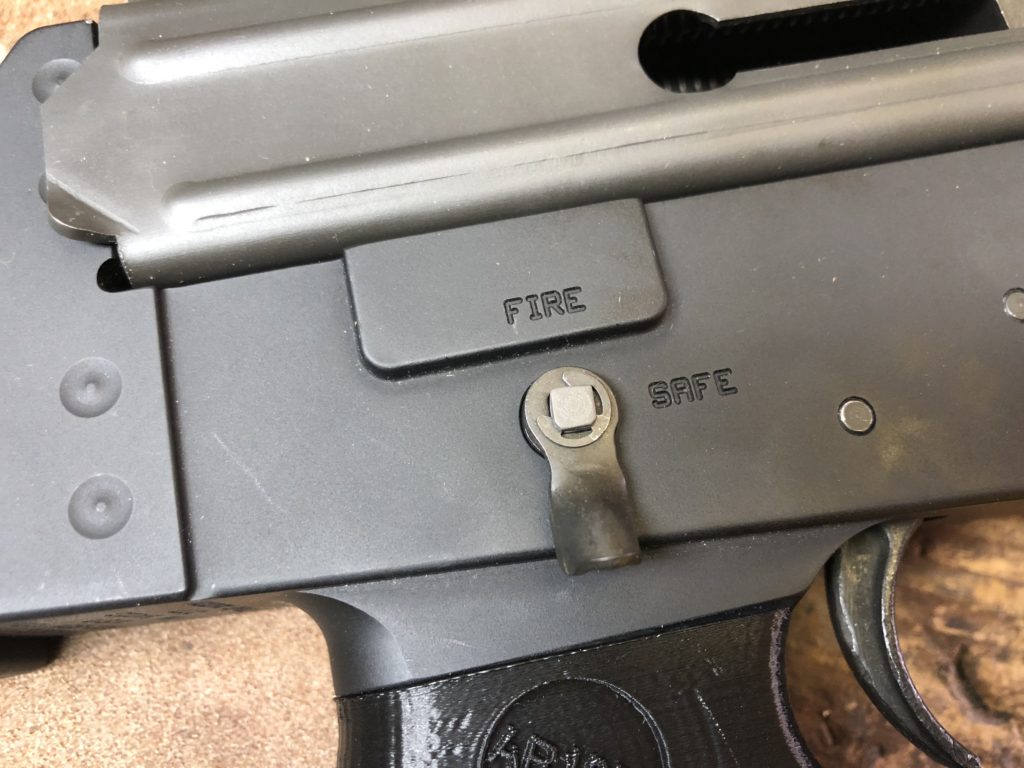
 

I’m really happy with how it turned out even though it took me a long time.

A day in the shop is cheaper than therapy.

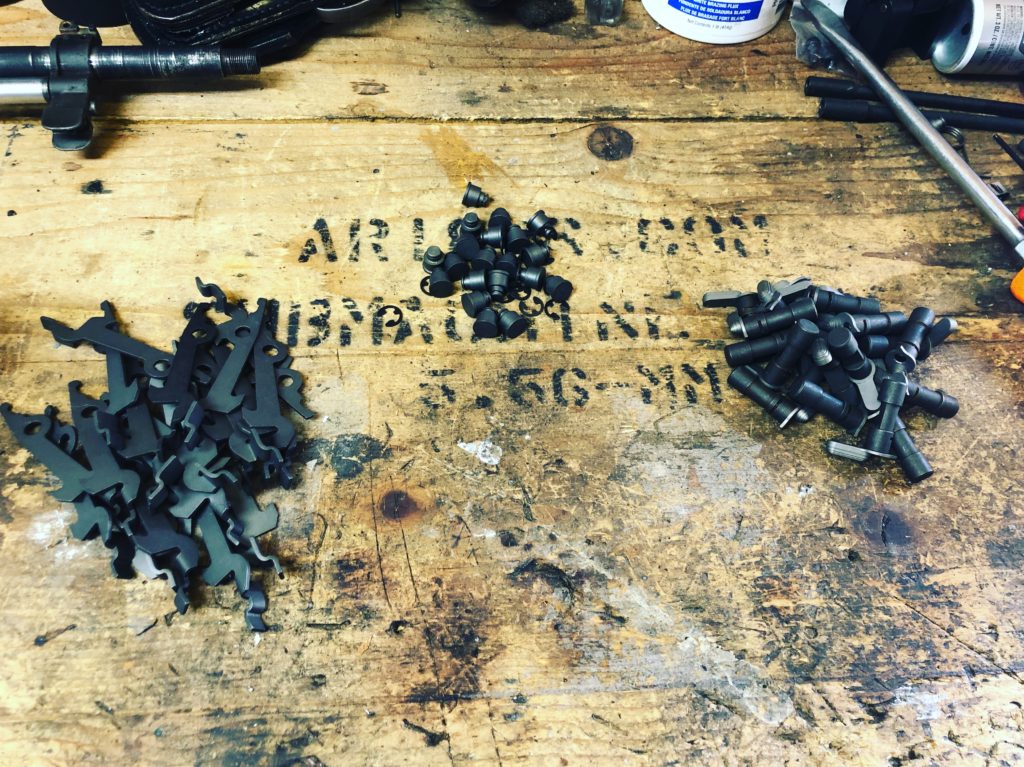
I also hand fitted and bagged up the last of the Lower Completion kits. If you are thinking about getting one or need the parts for spares just hit up the link at the top of the page. I am off next week and can get them shipped out right away.
If you are on Instagram give me a follow (BigRix)

I often post pics of what I am up to when I don’t have time to do a full blown blog post.
 

Lost ArmaLite Part 2

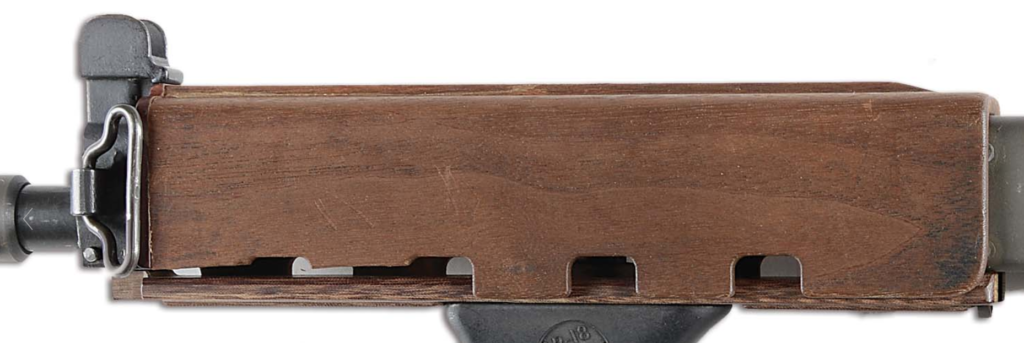
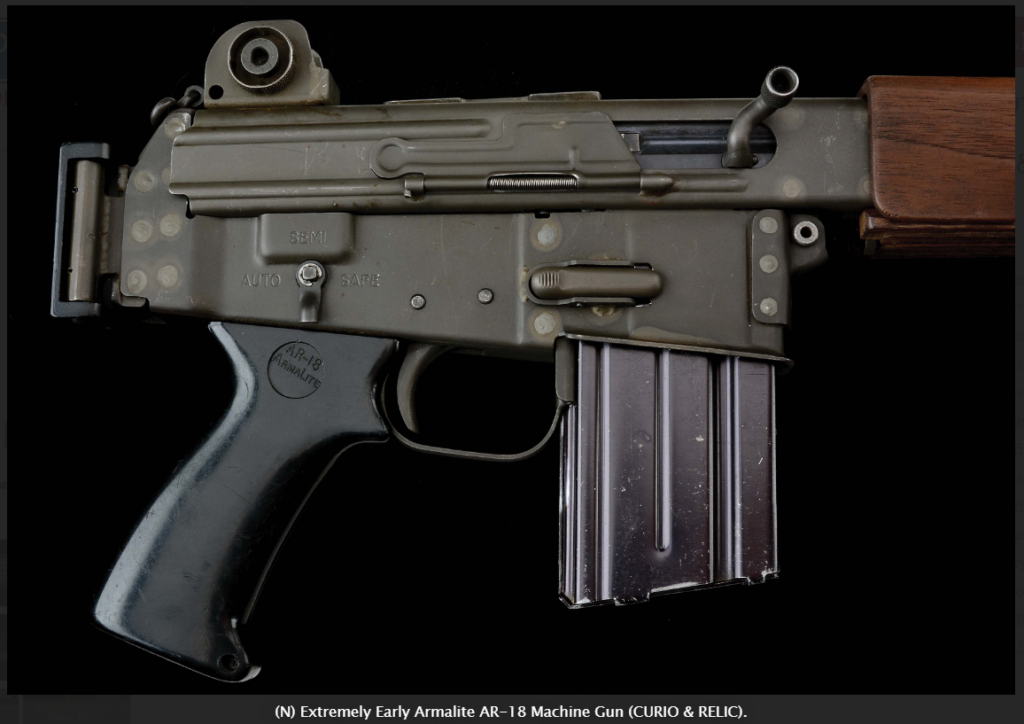
The most obvious and interesting thing about serial number 021 AR18S is the hand guard. Lets have a closer look.

The hand guard is made of wood and is the only one I have seen like this. What wasn’t apparent until these auction photos surfaced was that it is made of multiple pieces and different materials.

The upper hand guard is much taller than a traditional AR18 part almost making up the entirety of the hand guard itself. This setup does not use a metal retainer like other 18S models do. No picture are shown of the top but I am going to guess there are vent holes and ribs just like the standard pieces.

The left side shows some damage. The right side has a crack that might turn into a break like this.

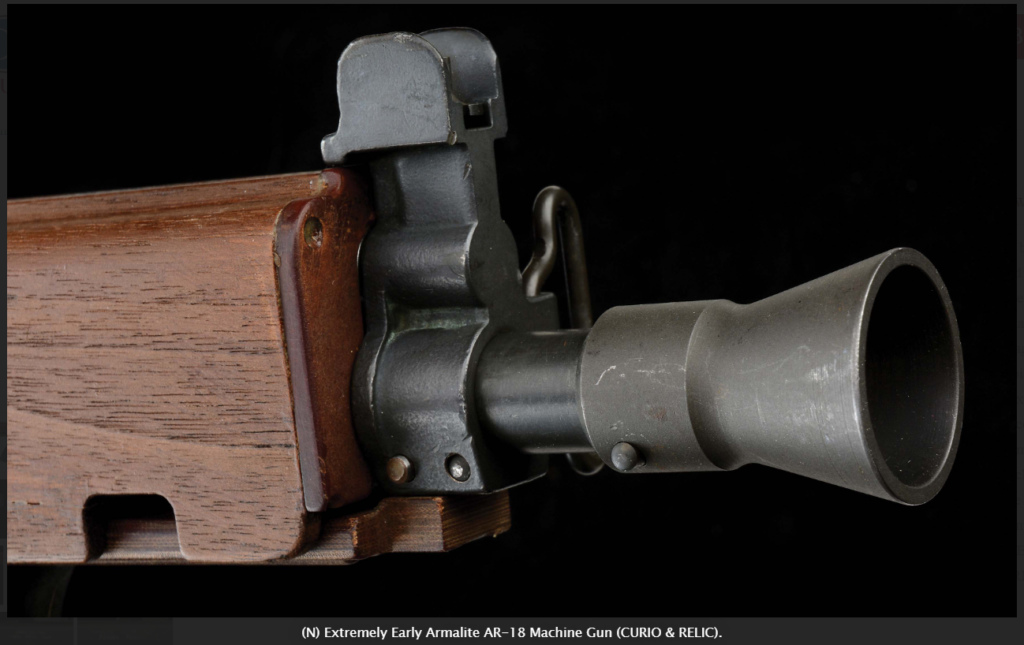
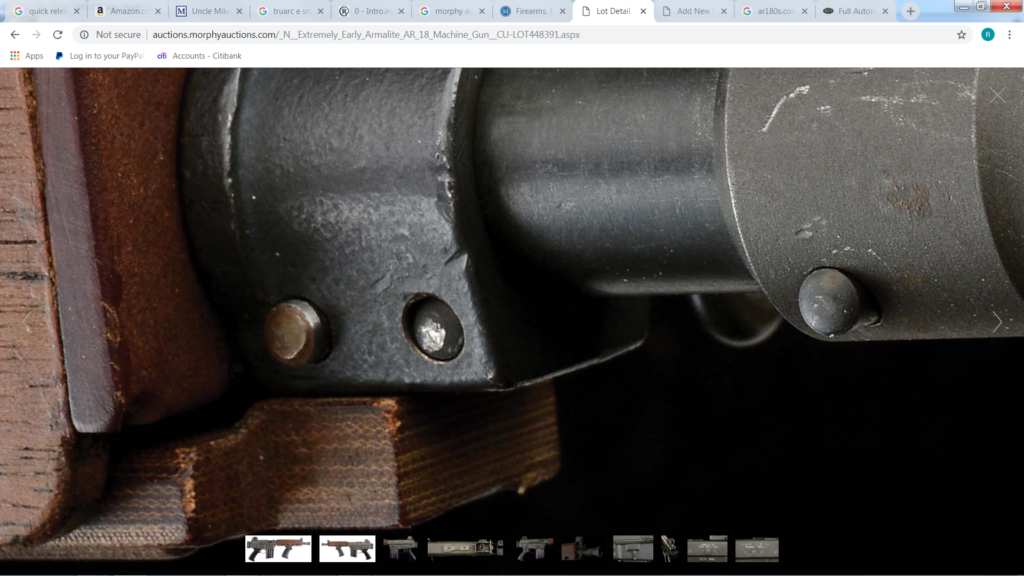
The front of the hand guard was the most interesting to me. It looks like a different material was used, possibly fiber board. Hopefully something that can withstand the heat. This piece appears to be pinned and glued to the main hand guard and is retained by a protrusion on the front sight base. we will explore the FSB in another article.

What I can’t be sure about is if this piece is slotted so the hand guard can be removed in a normal fashion or if the front sight base must be removed first and the hand guard slid off the front.

The lower piece looks to be made of yet a different type of material. I’m guessing Micarta.

It is retained at the rear my the lug on the trunion but I can not for the life of me figure out how it is attached at the front. Looking closely at the first picture in this article you can make out ribs cut along the bottom. I first thought it might be held on with a screw into the FSB but I don’t find one.

I welcome any comments about things you see that I have missed.

And if anyone wants to buy this gun and let me inspect and document it for posterity just head over and throw in a bid. I’m staying out of this one.

Morphy Auctions


AR18-S Shorty Upper Project

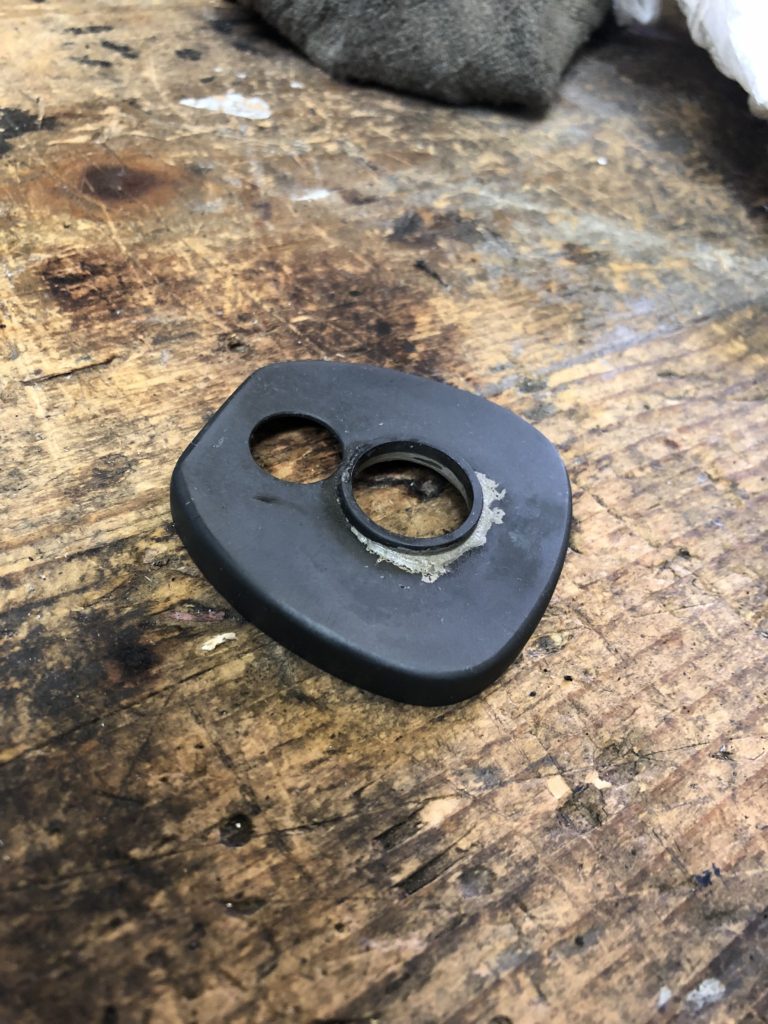
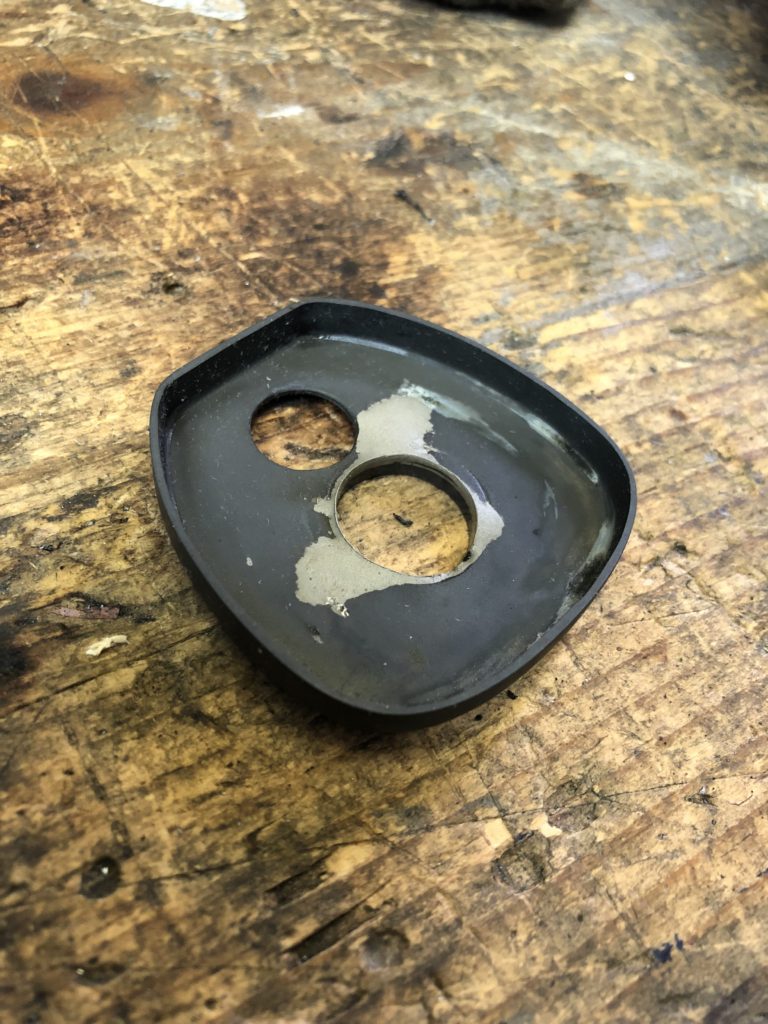
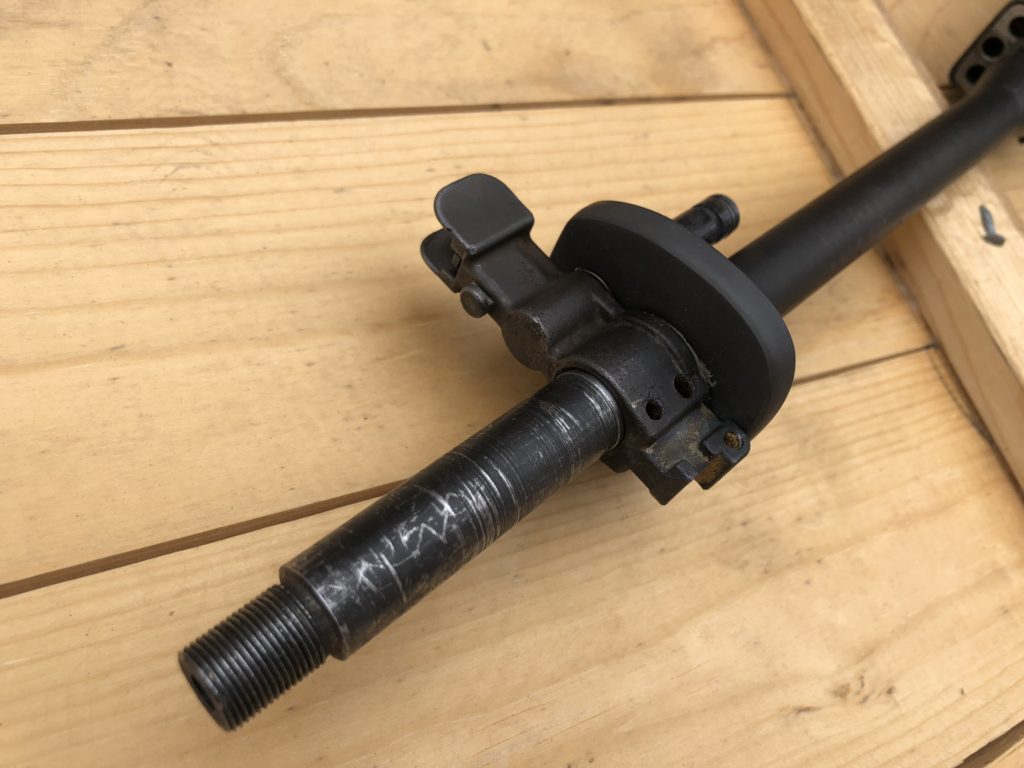
Work progresses sporadically since I am mostly only able to work on this during the weekends. I formed a thicker front hand guard retainer and tried my hand at silver soldering for the first time. Got a little carried away with the amount of solder but at least the centering sleeve is not gonna come loose.

A quick glass bead to clean it up and off to my tabletop park tank. (stainless bowl from goodwill on a hot plate)

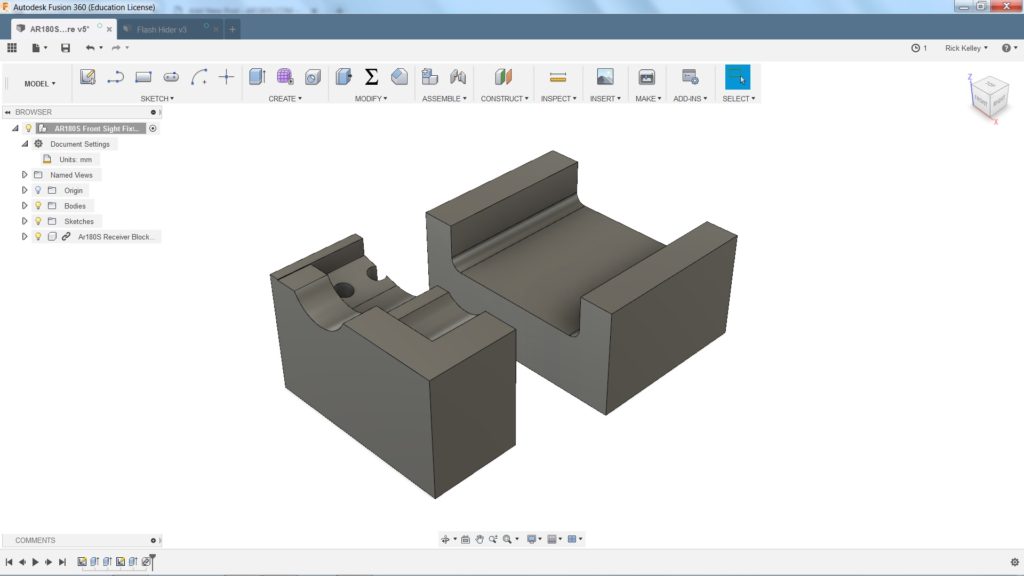
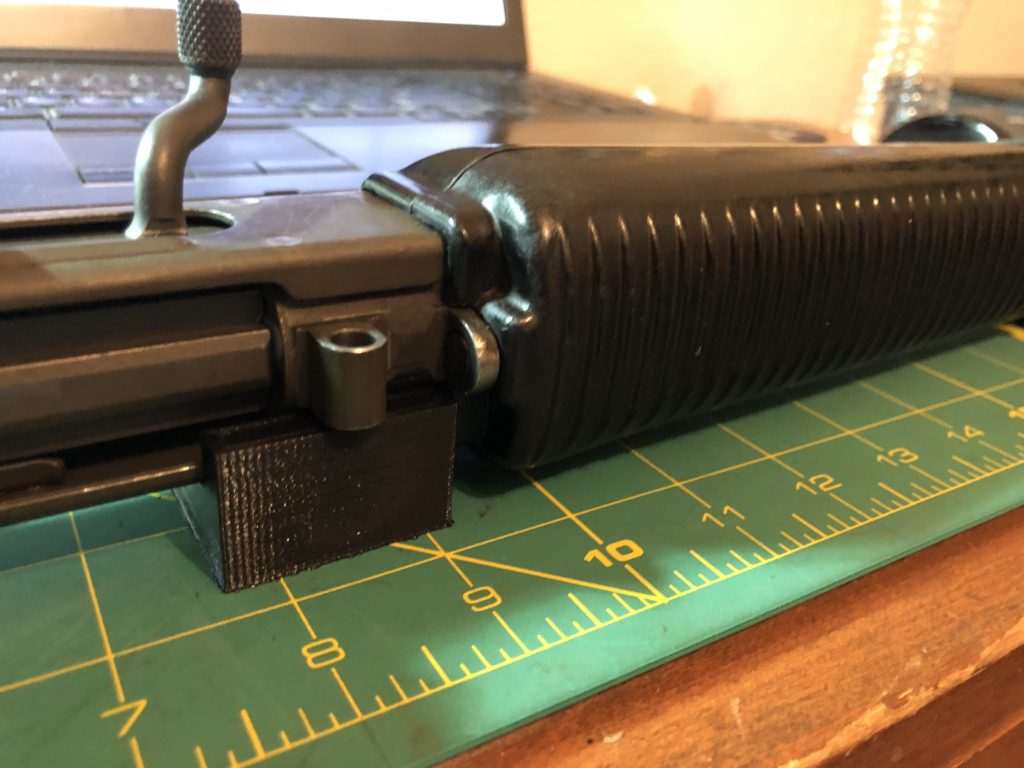
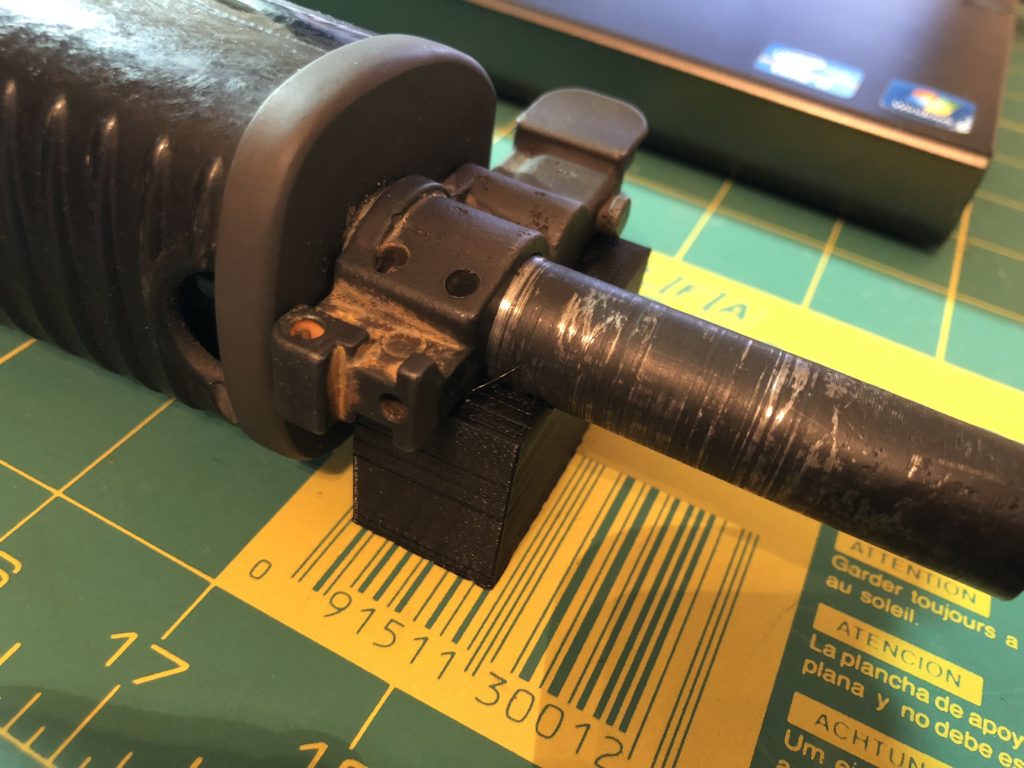
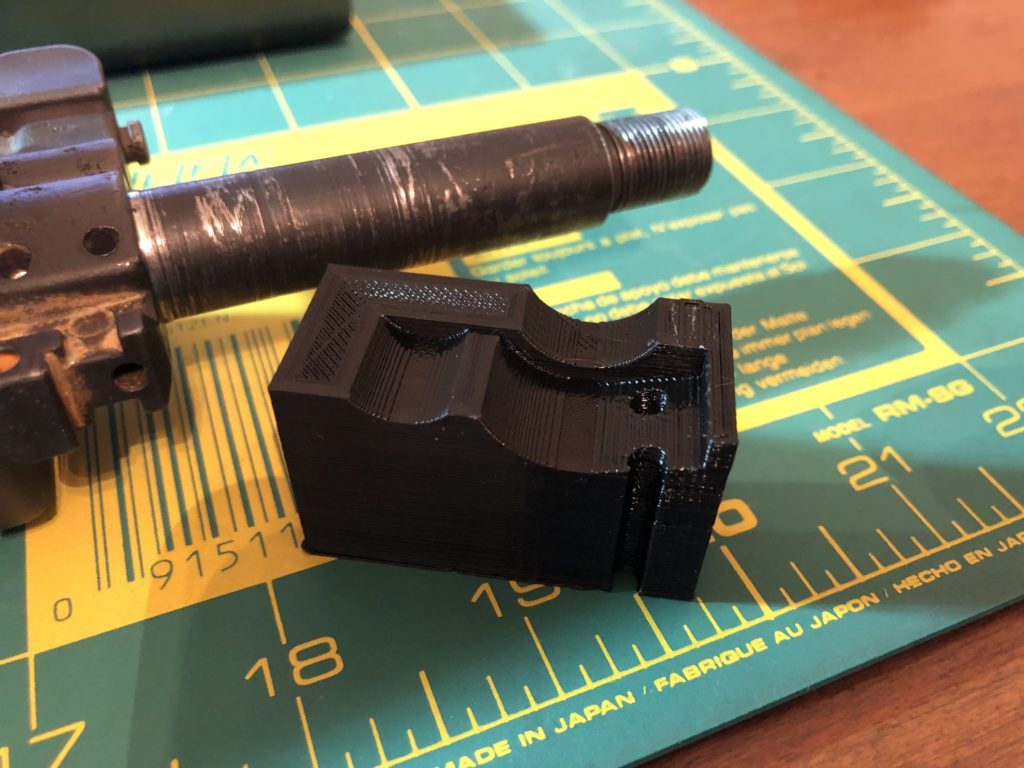
I also modeled up a set of fixtures to hold the front sight base and receiver for drilling and reaming the taper pins. Didn’t quite get it perfect the first time so I adjusted the model and printed another one.

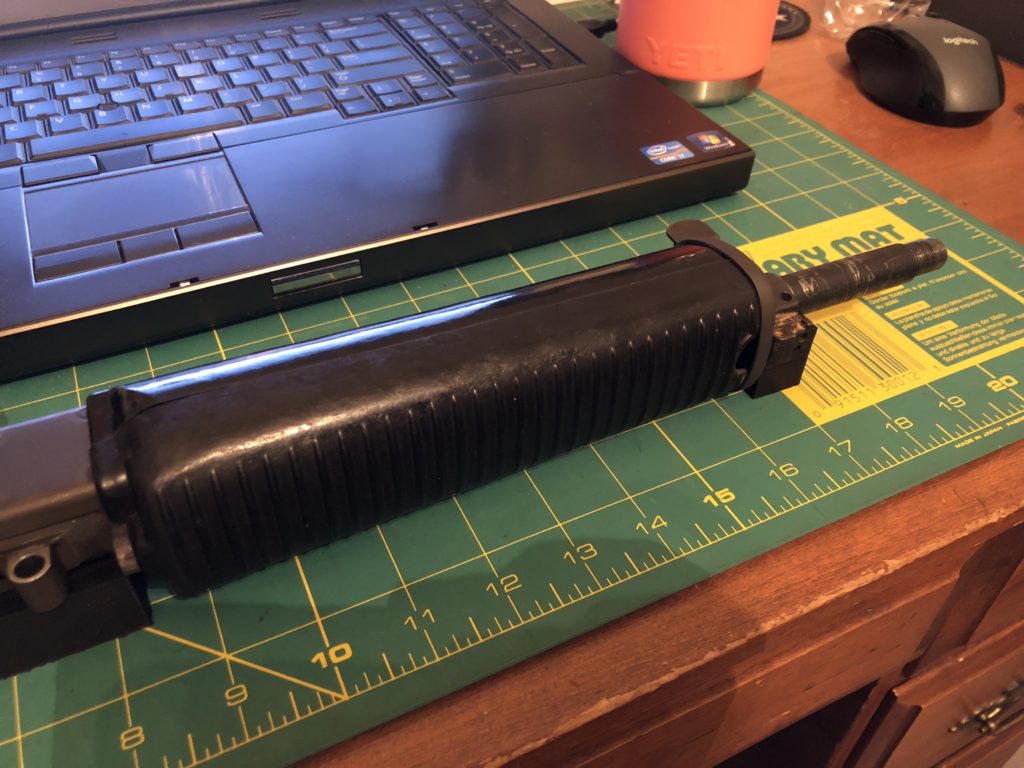
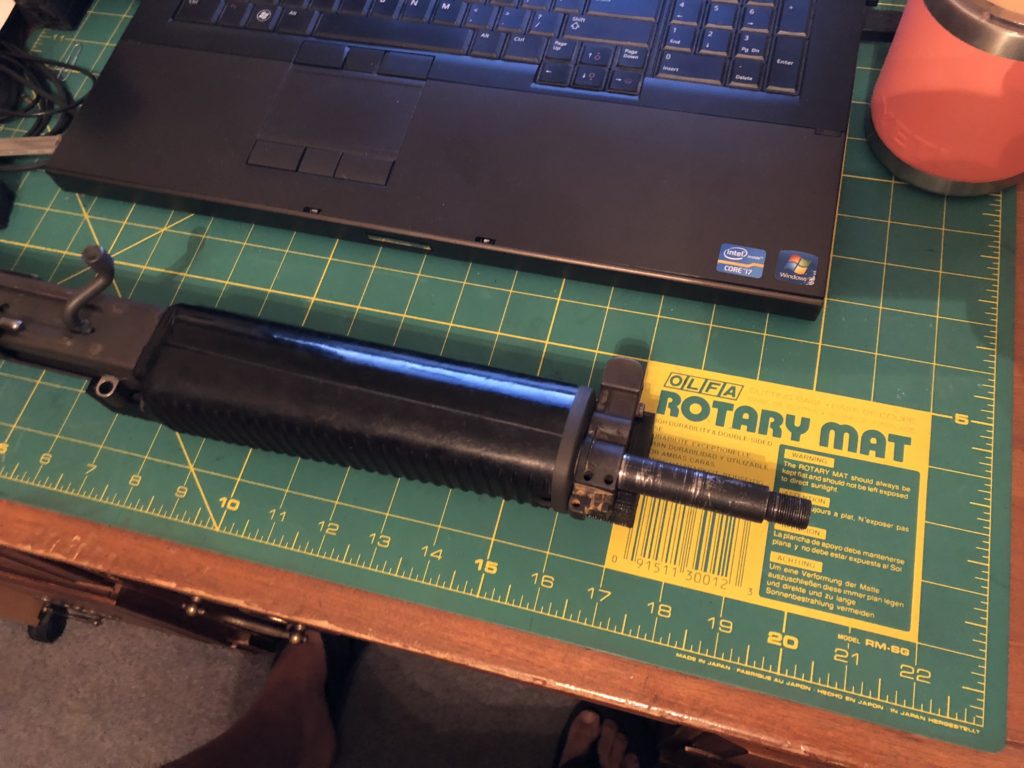
Cut down a set of hand guards and we are almost there. Looking the part now.

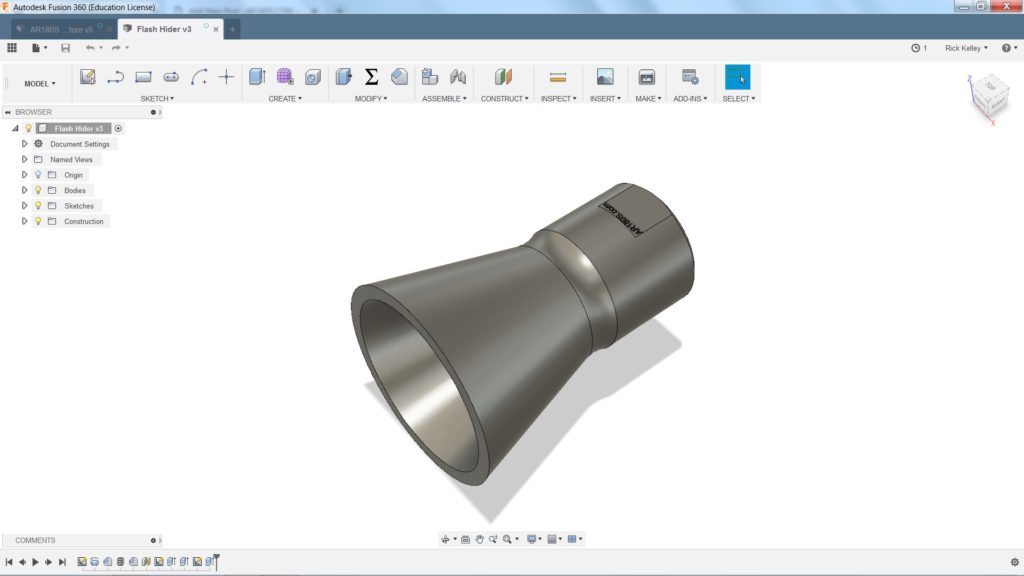
Need another flash hider so I better get that modeled up as well.

Having built 5 shorty uppers so far I can say it is getting easier. I’ve worked out the bugs but even now I discover new things. What did I learn this time? I learned that the curves of an original AR180 upper hand guard are different than the AR180B. This is the first time I have cut down an original upper hand guard and now it makes sense why the retainers I have milled out of aluminum do not match pictures I have compared them to.