Reader Builds SA80

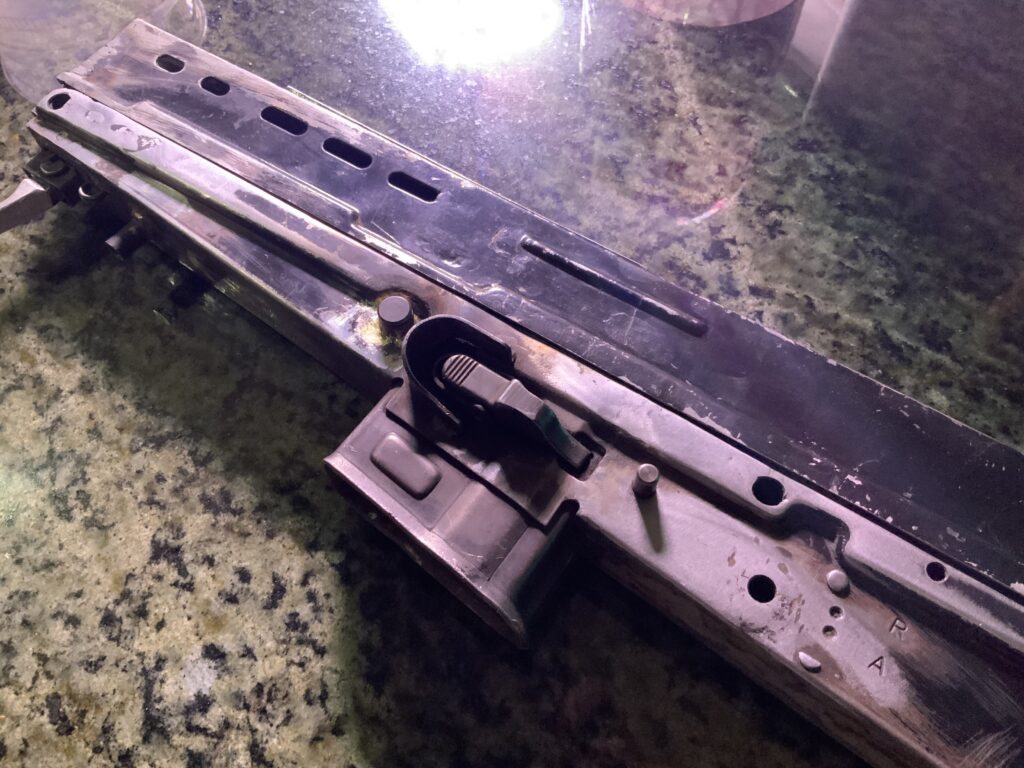
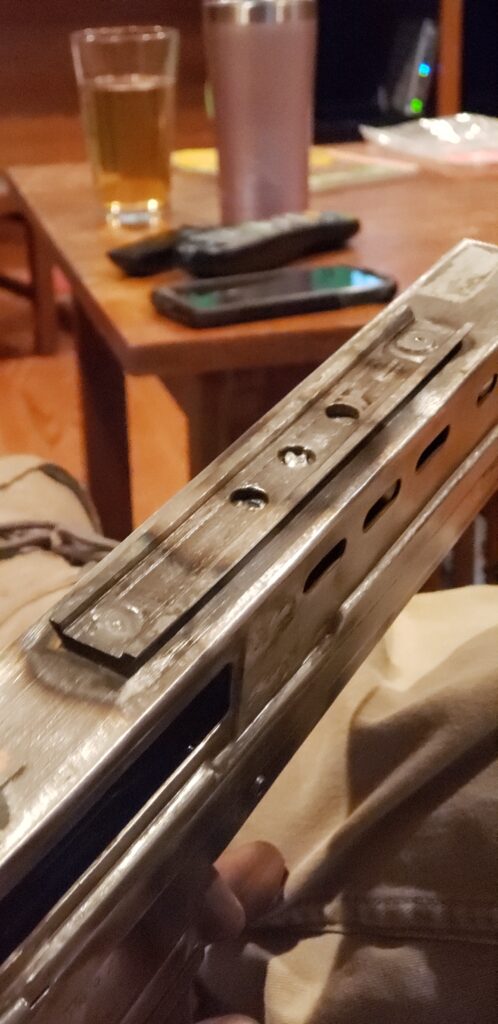
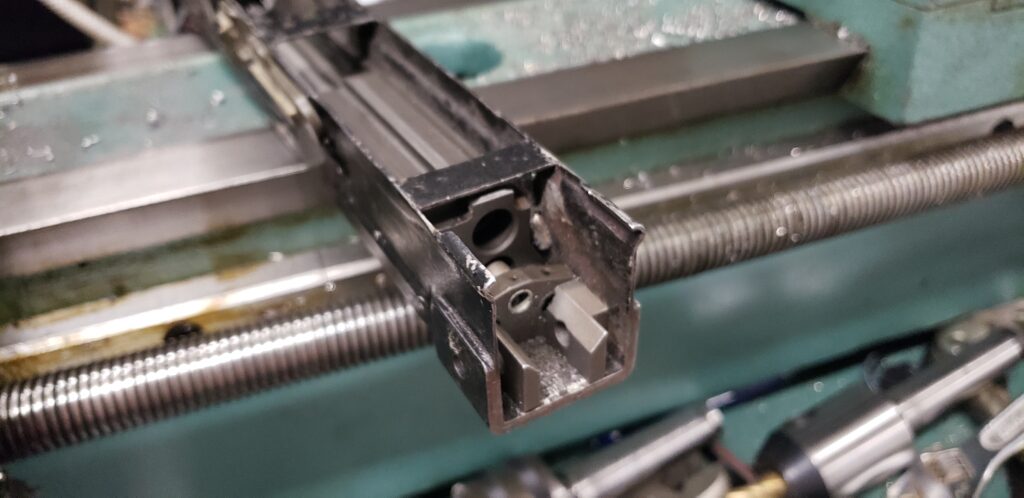
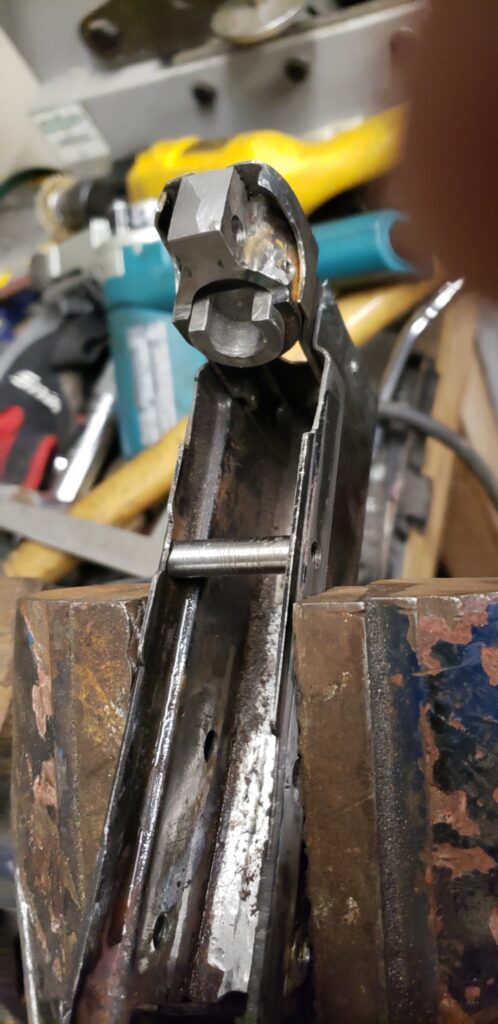
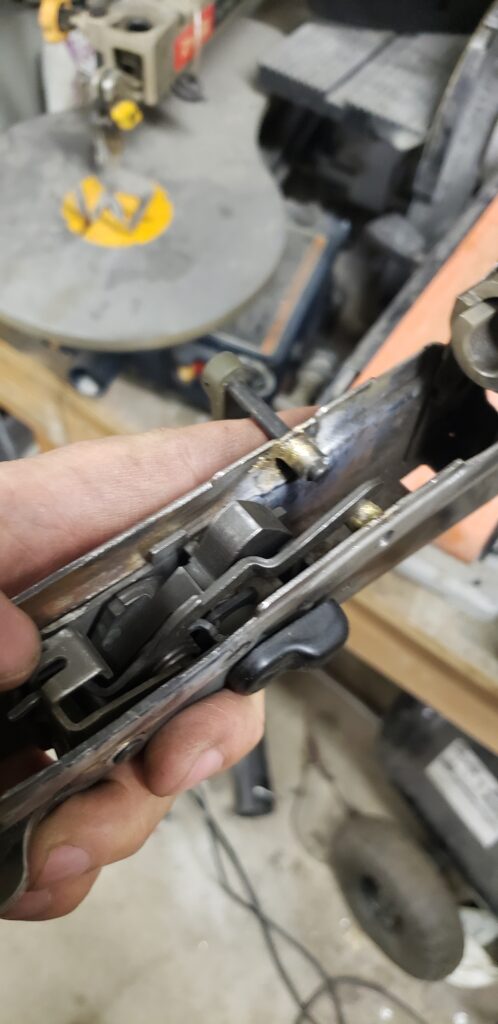
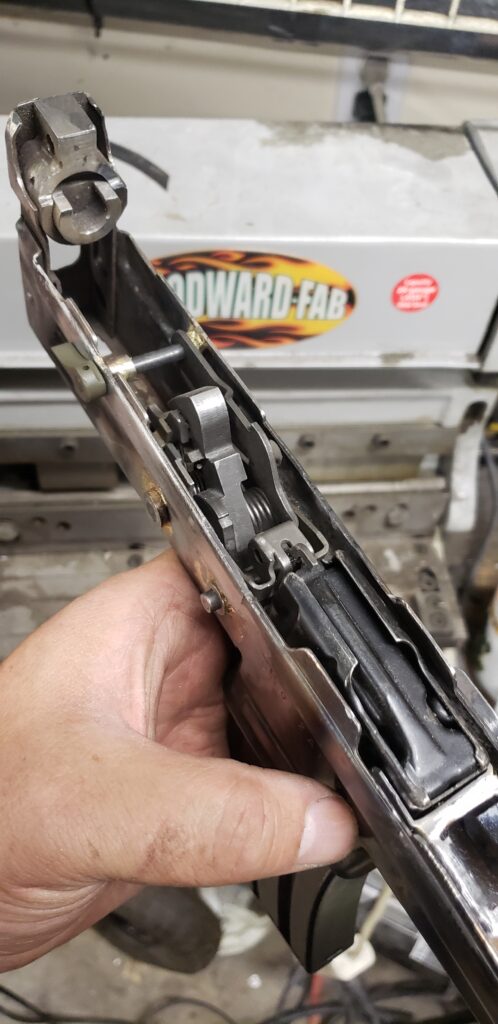
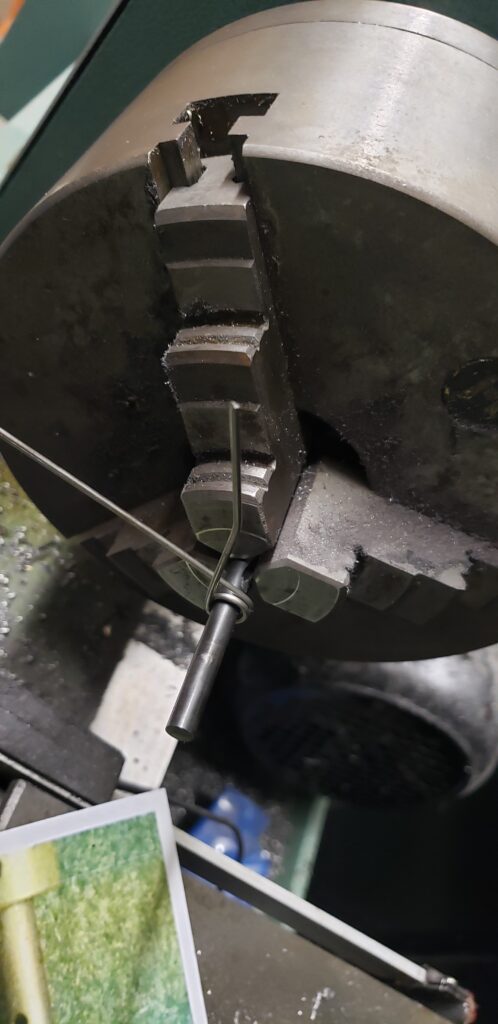
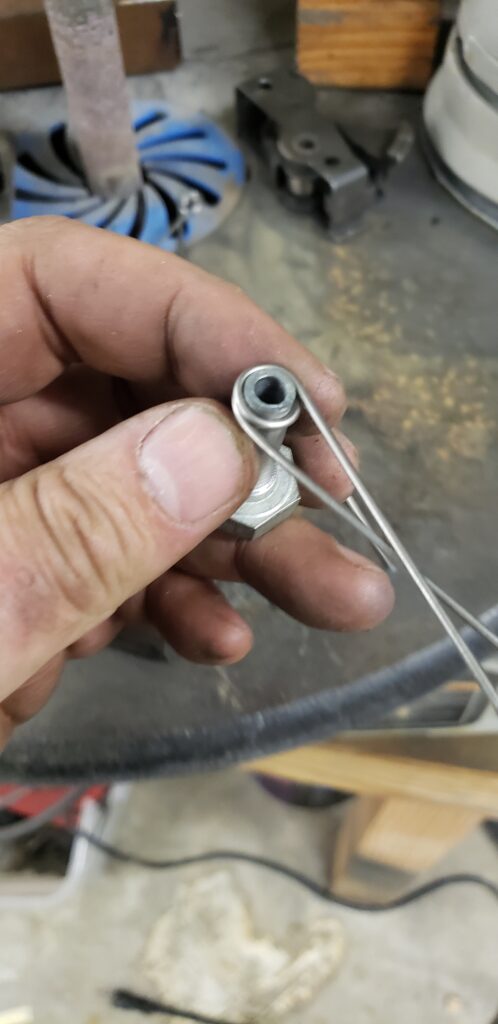
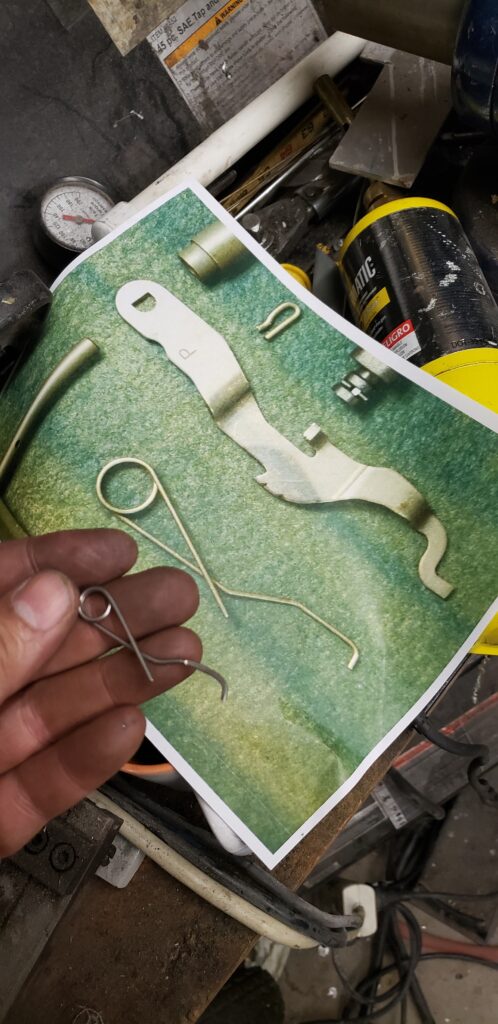
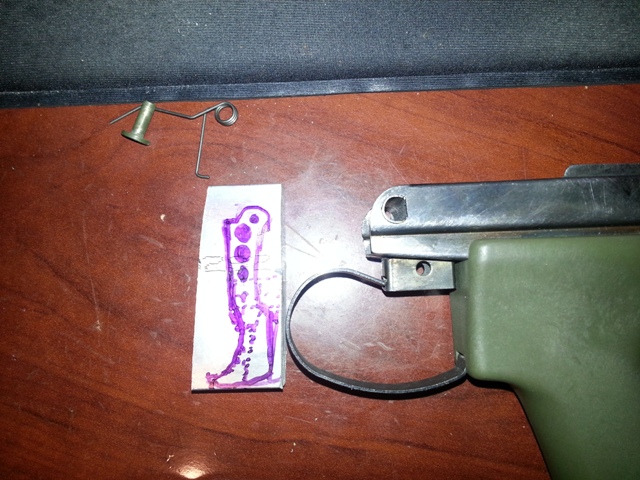
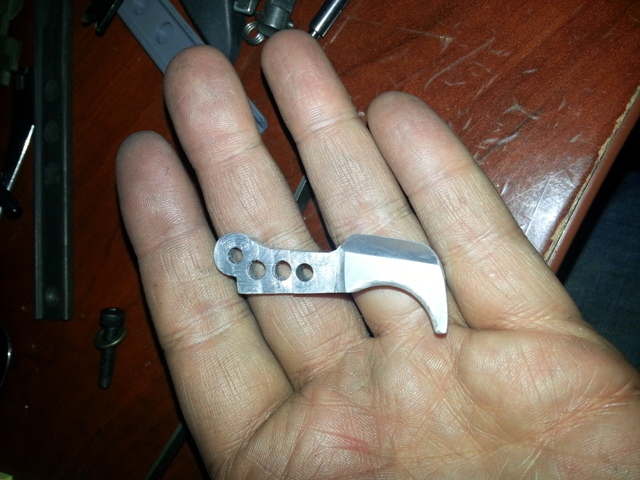
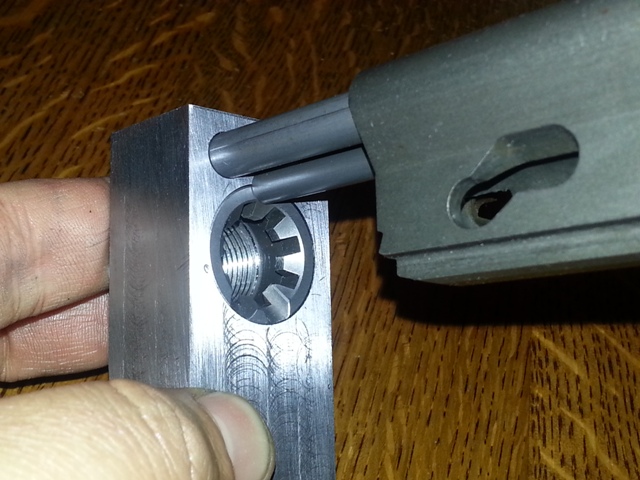
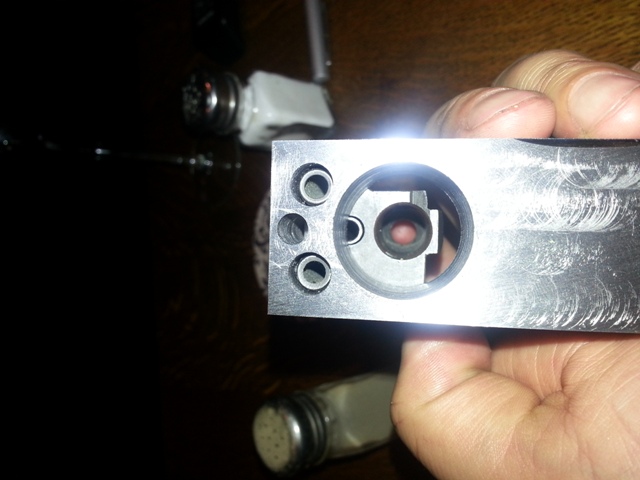
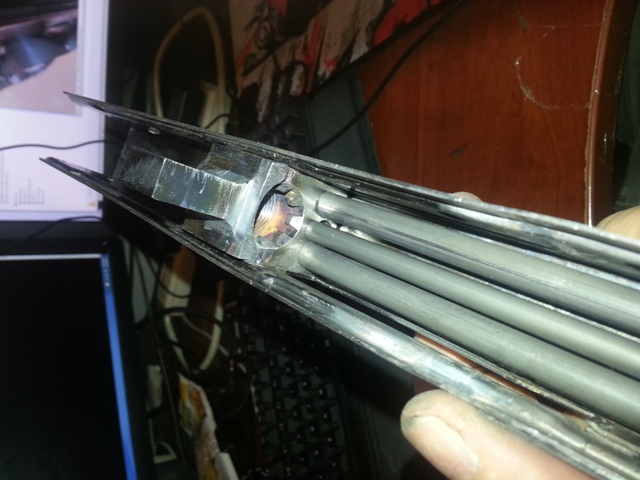
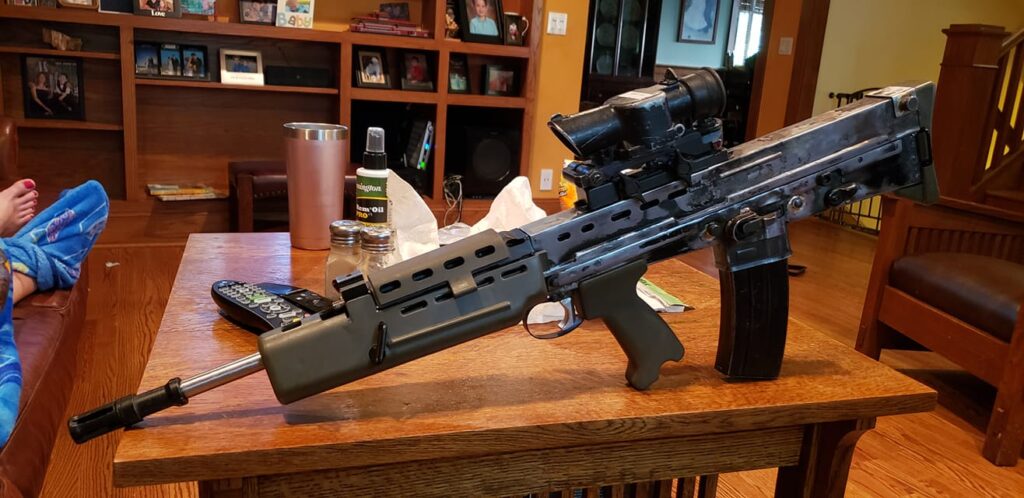
Reader James put together an Airsoft based SA80 and I thought you would like to see some pics of his process. He also wrote me the following in an email which helps explain a lot of the problems I had trying to put mine together.

James wrote quote;

This is a bitch to put together……

For the upper and the lower. I used a Star Airsoft cause the metal was
a bit thicker then the G&G. They all had issues with spacing.
Basically… Here’s the deal.
You have to use an Airsoft body unless you have a massive press and dies.
But the airsoft guns all put the magazine too far forward and too far
apart from the trigger pack holes.
The airsoft guns are all too wide by about 2mm. And in some guns like
the G&G, the mag well is too short.
So basically… All uppers and lowers have to quartered and welded back
together. I have some images of how I did this and where I too material
out.
I used the STAR because its was 2mm too long all in the area between the
Magazine and the Trigger pack so I could just take out 2mm right down
the middle, and the mag well accepted AR15 mags without modification.
However, its probably the least like the real steel guns. The G&G and
Army bodies of which I have 2 or 3 each could work, but you’ll need 2
guns to make 1 gun cause the length of the airsoft gun is spot on, but
you need to remove 2mm from the length between the magazine well and the
trigger pack. This is all based on were the trigger is and having an
actual trigger rod and a trigger pack. You know the spring guide from
the back of the gun will locate the back of the Barrel extension block
or trunnion. And then the bolt in battery will basically just pass the
Auto sear location.

In AutoCAD i made blocks of the pieces that I had for the real gun.
Those I wanted to fit absolutely and I found that those told me where
things had to go to make things work. Key points. Spring guide rod.
Trigger Pack holes. Length of bolt hold open level to catch magazine
follower. HK magazine. Auto Sear location on Trigger pack. Auto sear
cam on bottom of bolt. Bolt face with lugs in battery will tell you
where the barrel extension goes.
Length of trigger bar from trigger to trigger pack. Those all all
fixed elements which when placed will show you that airsoft bodies need
a shitload of work to make things fit right.

The G&G and Army bodies although they’ll look better need to have 2
airsoft guns each cut into 4 pieces, 1 cross cut and one length wise
cut. Because they don’t have the extra length.

Hope this is helpfull to you.!

Enjoy the pictures, there are a lot of them!
Staying Busy

First I must apologize for not posting more often. Most of my day to day happenings end up on social media. If you are not following me on Instagram then you are missing a lot.

https://www.instagram.com/bigrix/

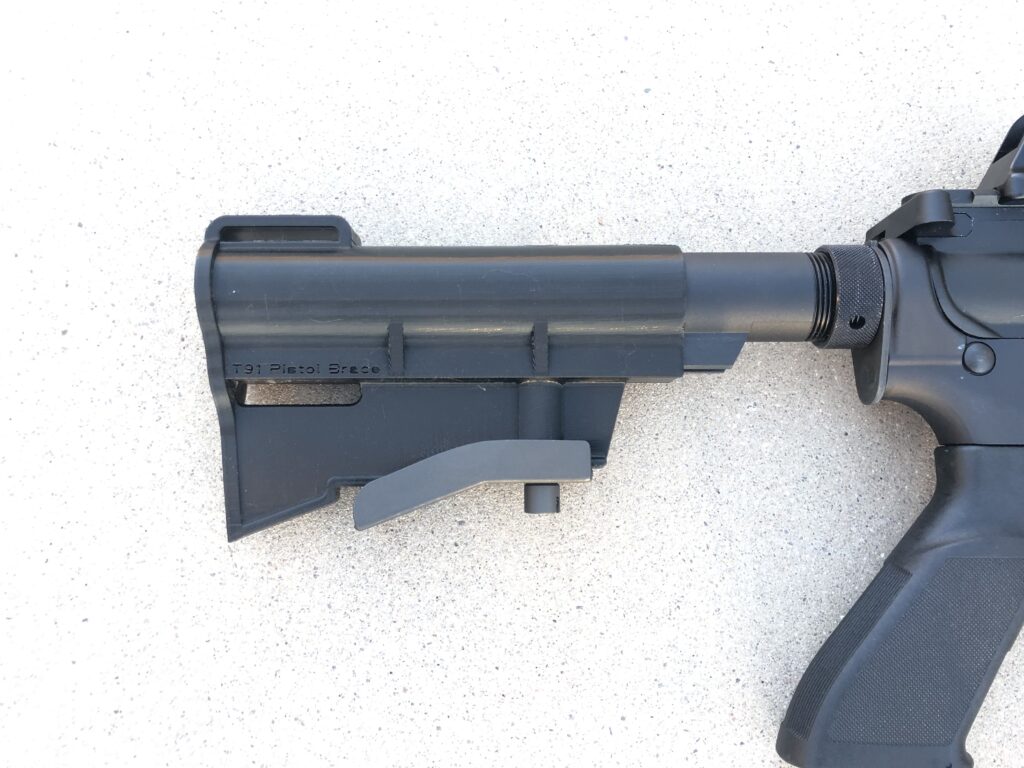
Lets back up a week or two to my T91 Pistol brace project.

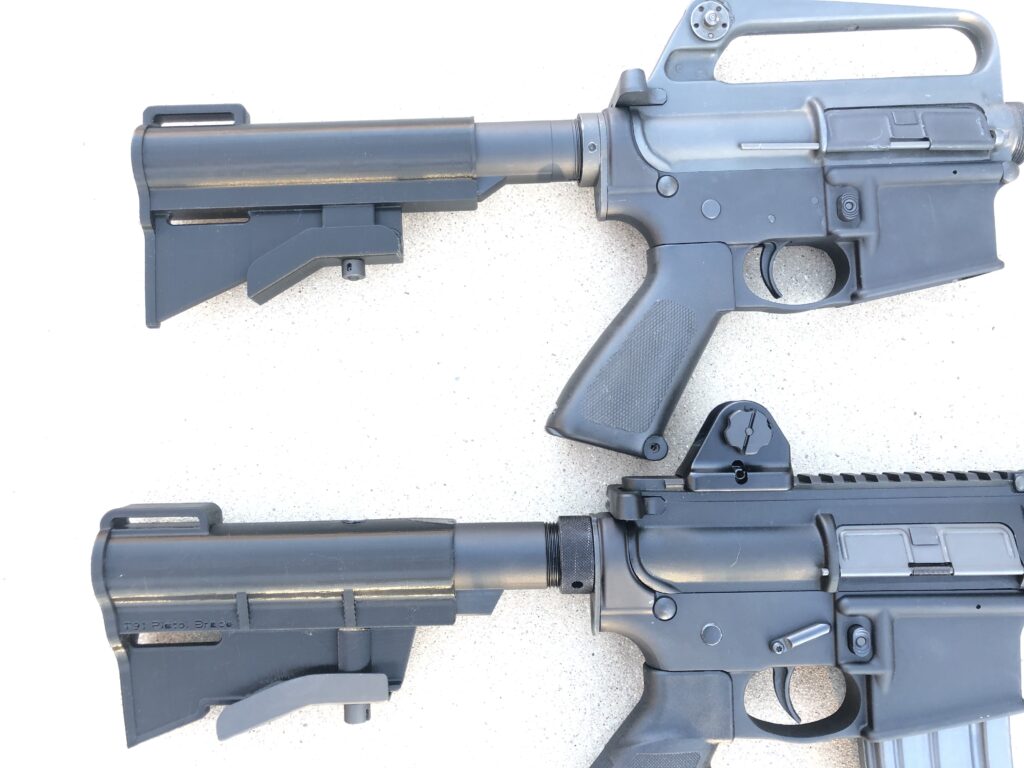
It started with inspiration from Red_McCloud on the retro AR forums. He designed and printed a retro pistol brace and I needed something similar for my shorty T91 clone build.

Red_McCloud version top T91 version bottom

Mine makes use of the butt stock parts available from T91Tactical.com

These two pistol braces are not compatible in case you were wondering. The tube diameter and bottom lug on the T91 stuff is larger in dimensions.

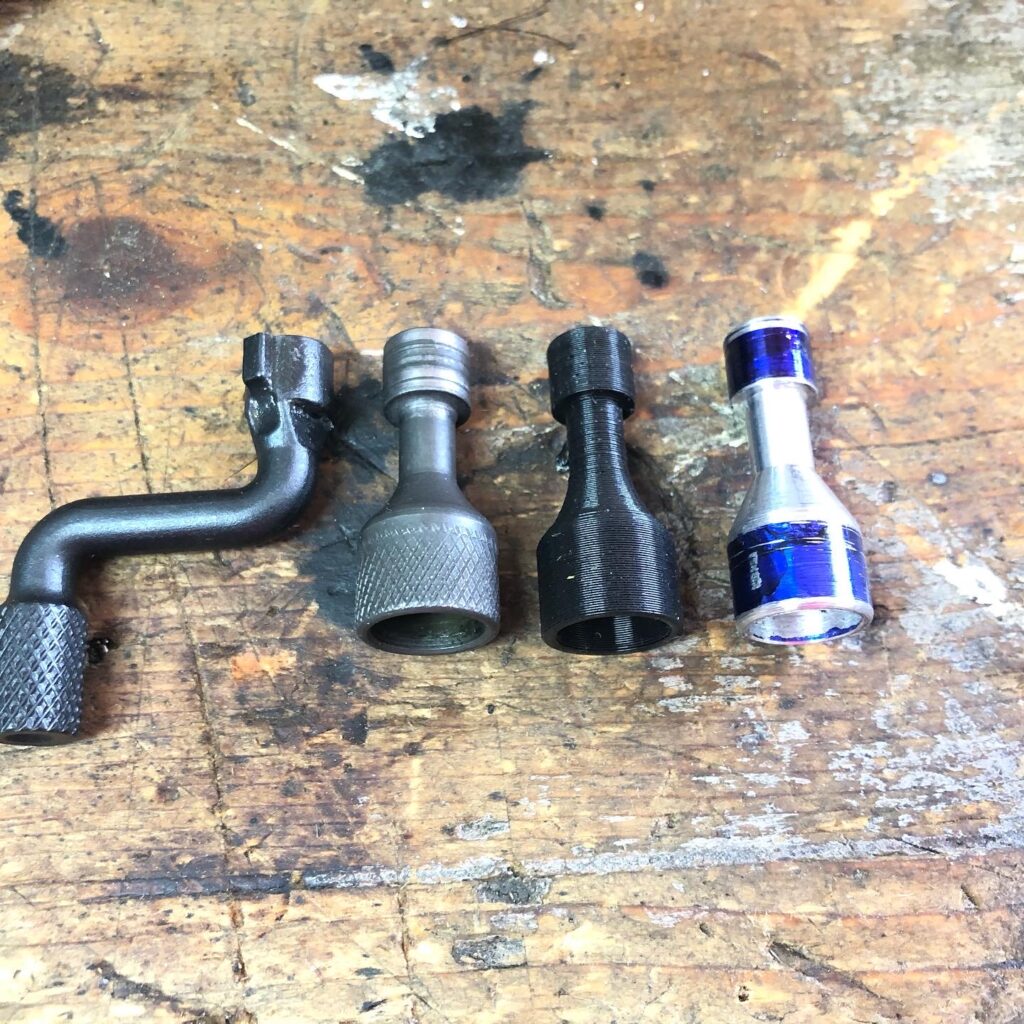
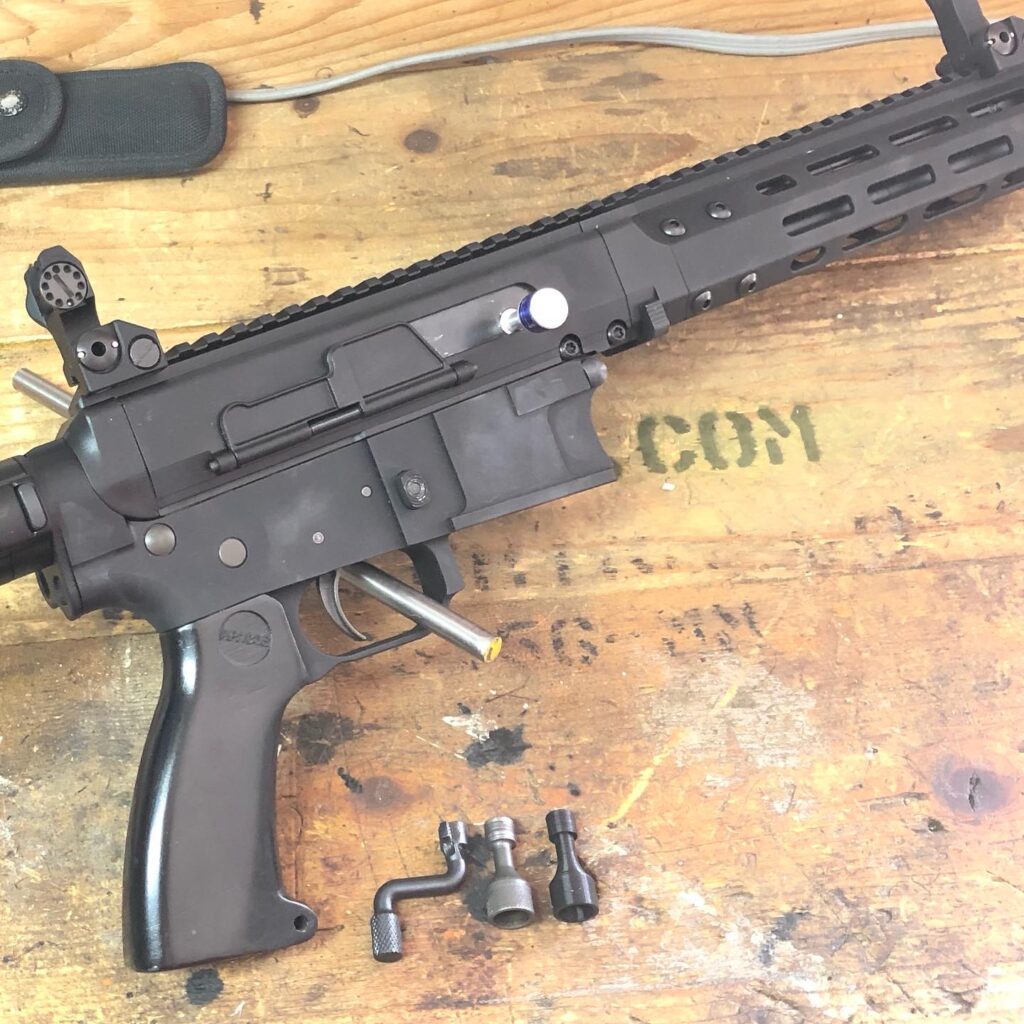
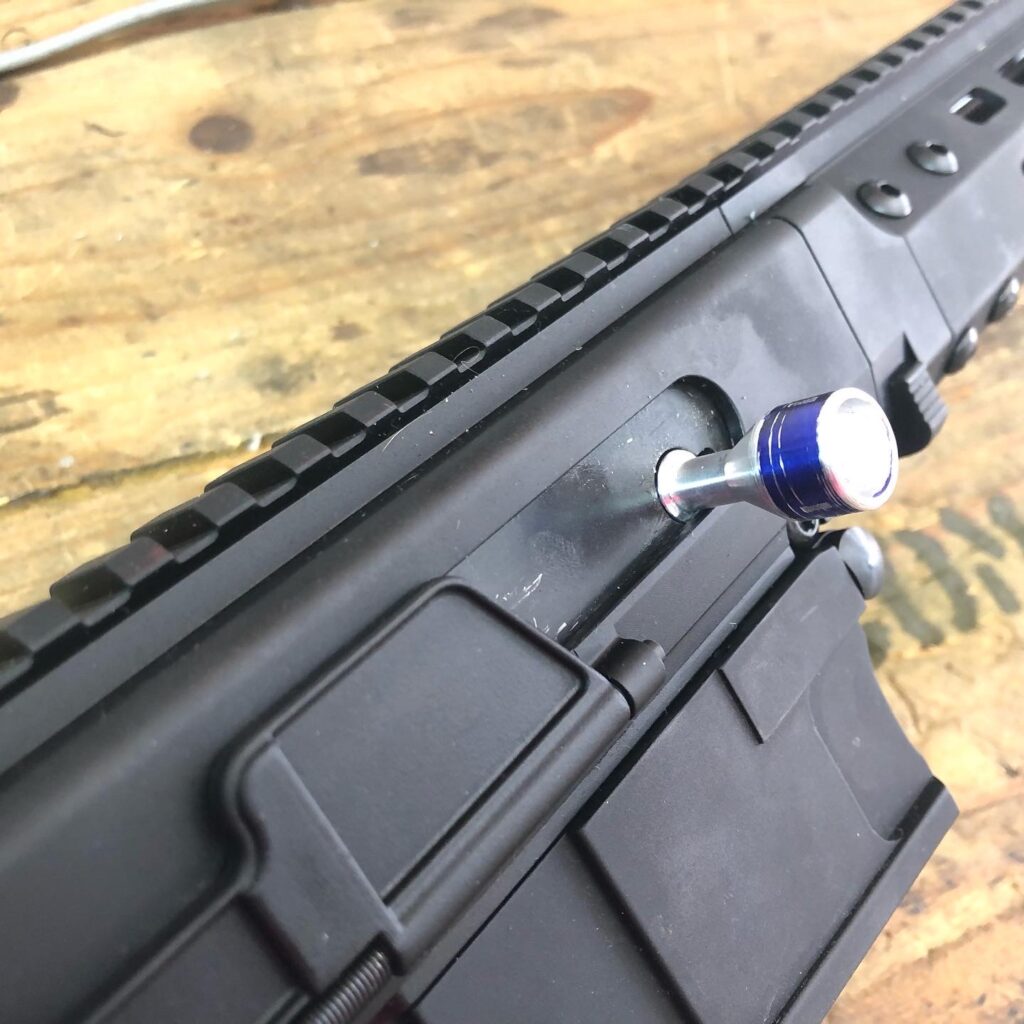
Next I started work on prototyping a straight 180B style charging handle for the BRN-180.

Made a quick one out of aluminum to check dimensions and function. Works fine with one exception. Charging the weapon with a traditional grip when the dust cover is closed causes the dust cover to hit your hand and somewhat inhibits a full stroke. A change in hand position will be required to eliminate this.

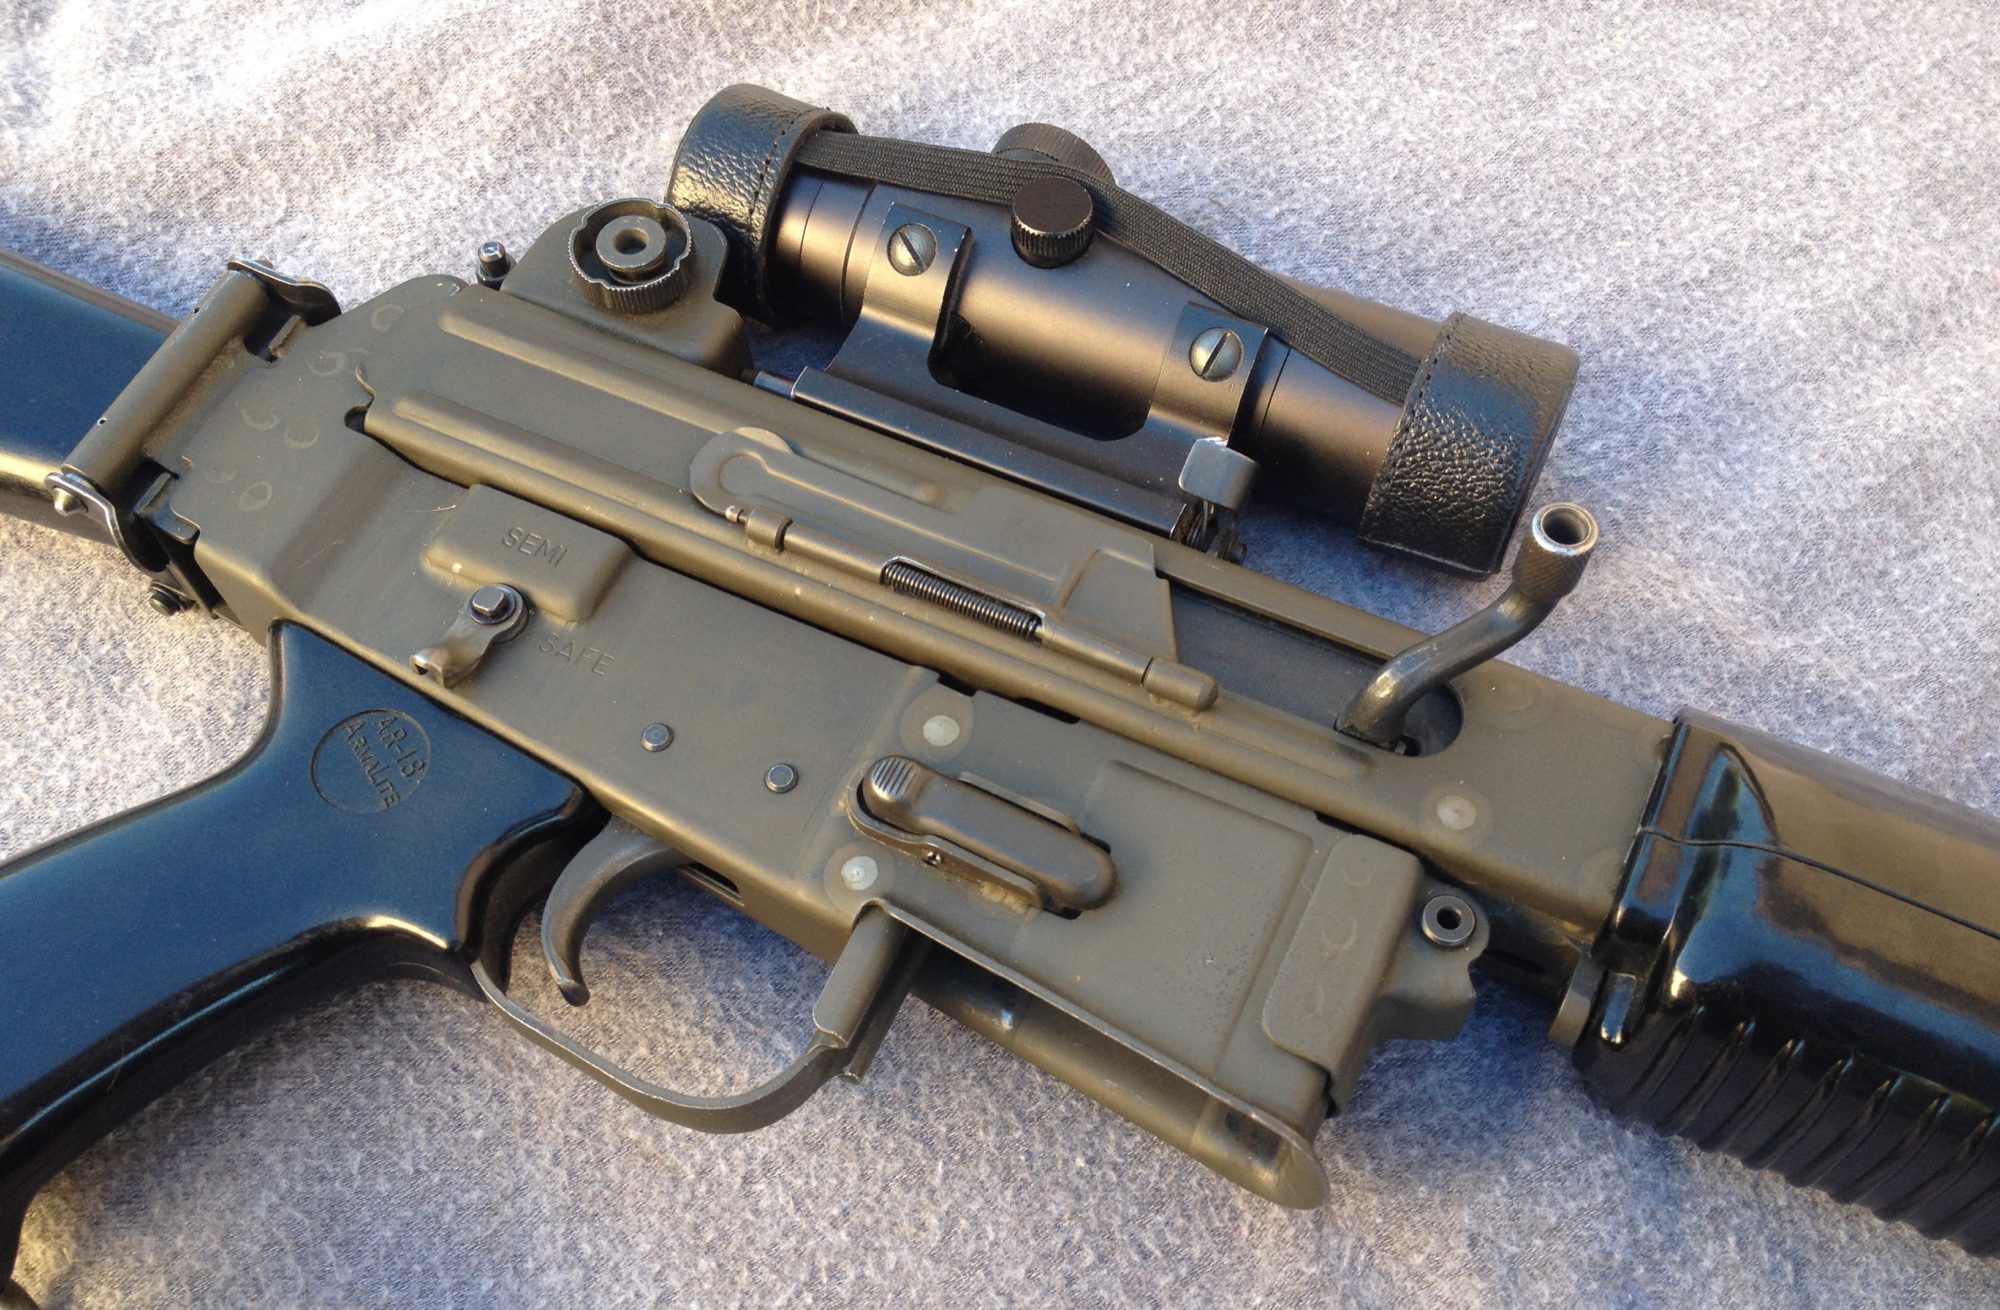
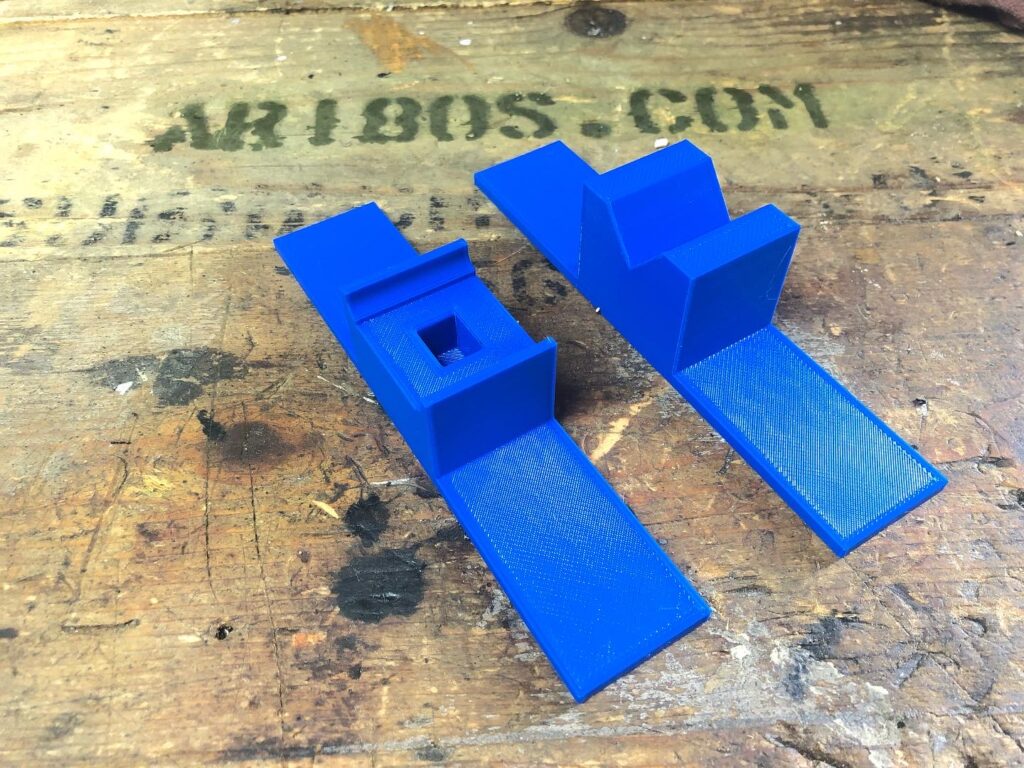
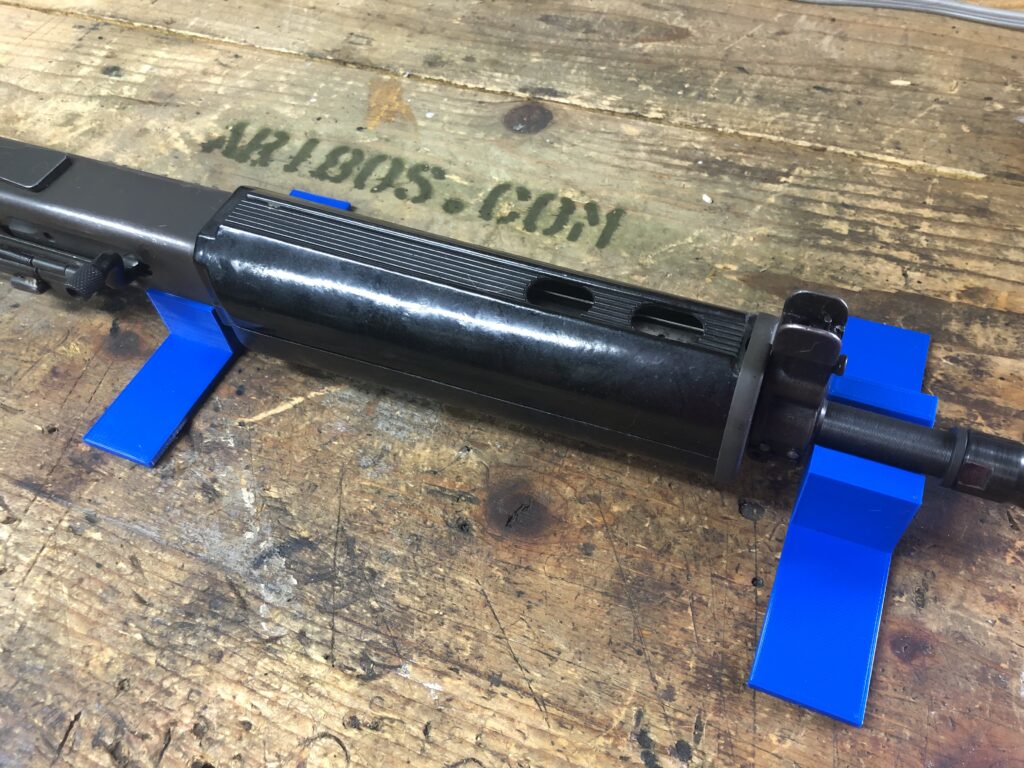
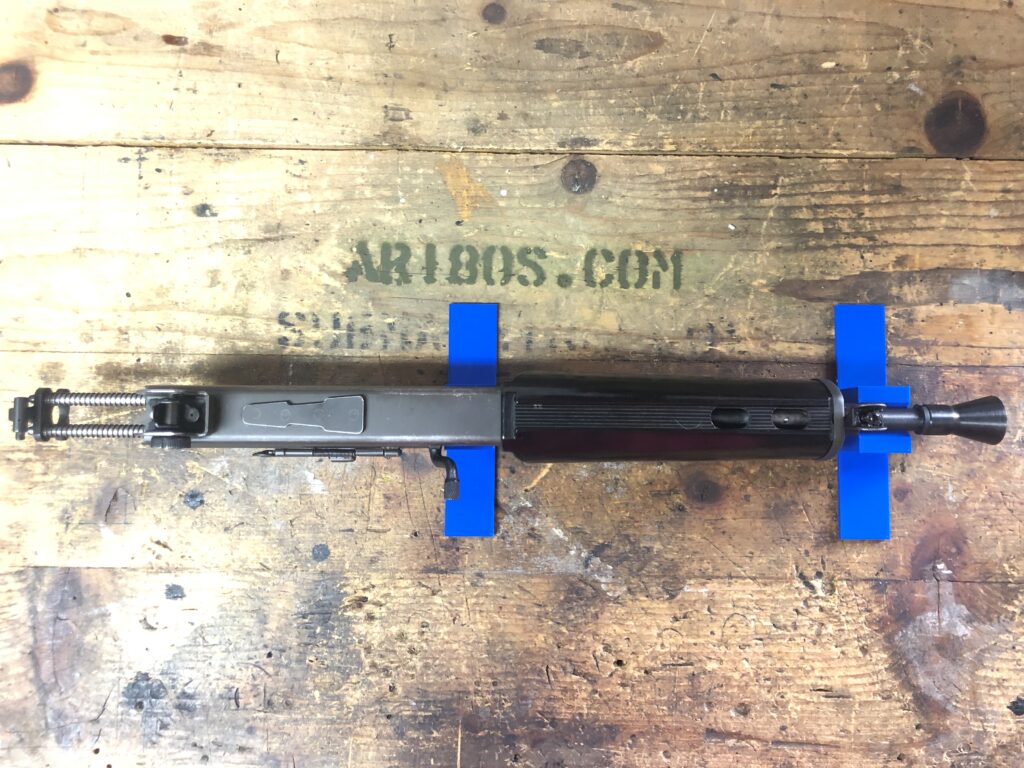
Based off some of my 3D printed tools I use in the shop I designed these Field Strip Stands for use with any AR180, AR180B, or AR18. I am going to offer these through AR180Parts.com soon.

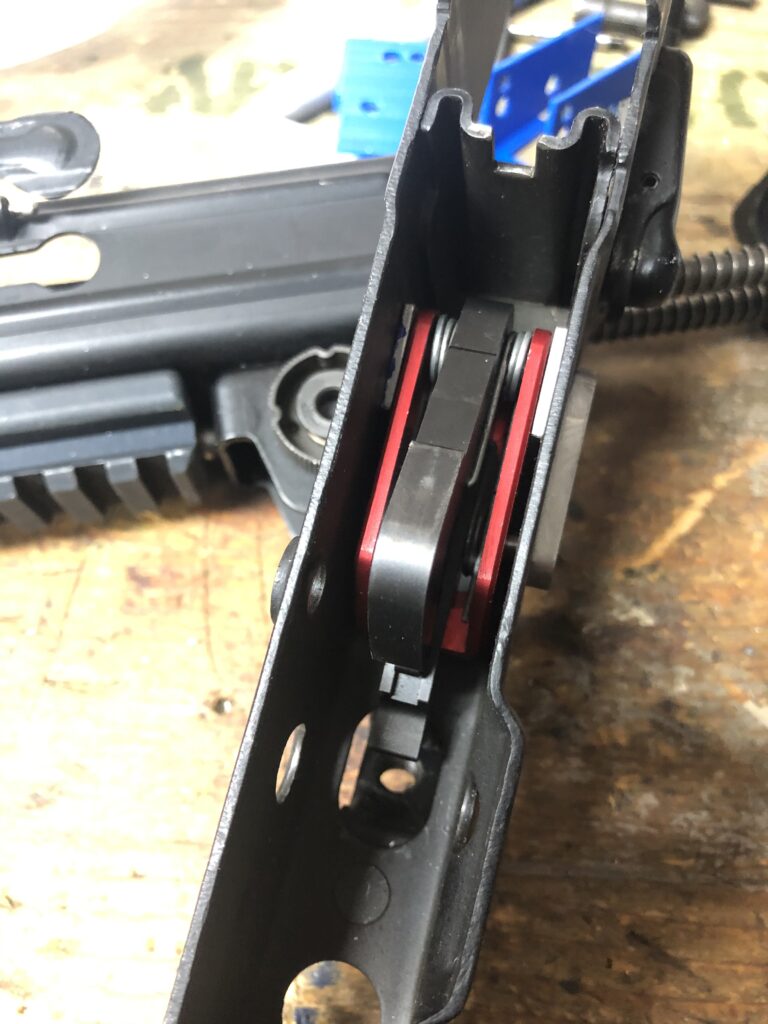
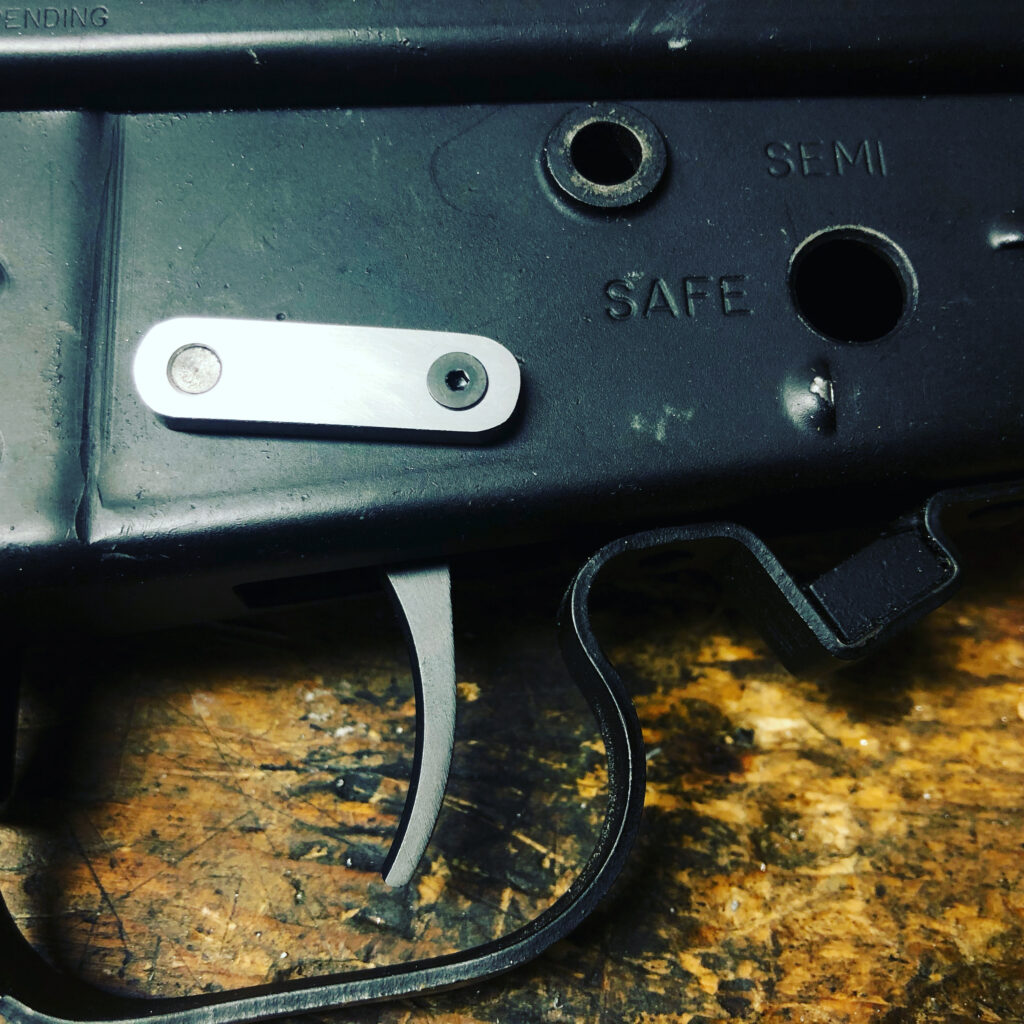
Finally I have been strugling to locate fire control parts for some folks so I decided to try something radical and see if I could adapt a drop-in AR15 trigger into an AR180.

I got it physically located so it hit the firing pin at the right angle and cocks correctly when the bolt carrier cycles. I have no idea if it will actually have enough power to fire a primer. Range testing to follow. Ranges are closed in AZ right now. If it does fire I have to figure out how to get the safety to work.

If this doesn’t pan out I will still be able to use parts of this design to work up a set of anti walk pins for the AR180.

Finally I was able to get to the range last week before they closed to shoot my AR18 for the first time.

Experimental Sterling AR180

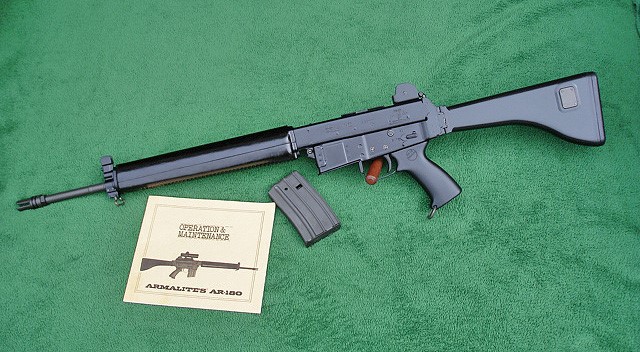
Reader Robert pointed me towards an interesting gunbroker auction for an Experimental Sterling AR180 with a fixed stock.

Click here

It has an interesting combination of features in addition to the stock. Black paint and a non-welded bolt catch pivot boss, both early features. Welded dovetail scope mount like the later blued model.

I have no information on this model and I am asking if any of you do?

I would be actively trying to buy this except the Corona Virus has hit my work and I will be home for the next 4 weeks without pay. I will be selling off guns and ammo to supplement my savings until we come out the other side. I hope someone in the family gets it as it is an interesting model to add to anyone’s collection.

Previously Unknown Howa Barrel Marking

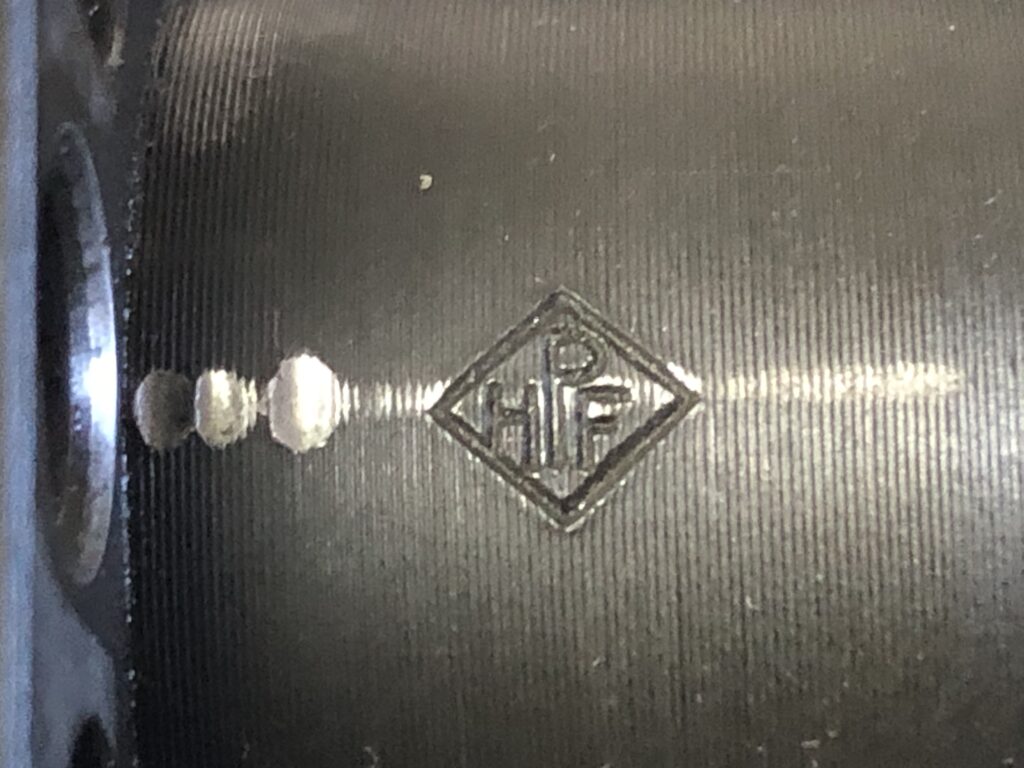
I was doing some maintenance on my Early Howa AR-180, one of the first 1000, and found a barrel marking that I have never seen documented before.

It was hiding under the operating rod return spring and I never noticed it till I had it removed. What does it stand for? Howa Precision Rifles? I don’t know for sure.

Do you have any thoughts?

If you want to know more about these early Howa AR-180’s check out these older articles of mine.

Design Changes

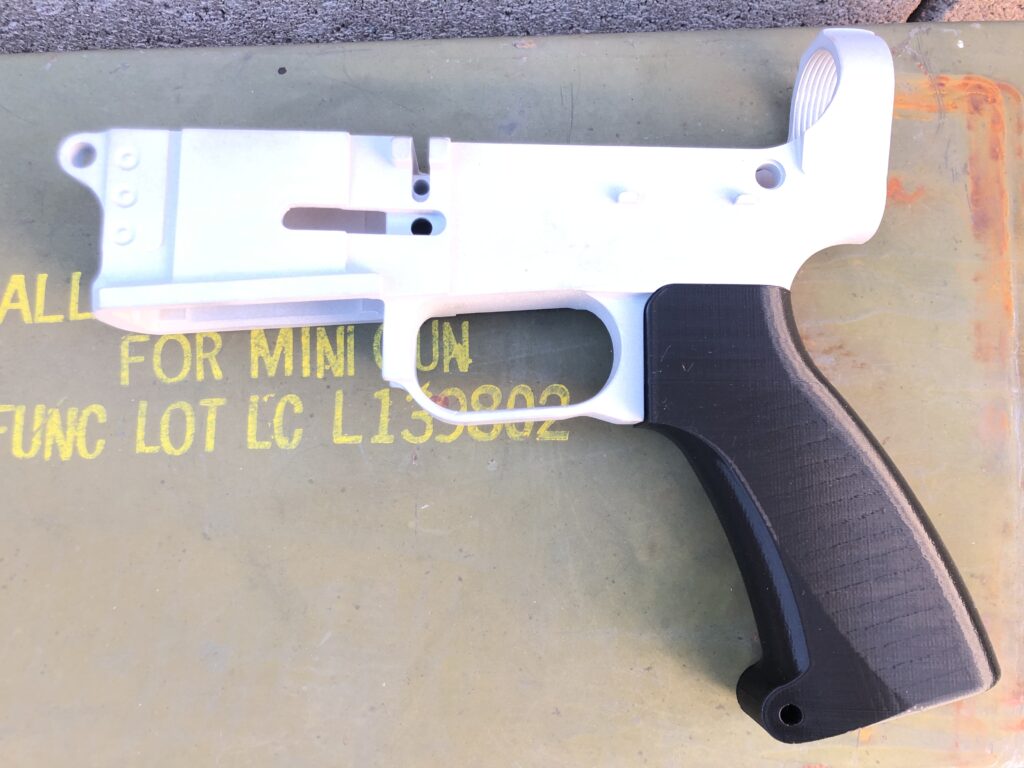
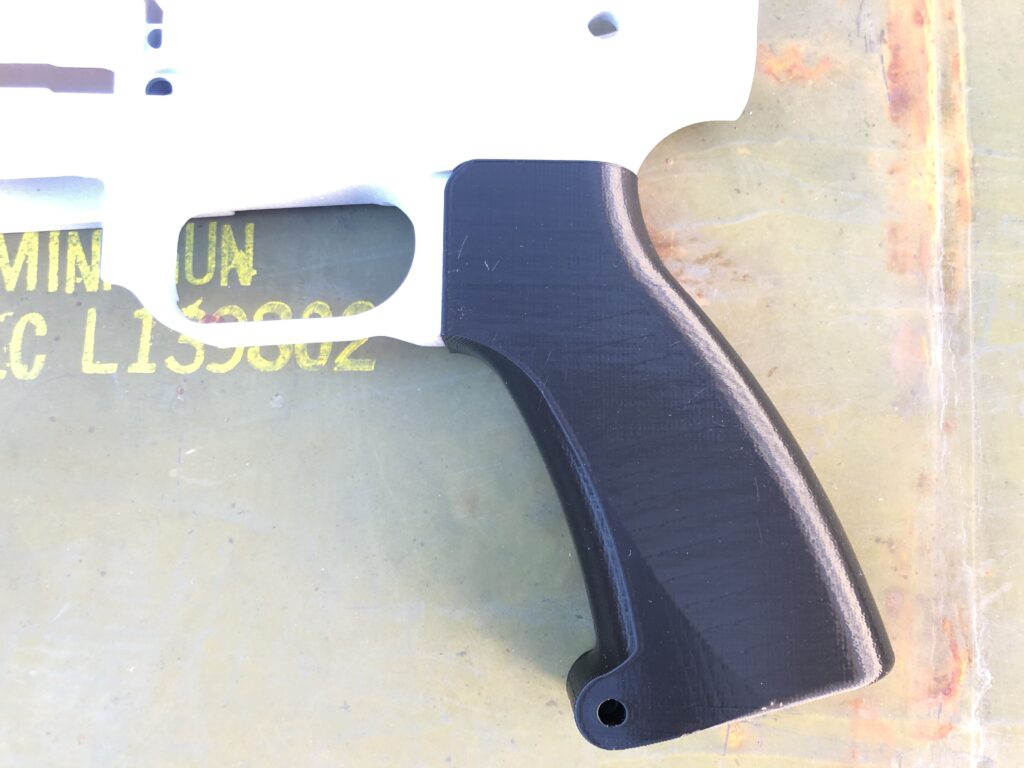
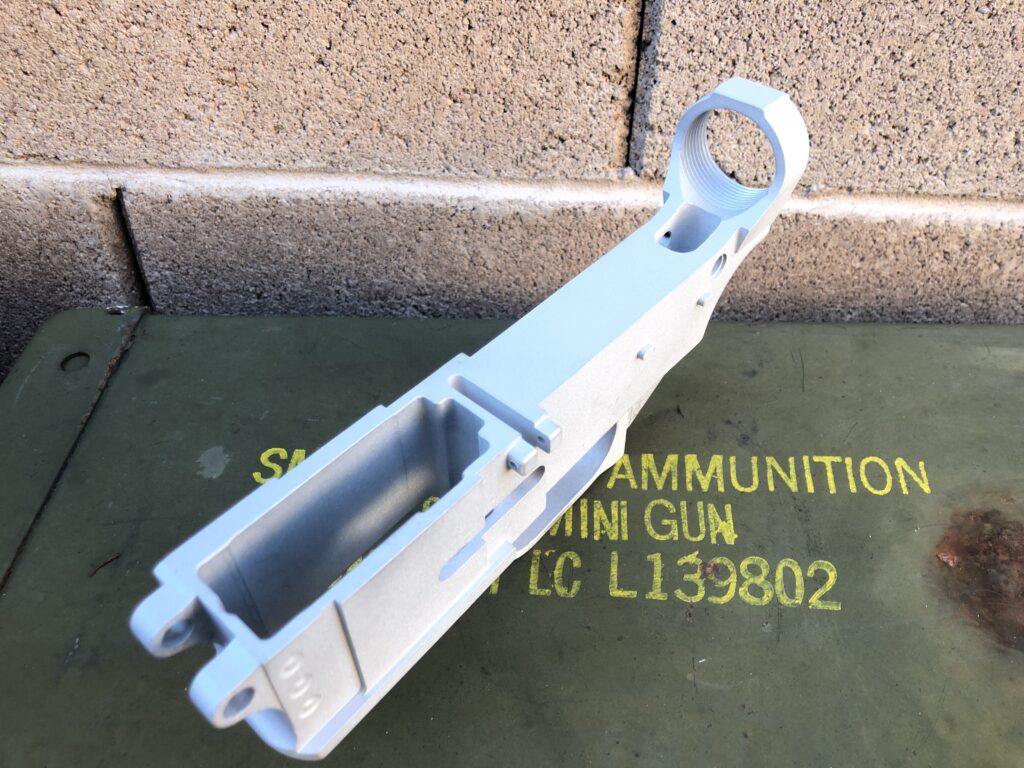
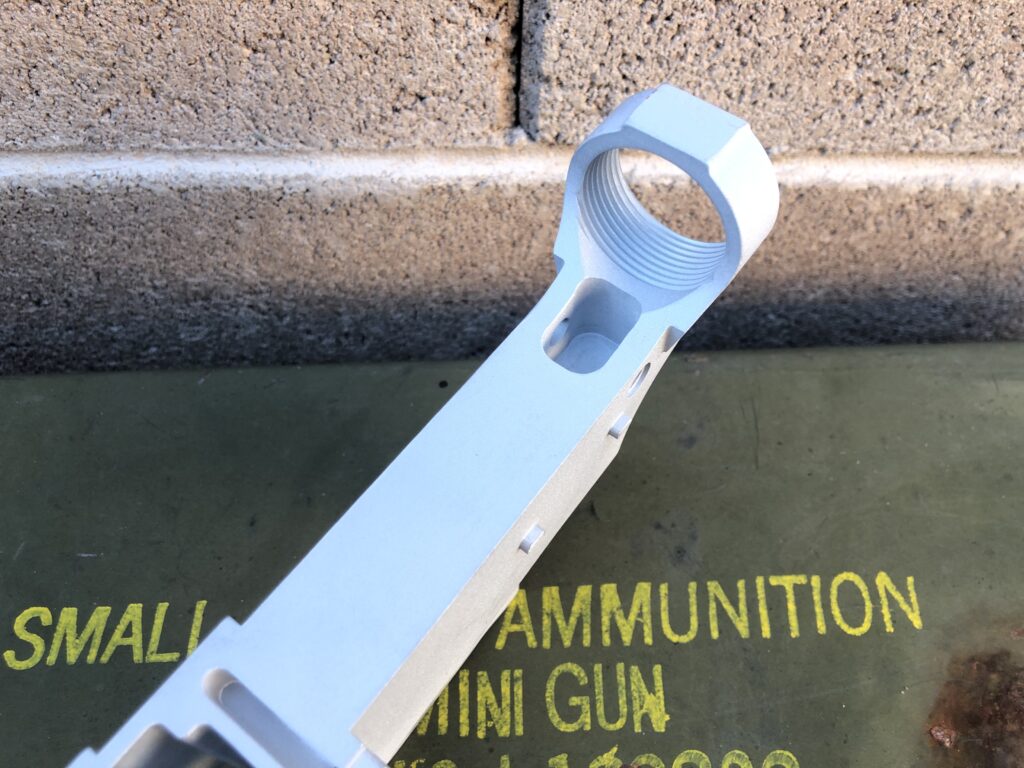
Just a quick update on the Fusion “paperweight” and the Fusion grip.

The Fusion grip will now be printed as a slickside. It will require little to no sanding and polishing by you and for most it will be used as is. Bolt it on and go!

The Fusion “paperweight” has eliminated the buffer detent hole. Don’t worry, it will still work with your AR15 upper but will be a bit more fiddly when taking down for cleaning. Most are planing to use this with their BRN-180 upper and this will make it an even more perfect match.