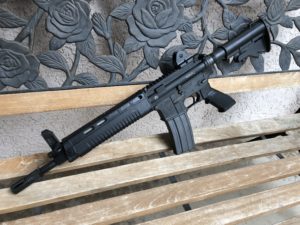
Project SA80 L85A2: Trunion Mock Up Part 3
I have been playing around in FreeCAD on the dimensions for the SA80 trunion and have a couple versions.
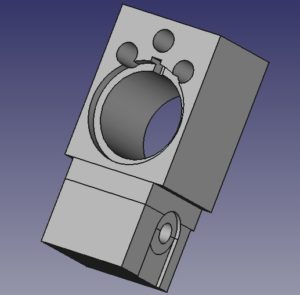
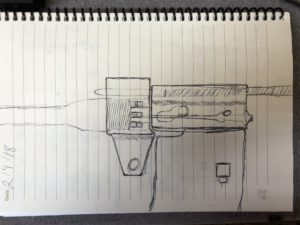
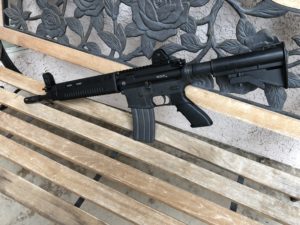
Version one used the guide rod spacing of the AR180B. As we saw during the mock up phase, this will not leave enough room for ejection. The op rod is lined up with the other airsoft parts. This would require a custom front sight base and piston assembly.
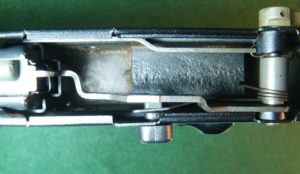
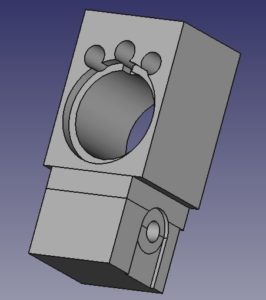
I then decided to make use of the guide rod assembly that came in the Airsoft gun.

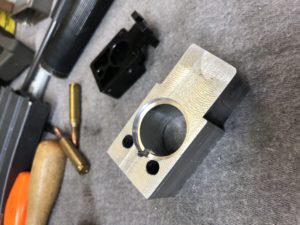
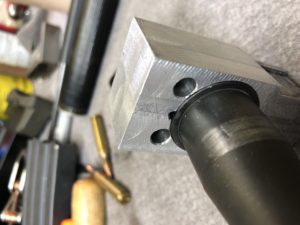
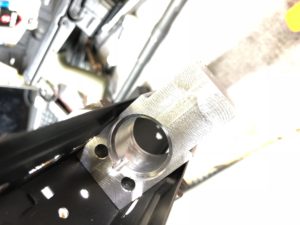
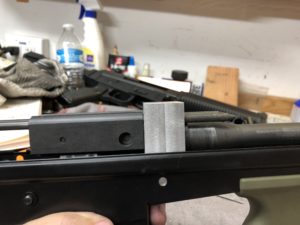
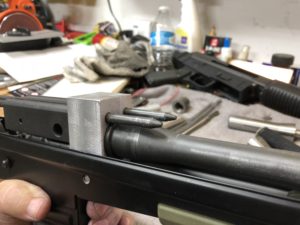
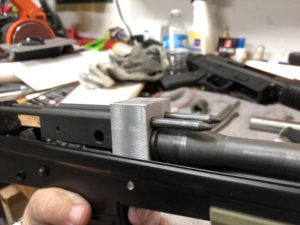
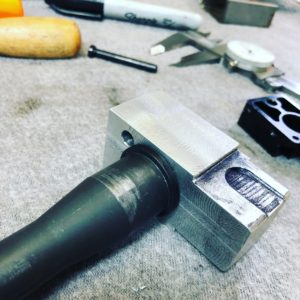
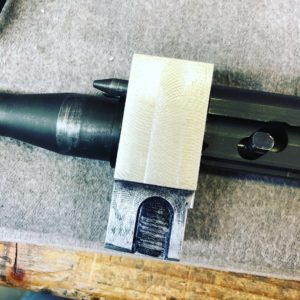
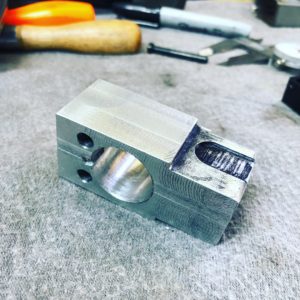
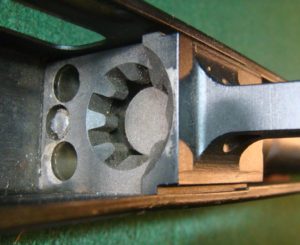
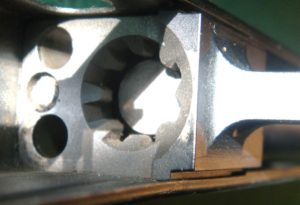
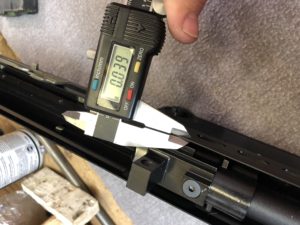
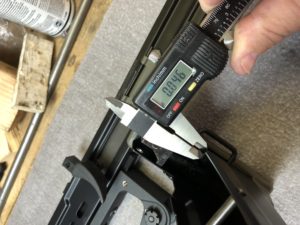
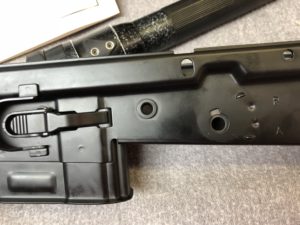
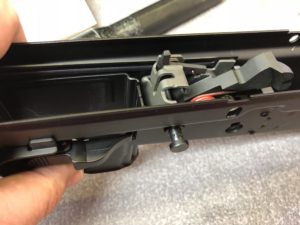
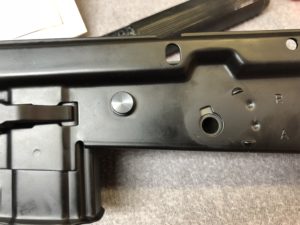
Taking measurements I moved and enlarged the holes in the trunion to line up with this assembly.
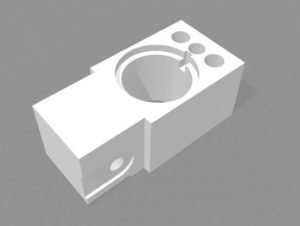
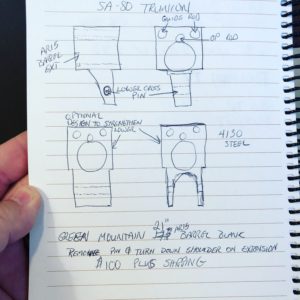
I also changed the position of the op rod hole. I have been wondering what I would do for a front sight base. Originally I considered a modified AR180B FSB. It may still be up for consideration but it would require the same barrel extension mods that the original 180B needed. The shoulder of the extension would need to be turned down and the locating pin removed. I wanted to avoid that if I could.
Then a new upper purchase lead me down a different path.
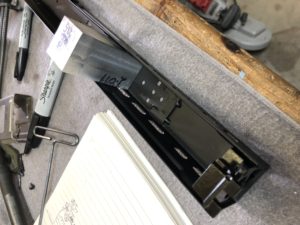
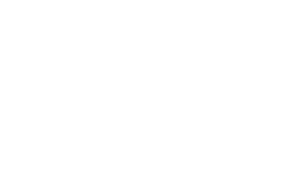
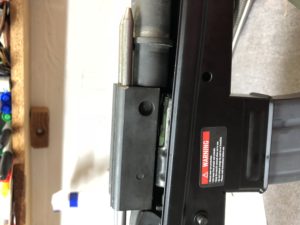
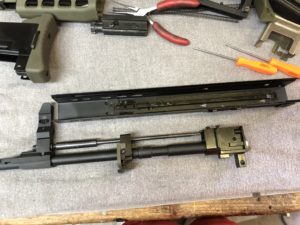
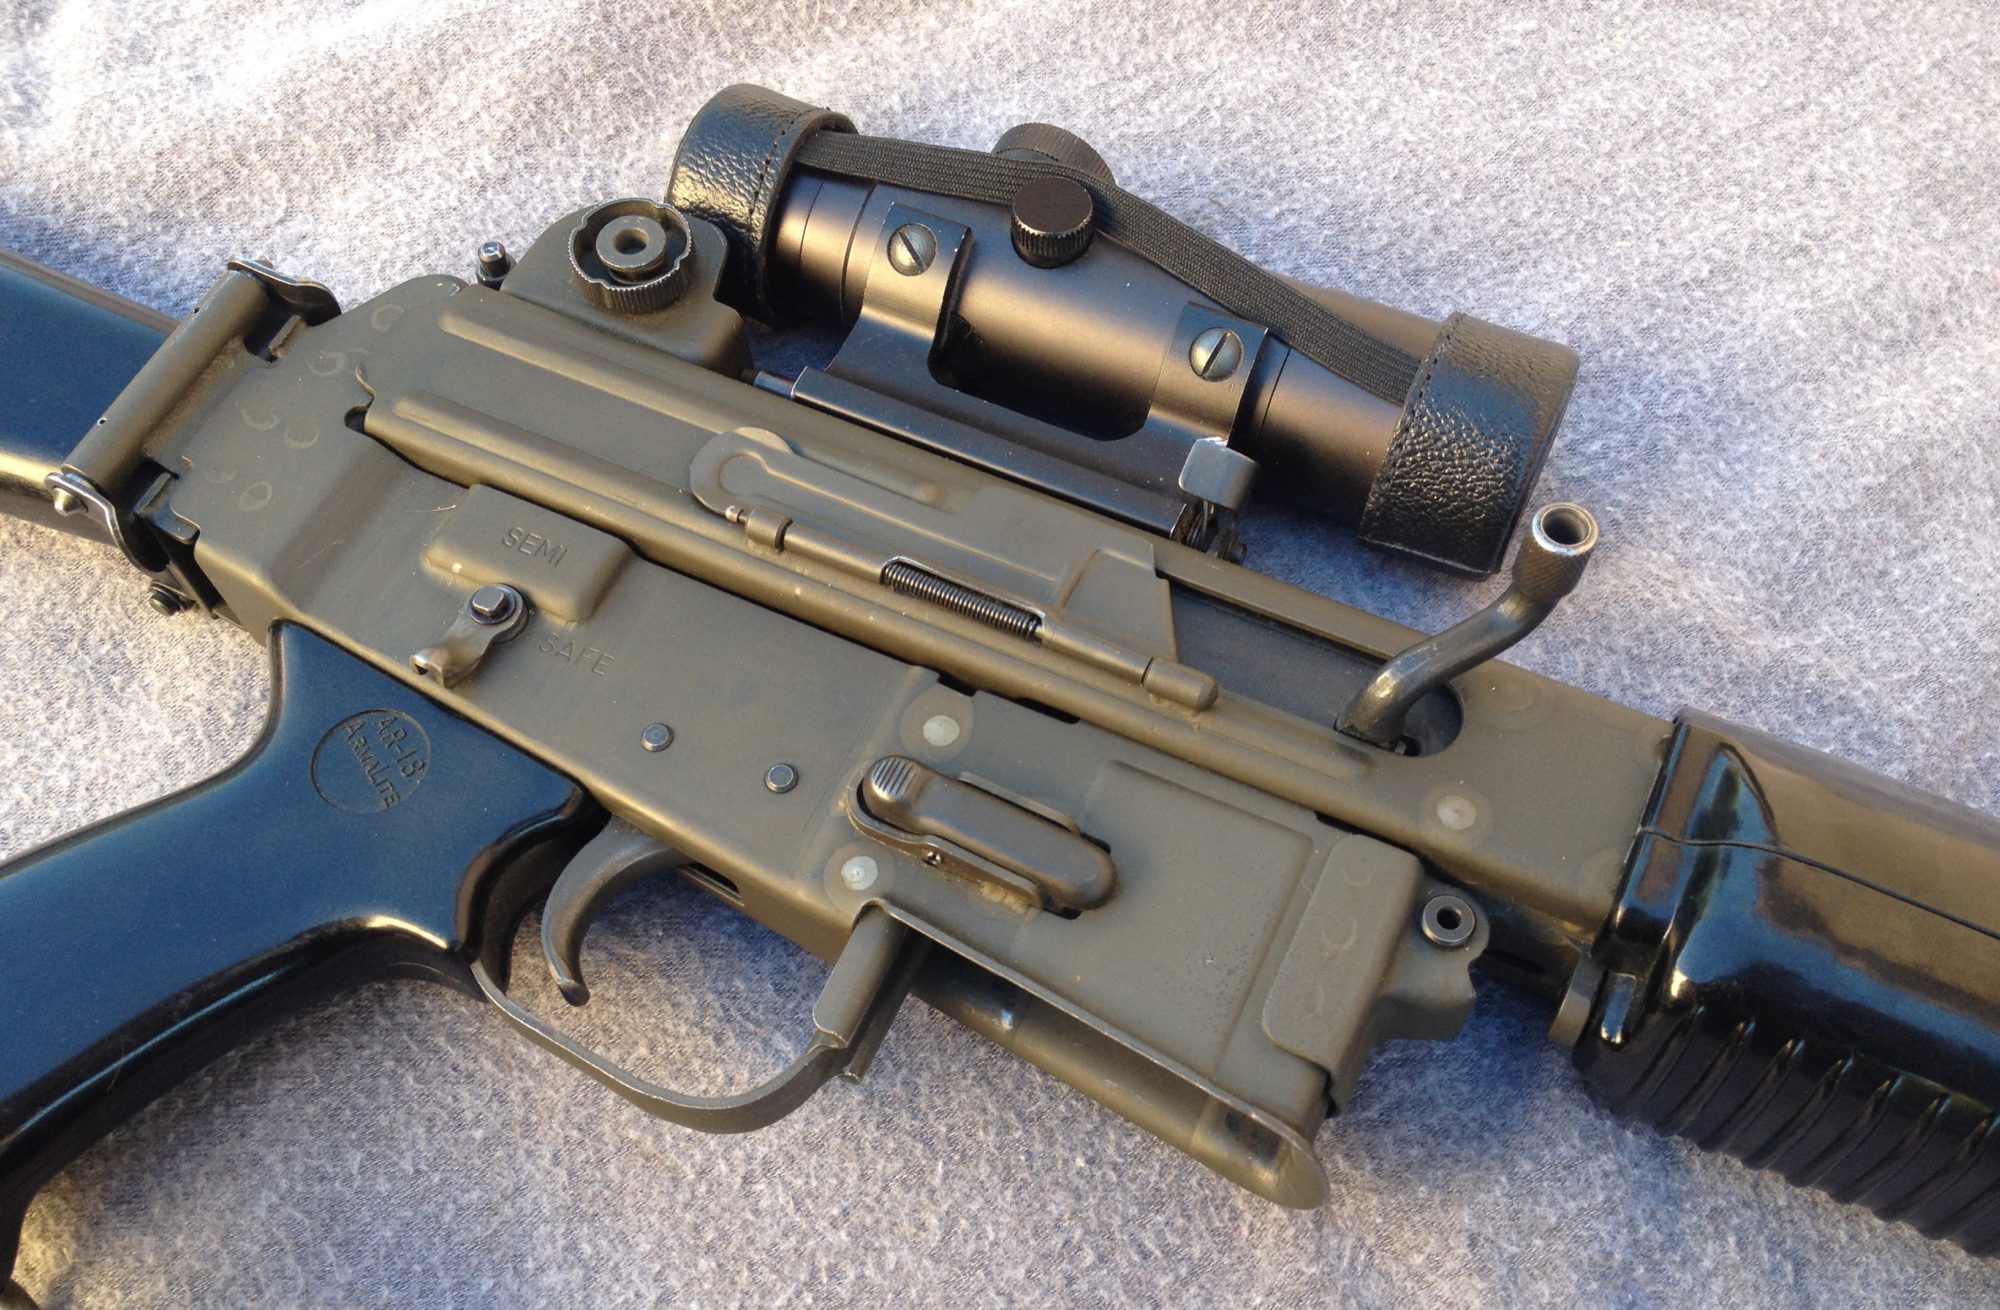
I saw that Atlantic Firearms had just released a 12″ Wolf A1 upper. It is a civilian version of the Taiwanese T91 and features a short stroke piston. Since I have been looking for a different upper for my SBR AR15 I took the plunge. As luck would have it, I got one of the first 100 made that are 12″. All remaining uppers will be 12.5″ Instant collectors item? Time will tell.
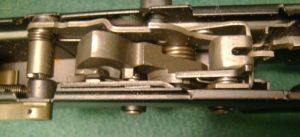
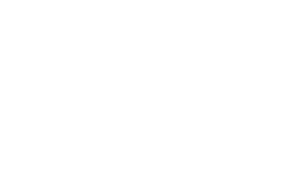
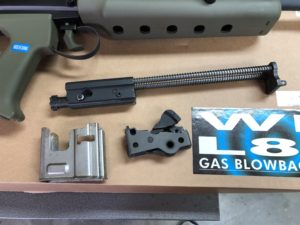
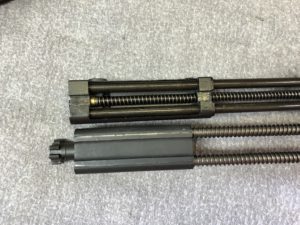
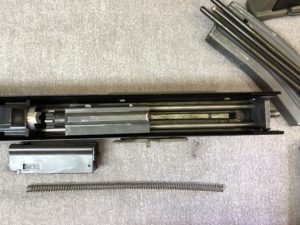
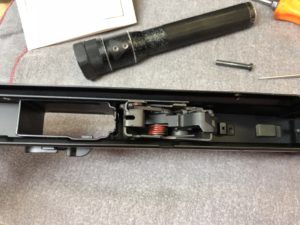
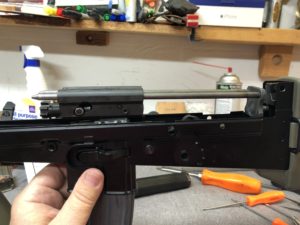
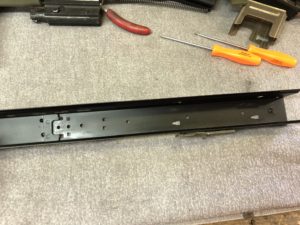
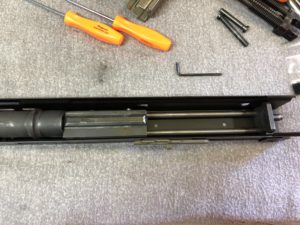
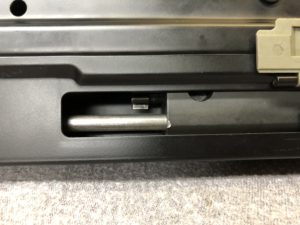
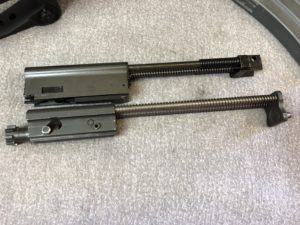
Of course the first thing I did when I got it was to take it apart. I really dig the self contained gas assembly.
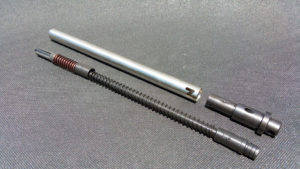
Using the T91 front sight base and piston assembly would allow me to have a very robust set up that is very easy to field strip for cleaning. It is not adjustable but neither are most of my guns. I have had no problem dialing them in to work with different ammo.
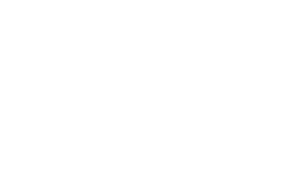
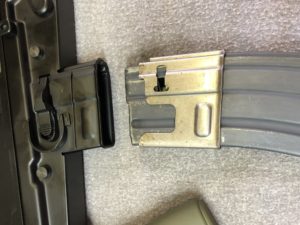
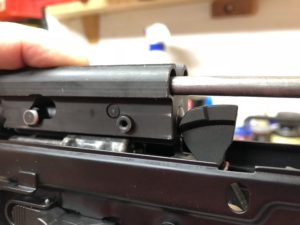
The piston uses the same spacing between the bolt and the op rod that the AR15 uses between the bolt and gas tube. This gives more room and allows an unmodified AR15 barrel extension to be used.
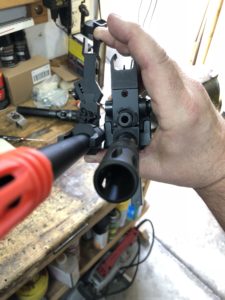
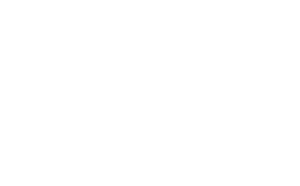
I could drive out the roll pin that holds the top half of the front sight and then cut a dovetail. The airsoft front sight could then be attached.
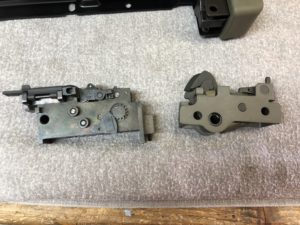
Of course all of this will require a new bolt carrier to be built. I will be making some drawings of that next.