More AR-180 Upper News

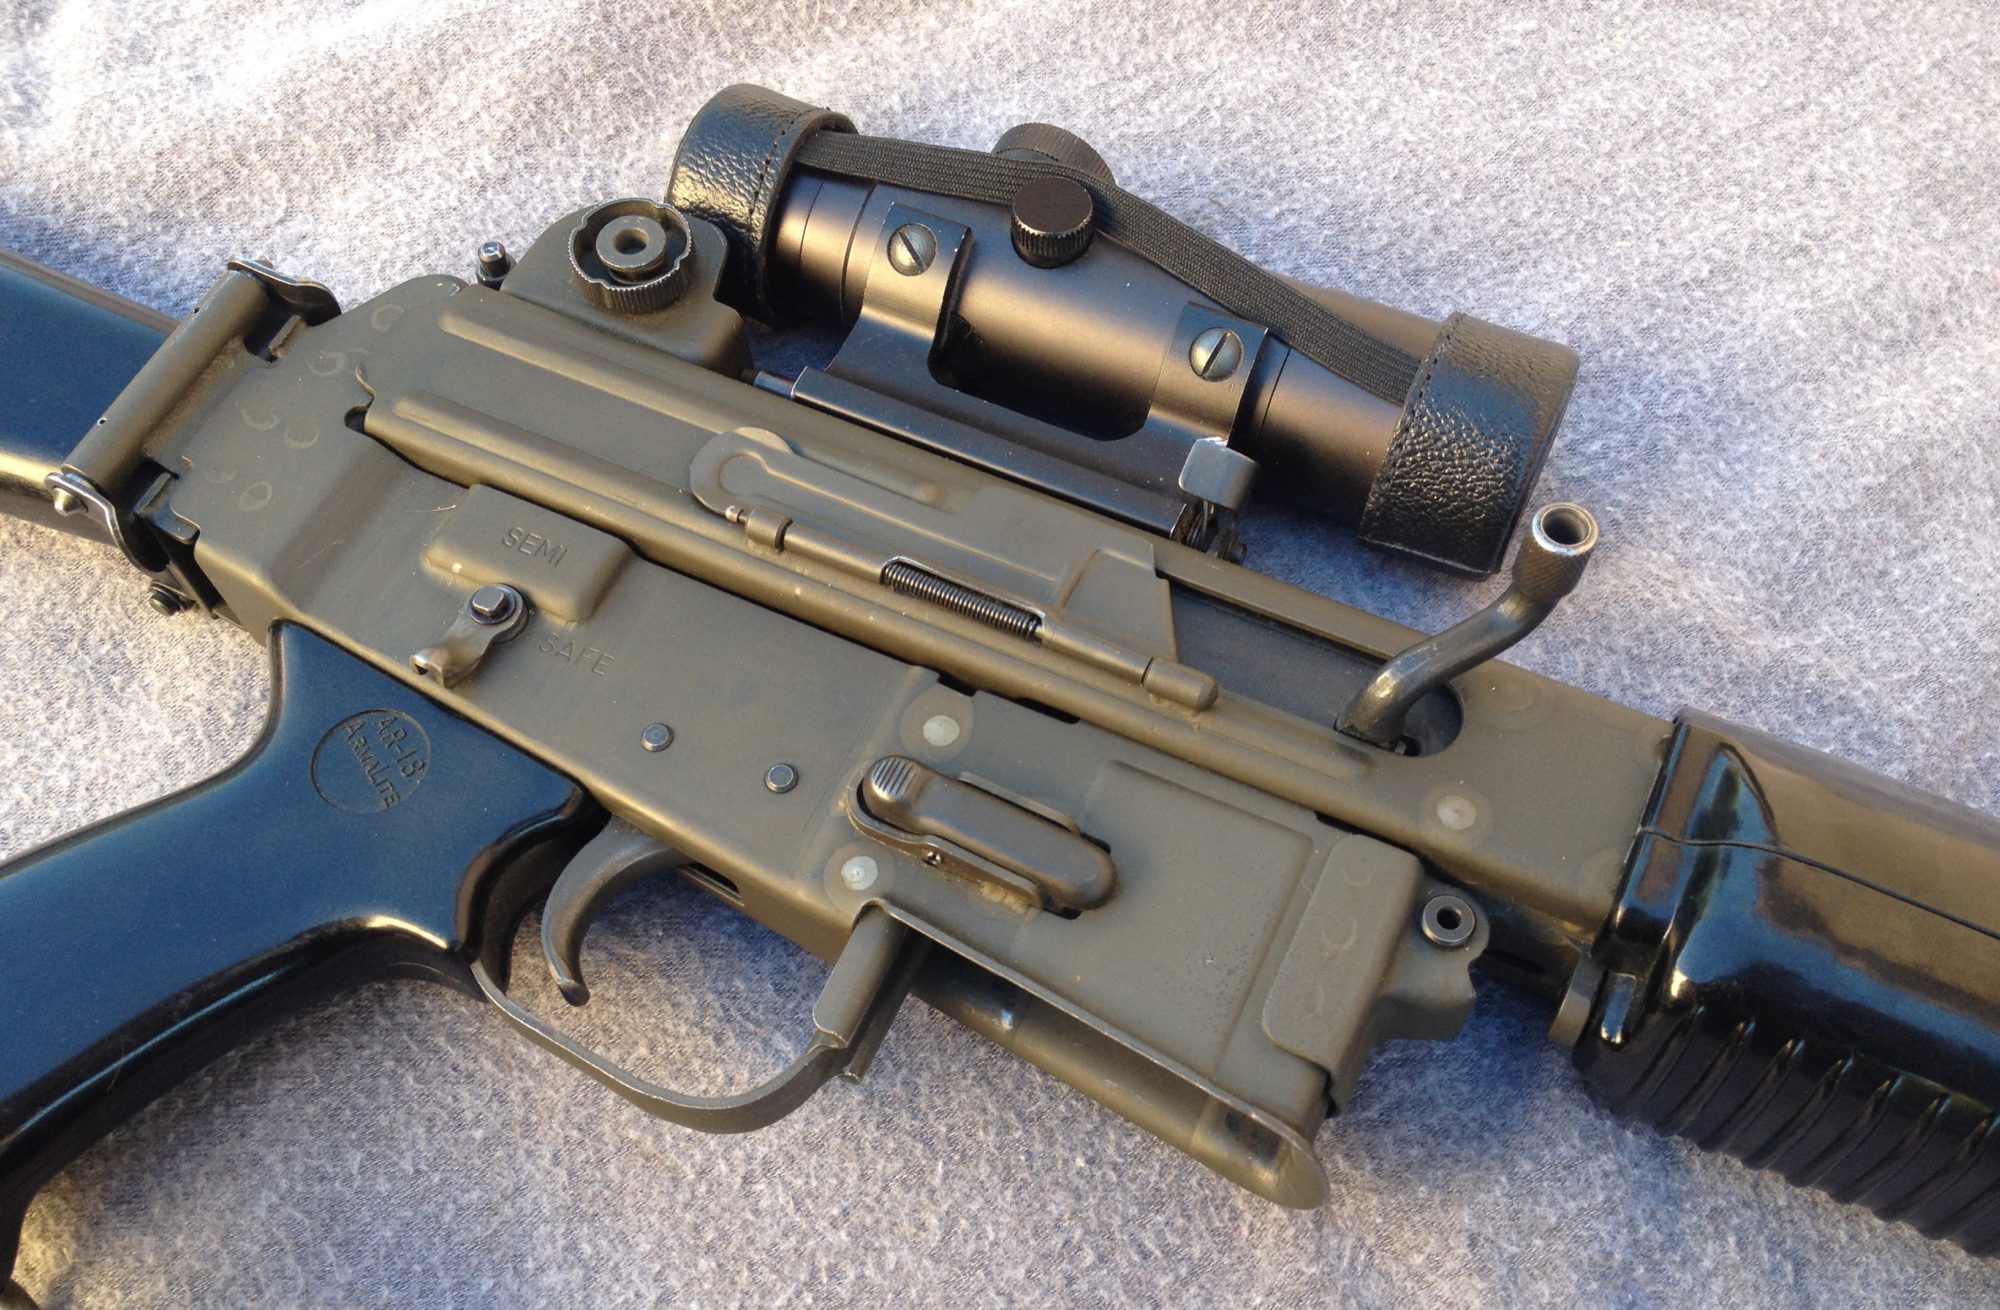
Chuck at GunLab.net has been working on AR-180 uppers and has reverse engineered the trunion and has put up a very interesting article.

AR-180B Trunnion Design

I on the other hand, lacking any semblance of expertise in CAD took a differing approach when I reverse engineered my AR-180B upper.

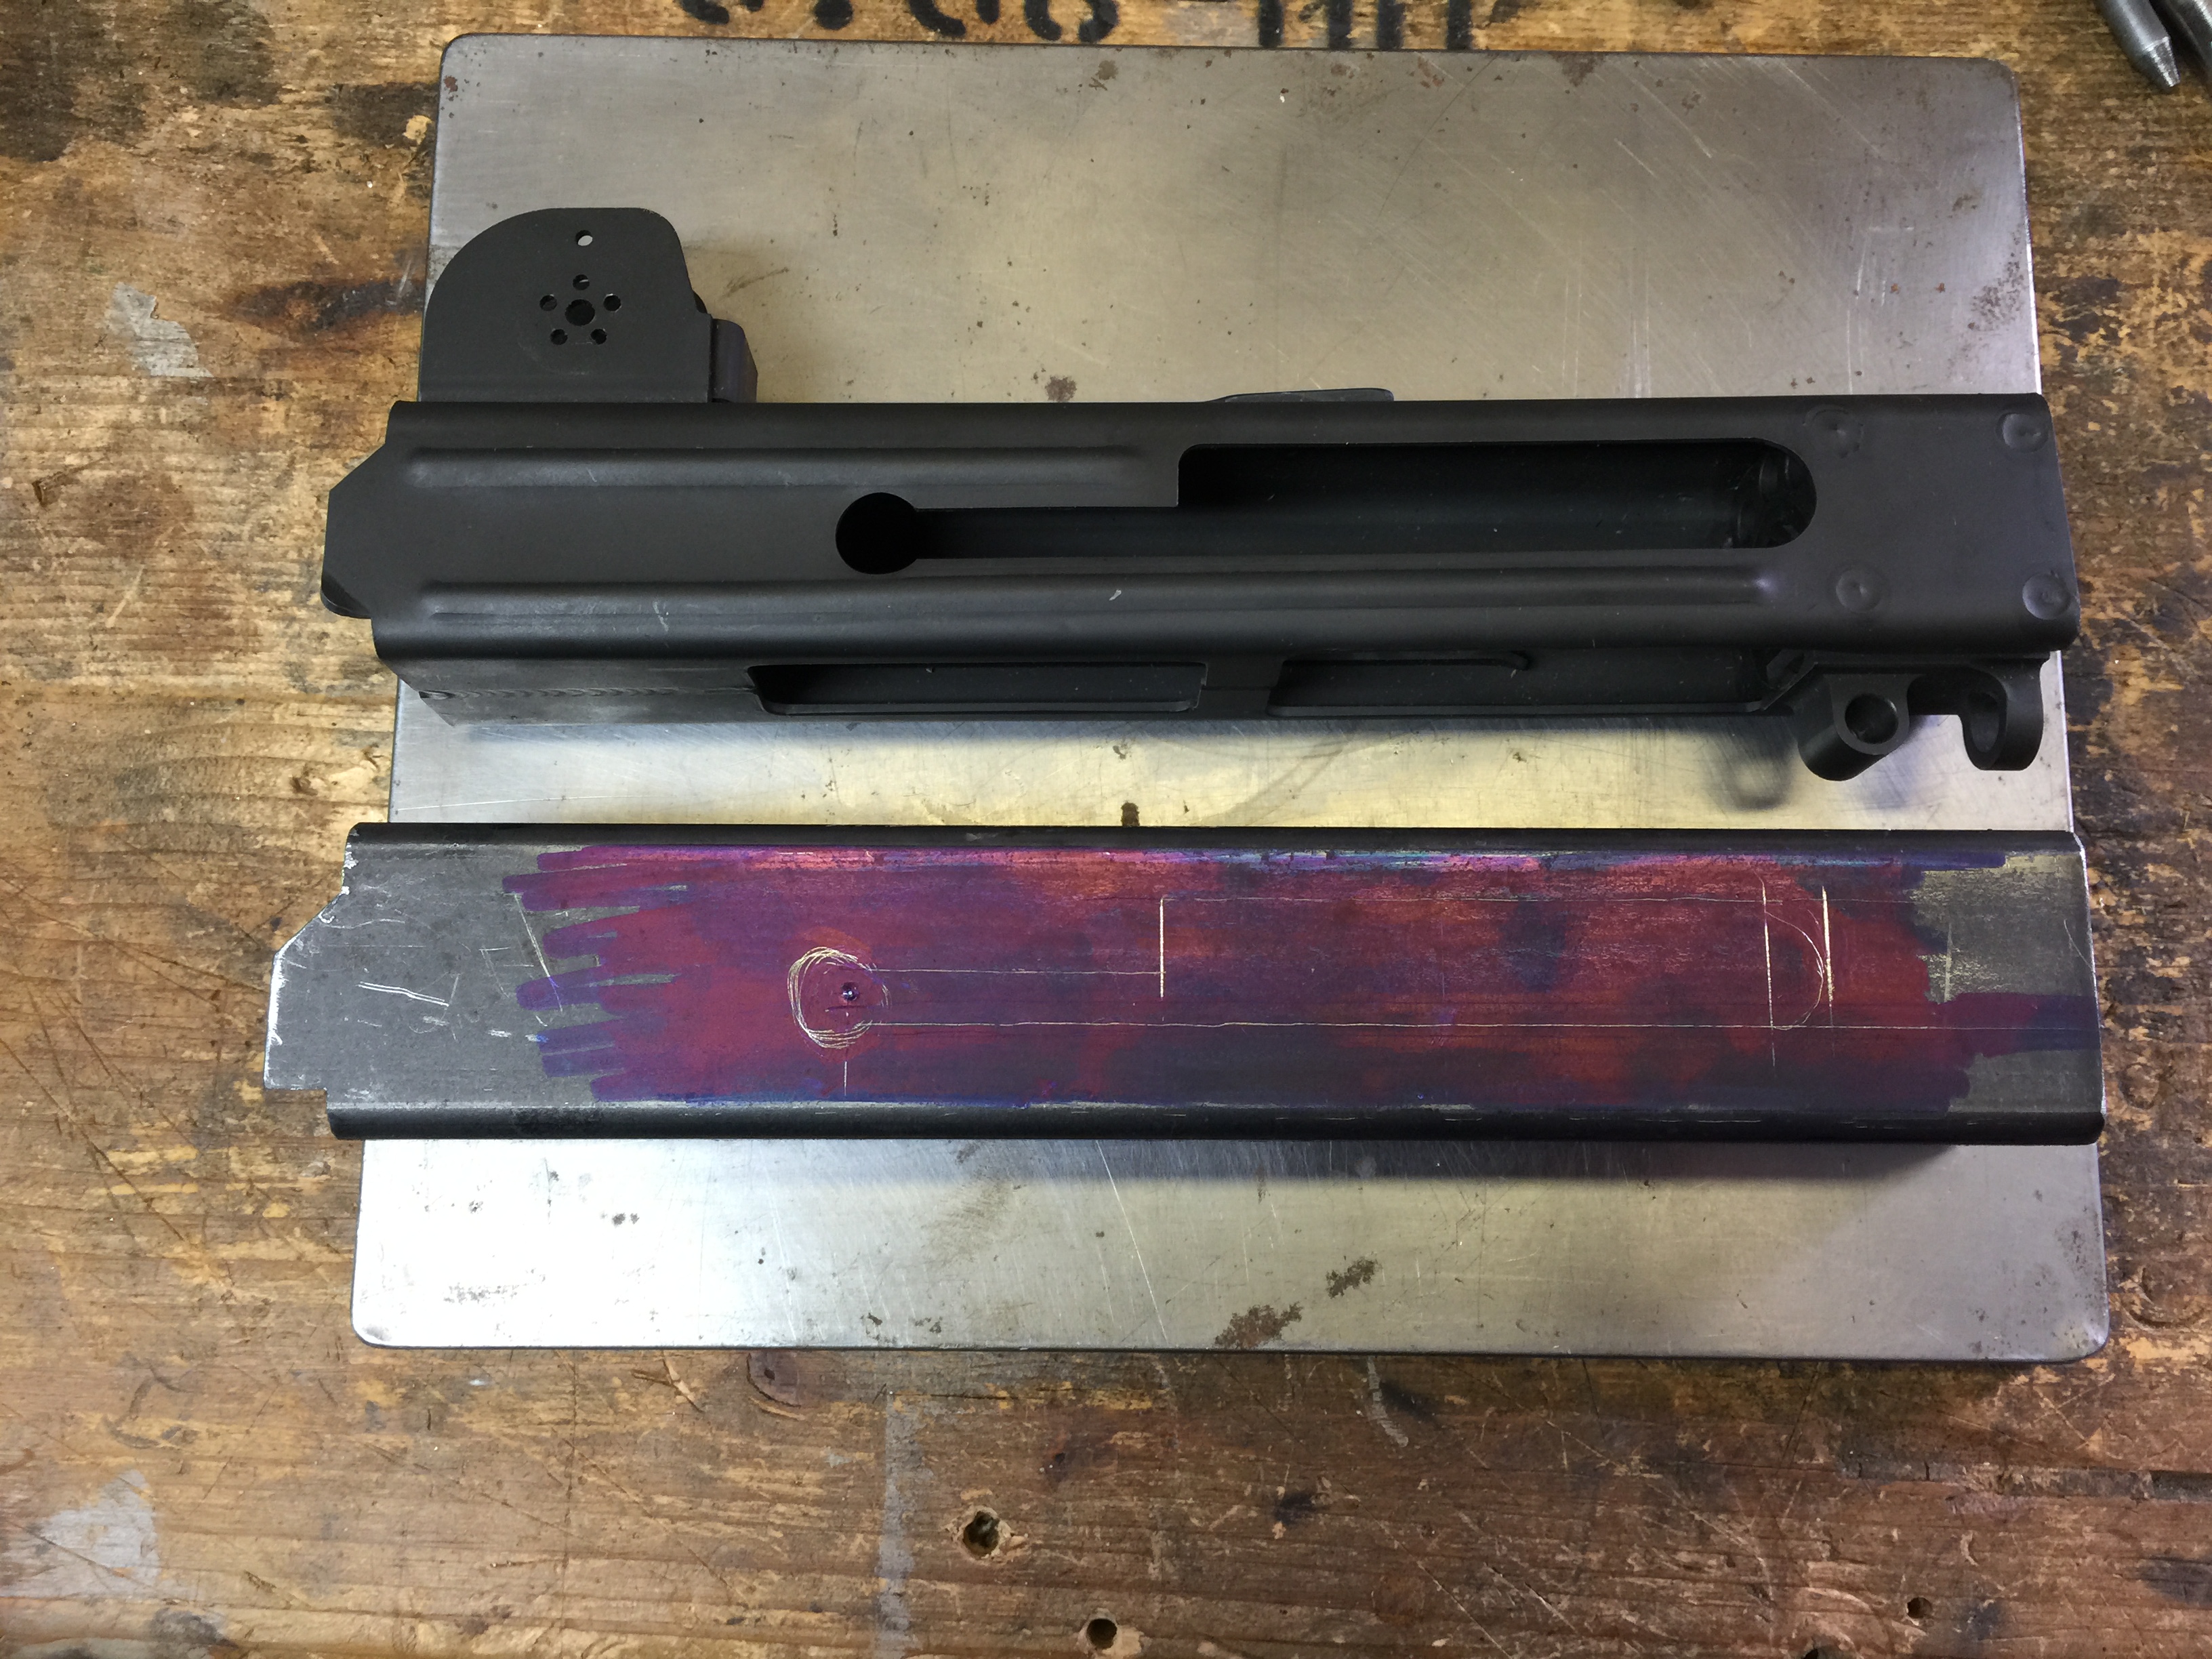
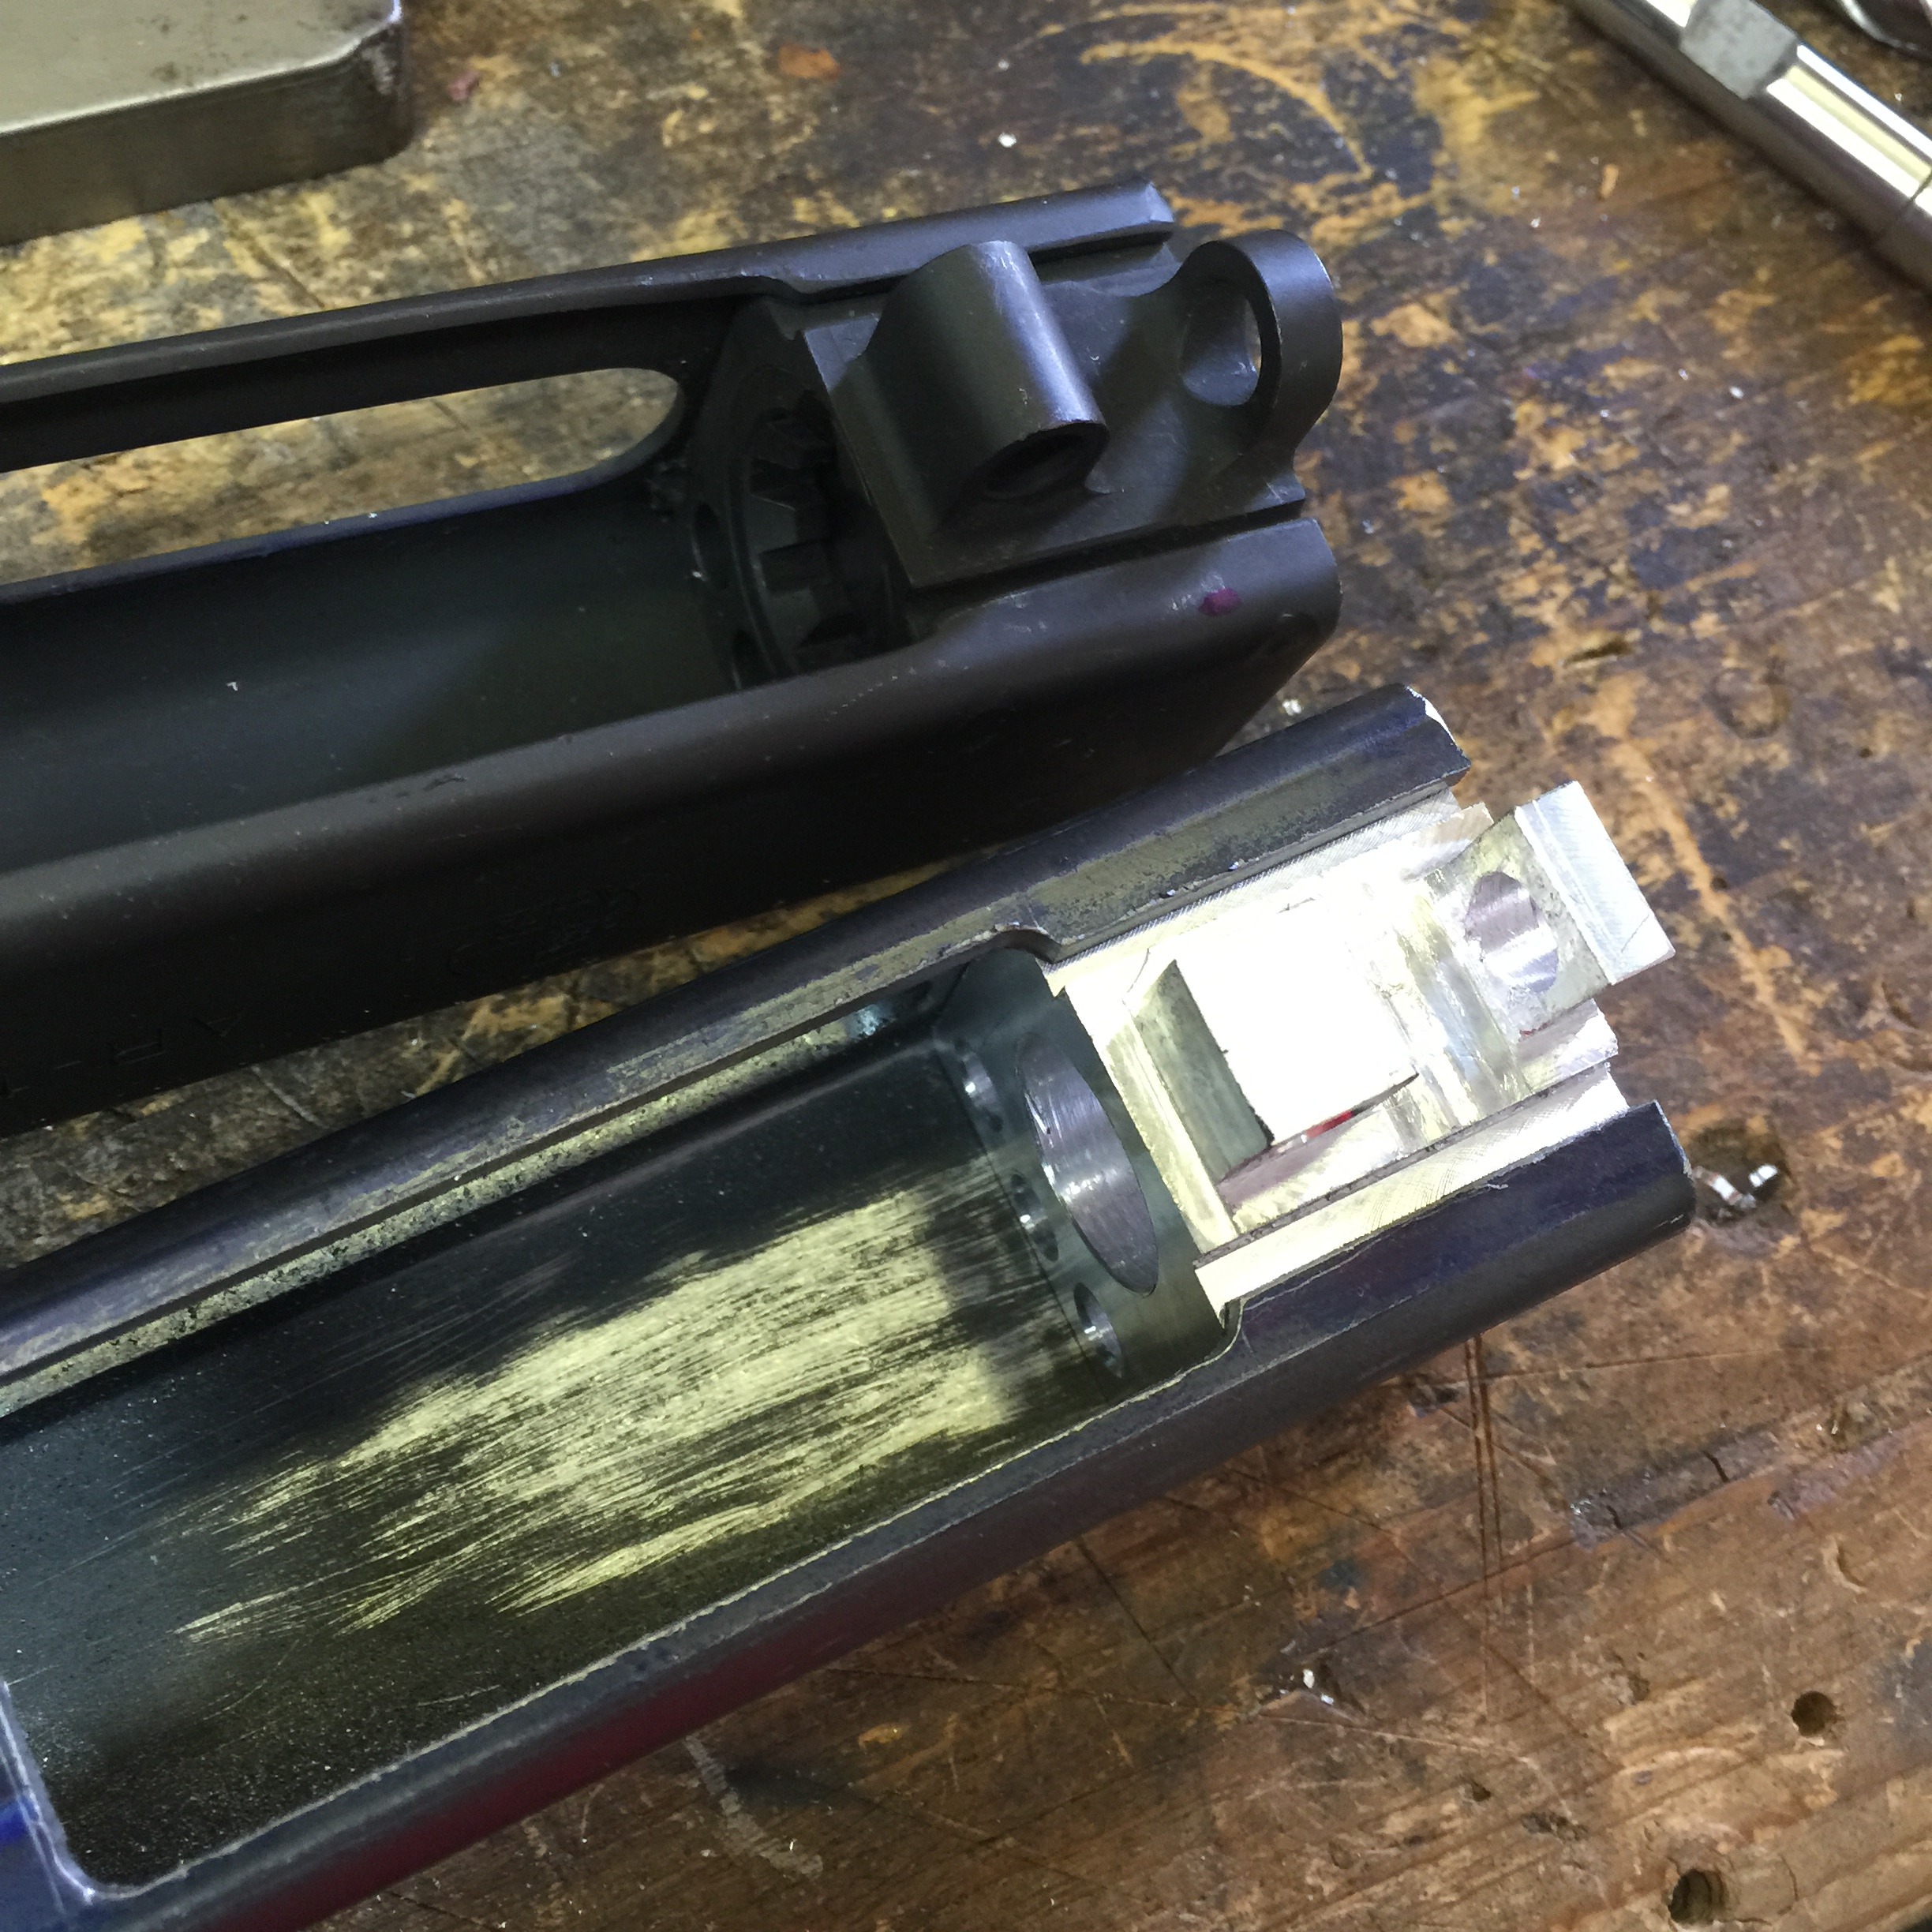
Good friend of the site, Carl, sent me some square tubing that he has successfully used in his home builds. I decided to duplicate my upper using this material. It is much thicker wall than the original and I will have to shave this down at least on the bottom surface to get it to work with my lowers.

I did this for two main reasons. I wanted to refresh my skills on the mill as it has been many years since I last used one, and secondly, just to see if I could.

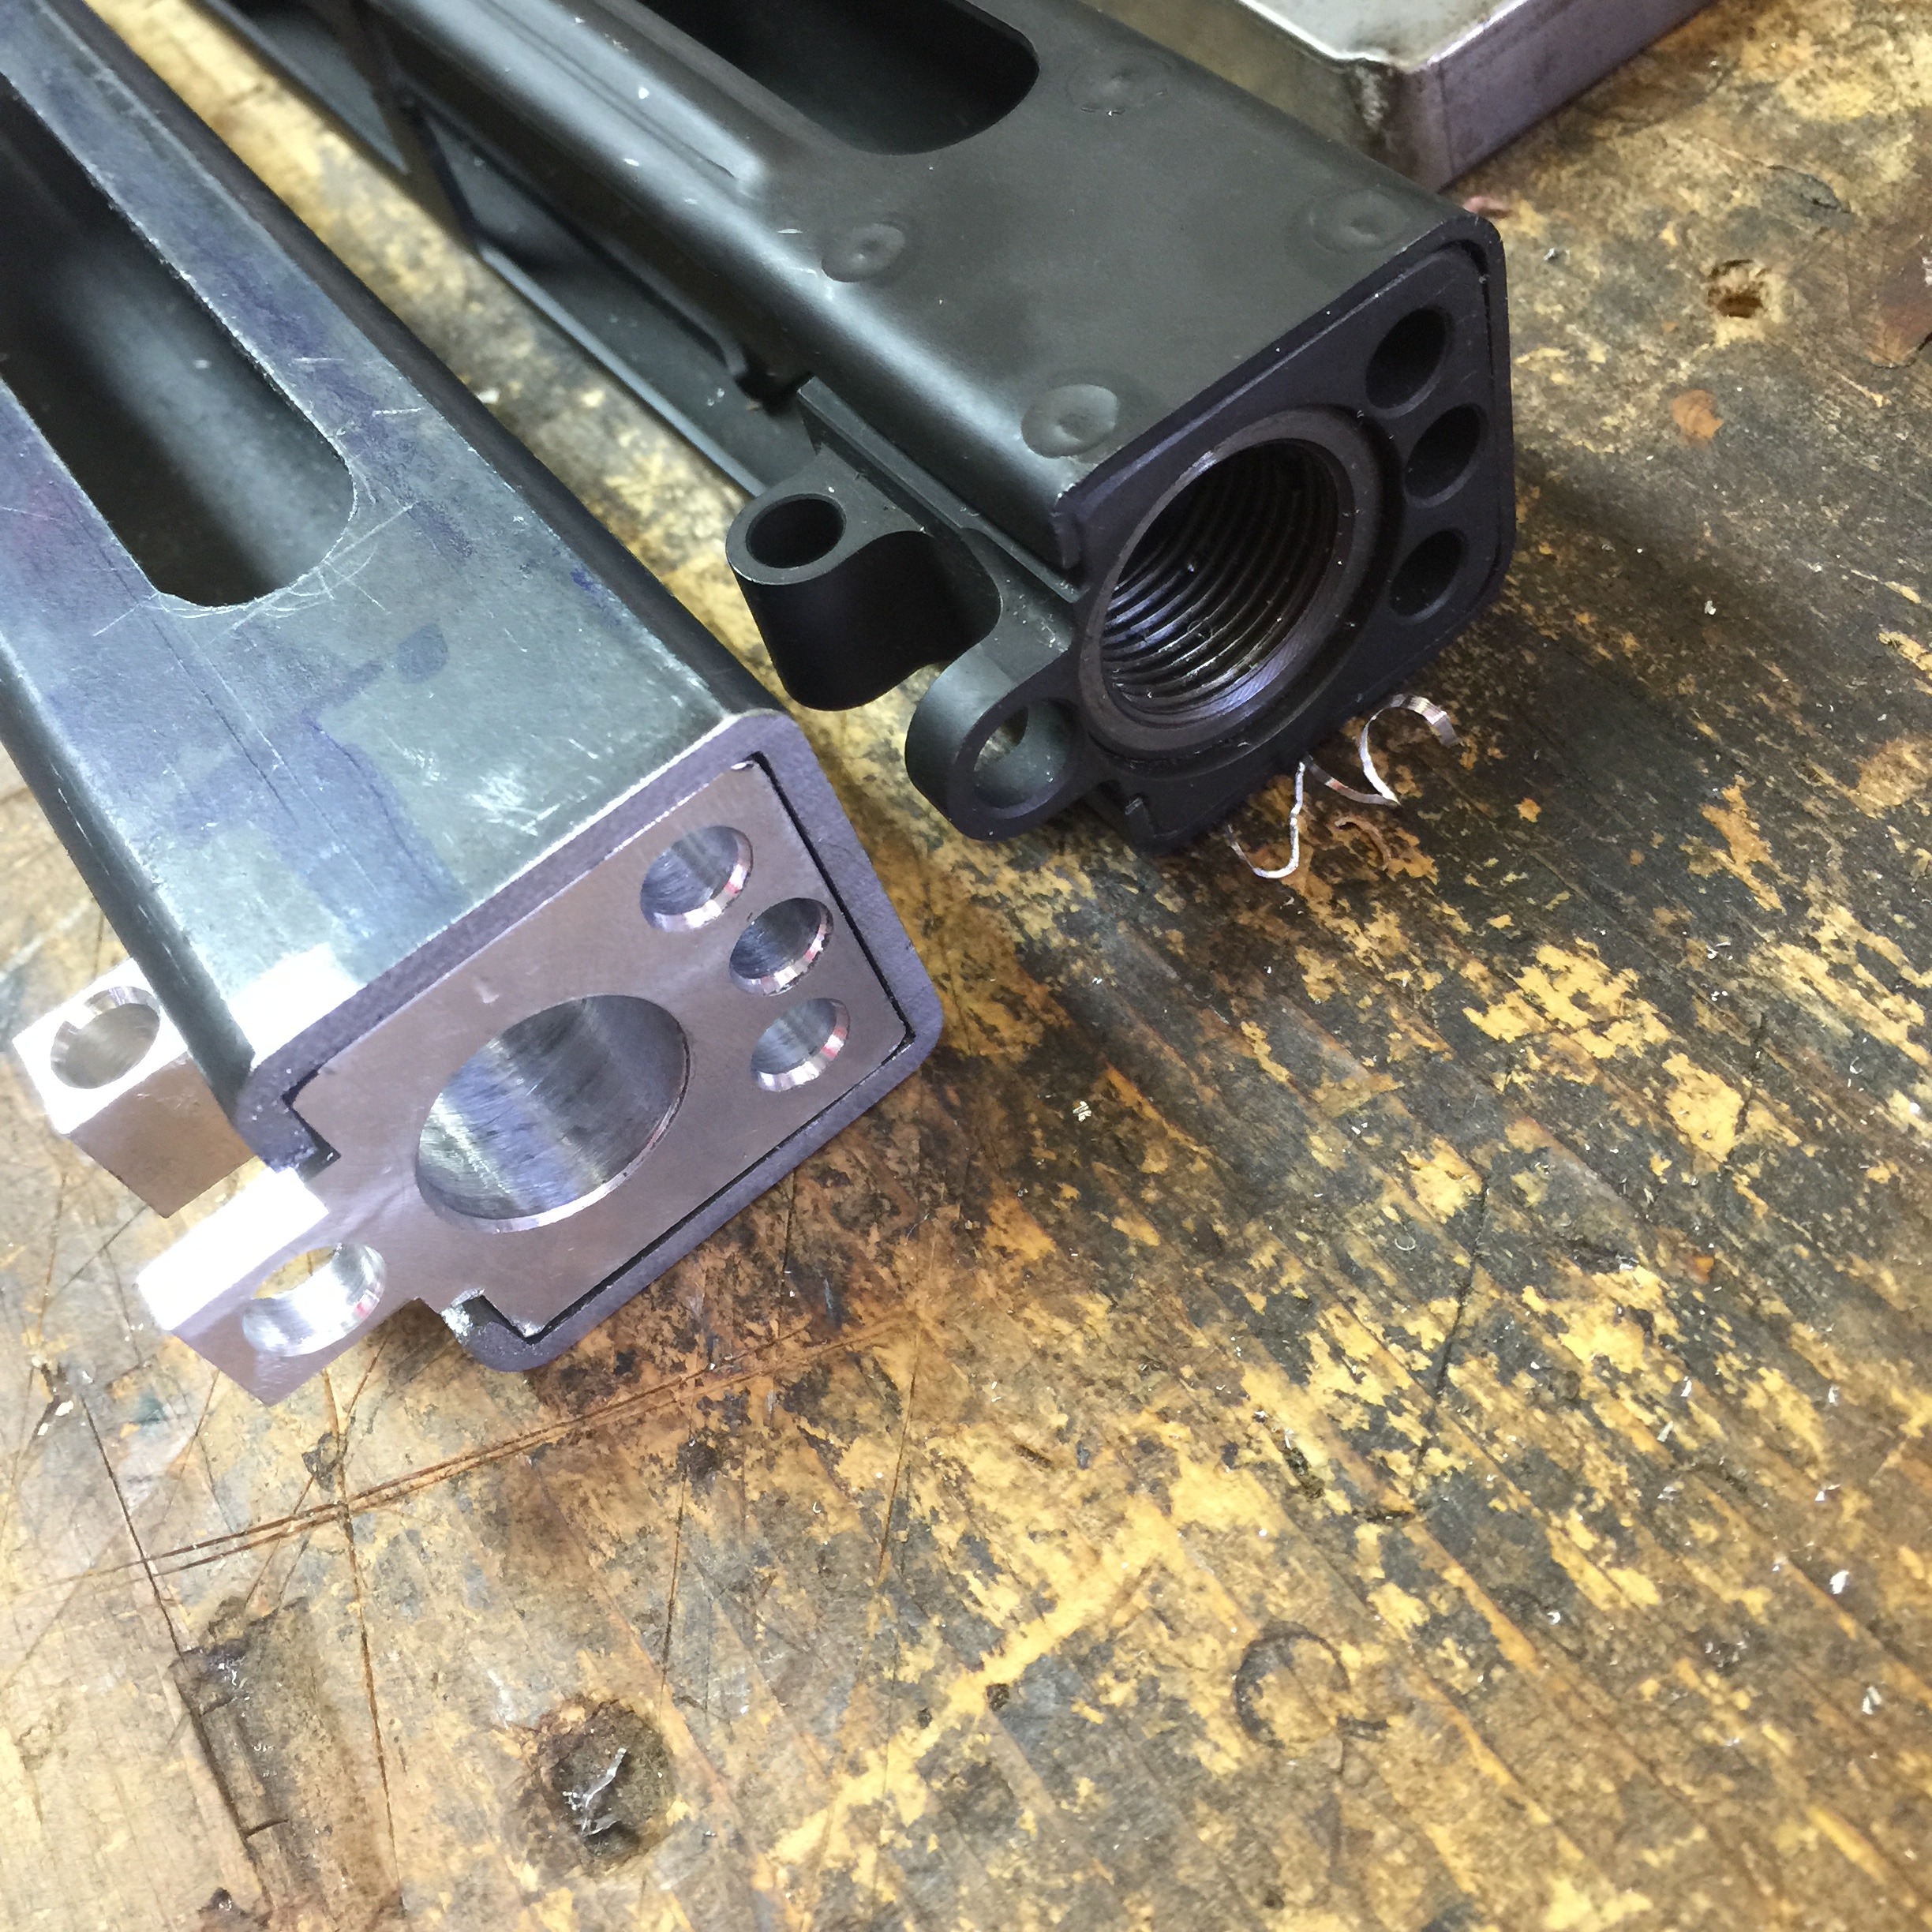
I made my first trunion out of 6061 aluminum just to test my measurements out and I have found that a few needed to be adjusted.

I learned a lot from this project and I find things like this much more rewarding than the usual beginners projects.

I will continue to tweak this until I am happy with it then I will start a new one using the first as a template. I think I will make the trunion out of 4140 unless y’all have any advice.

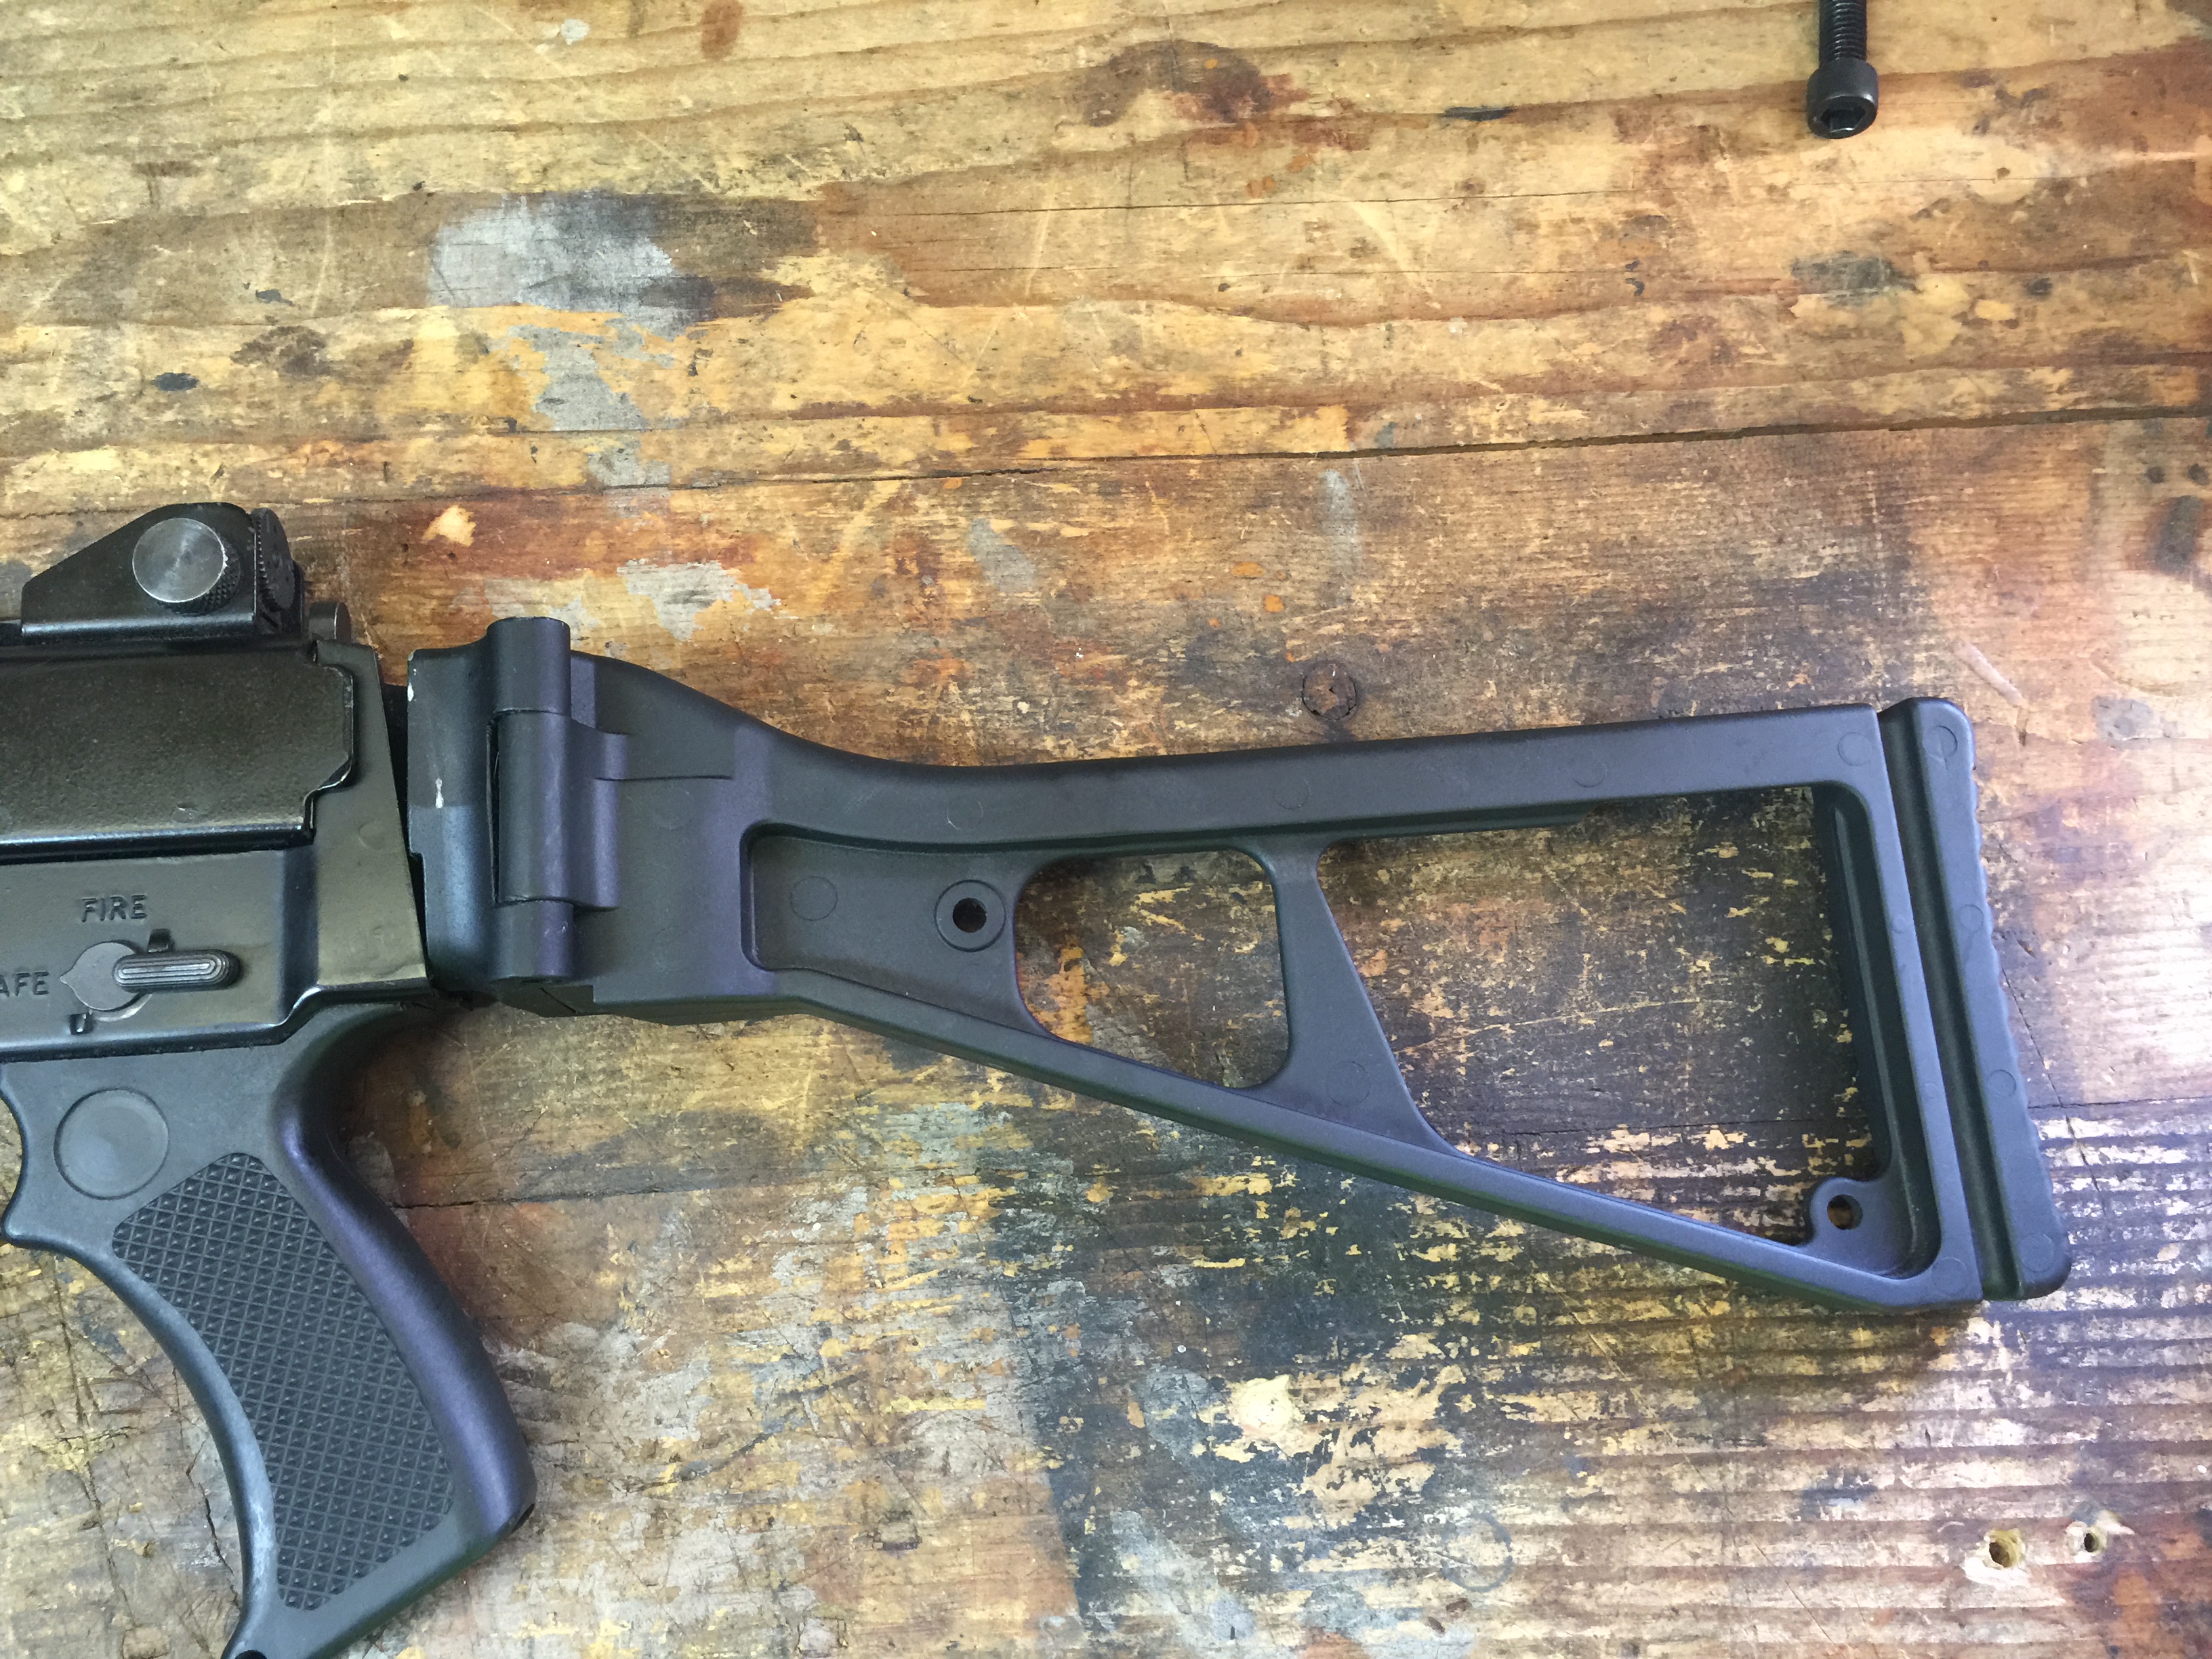
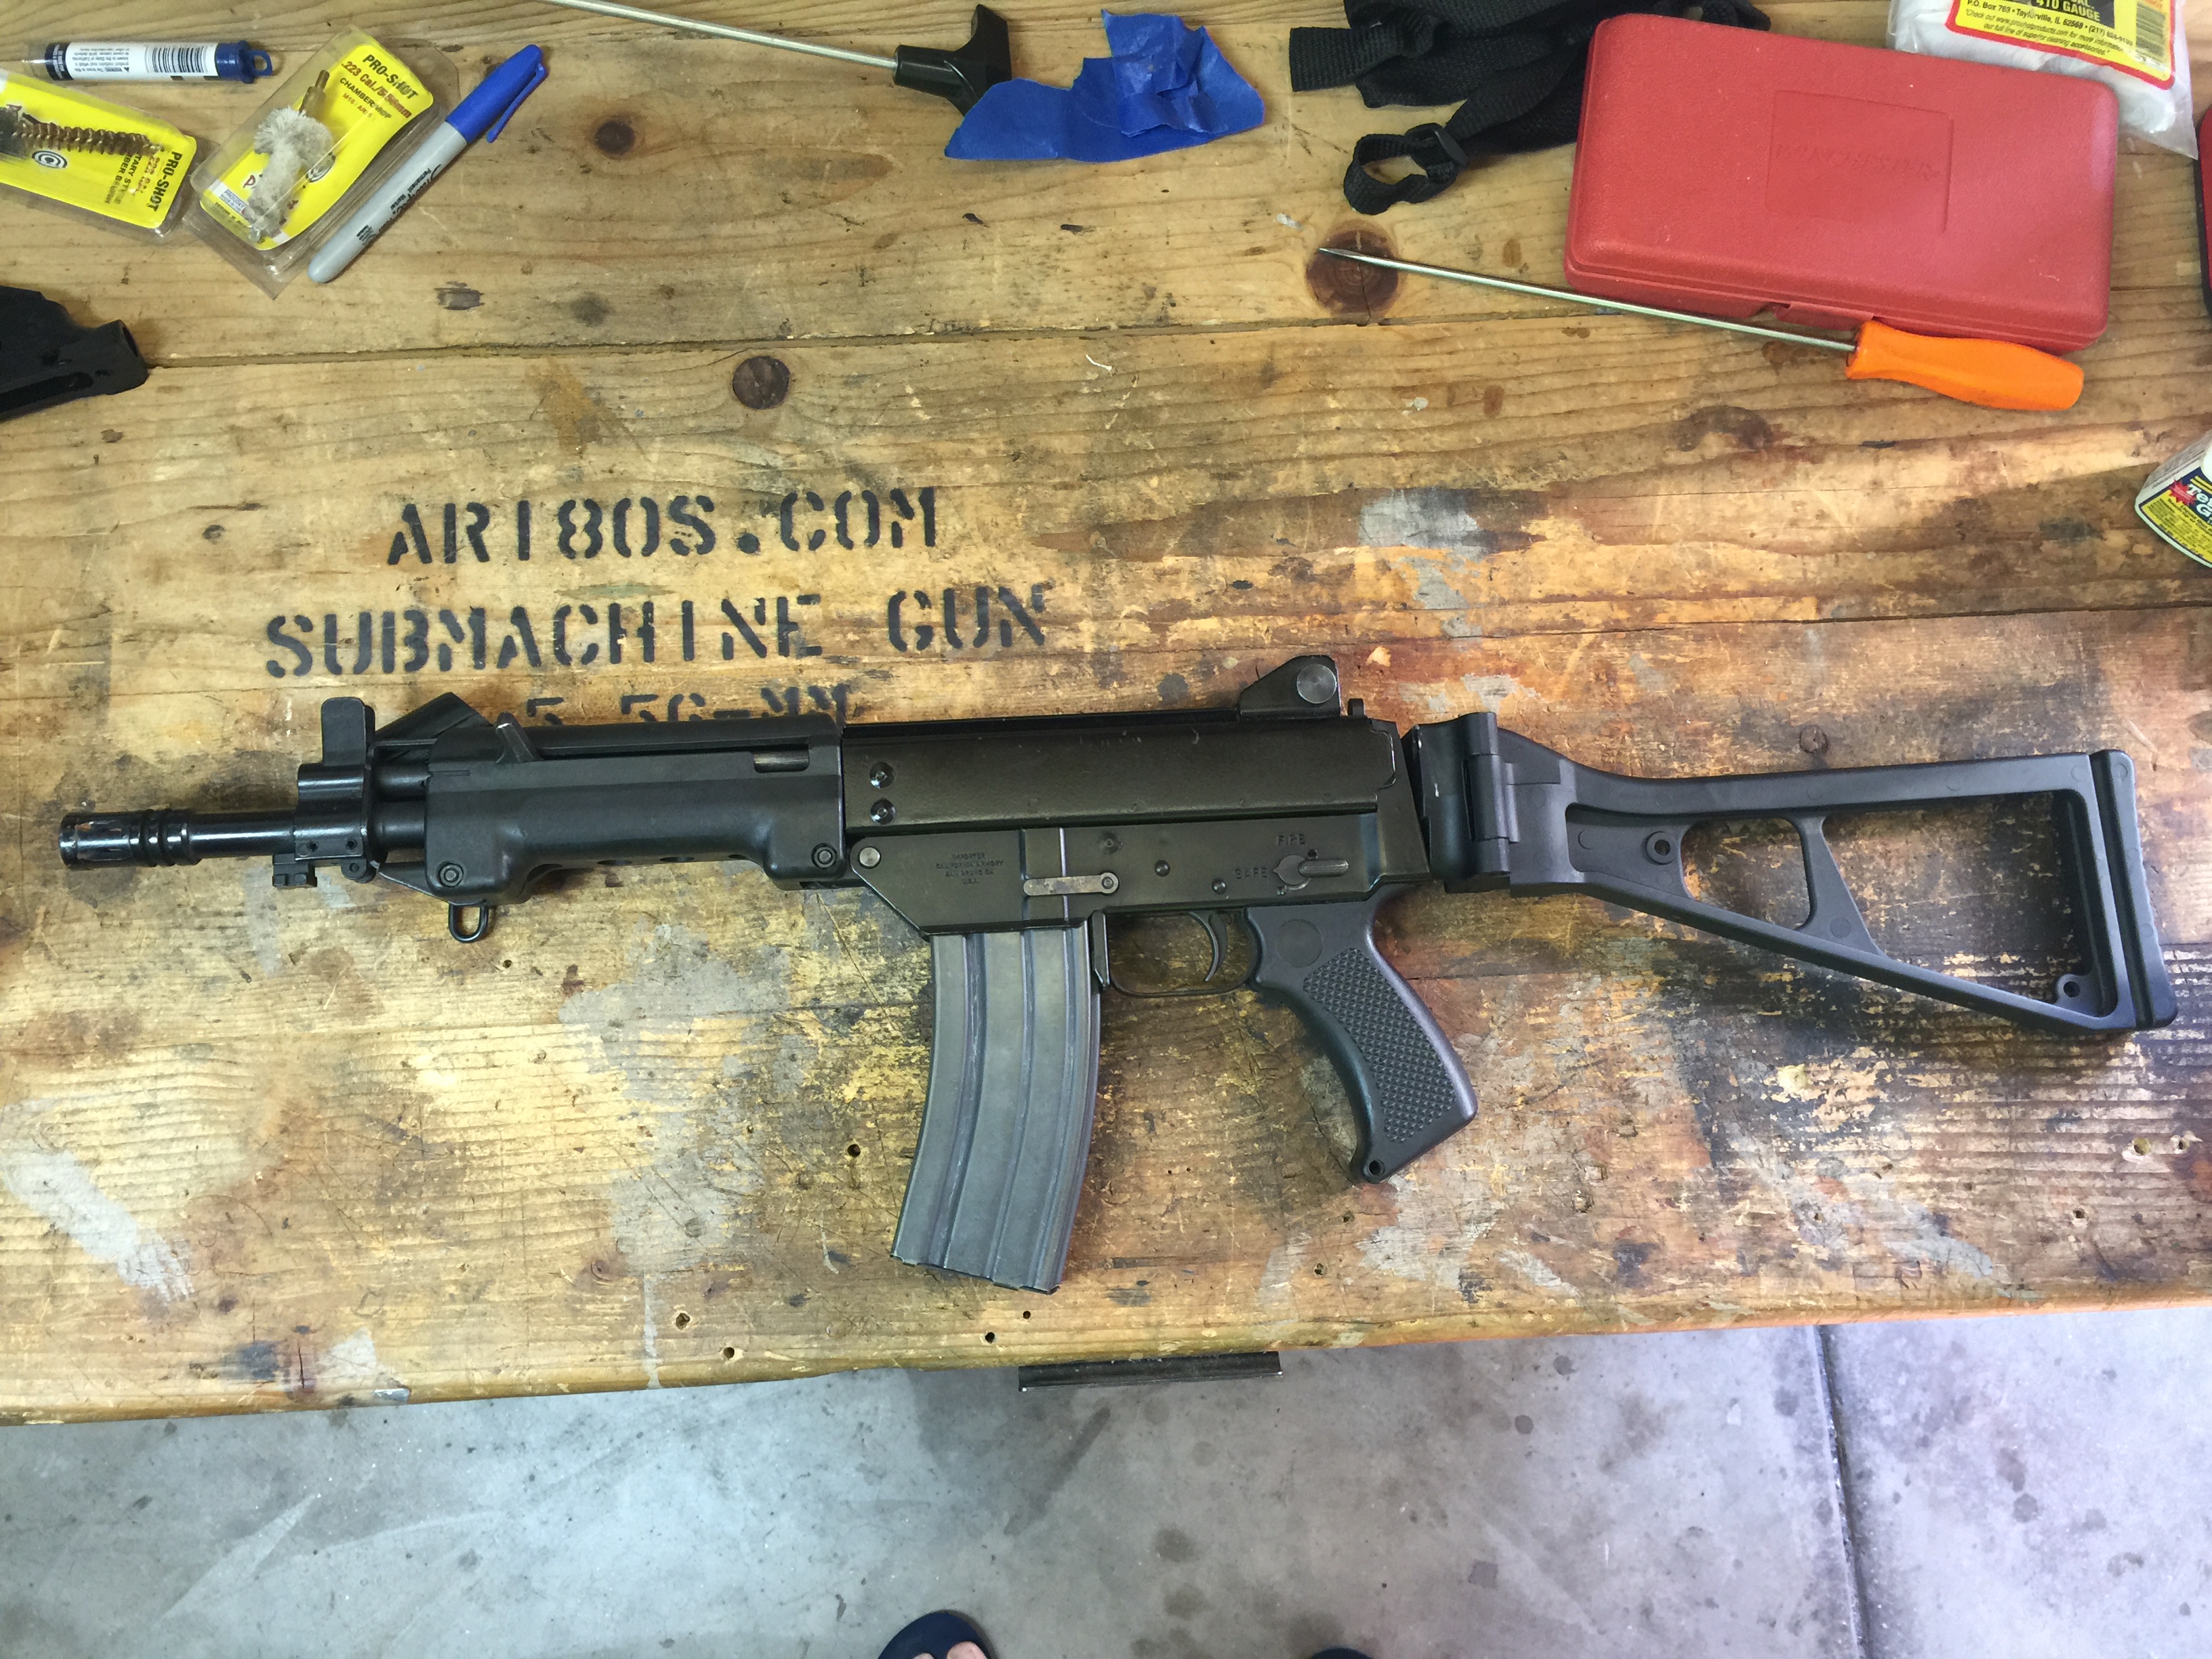
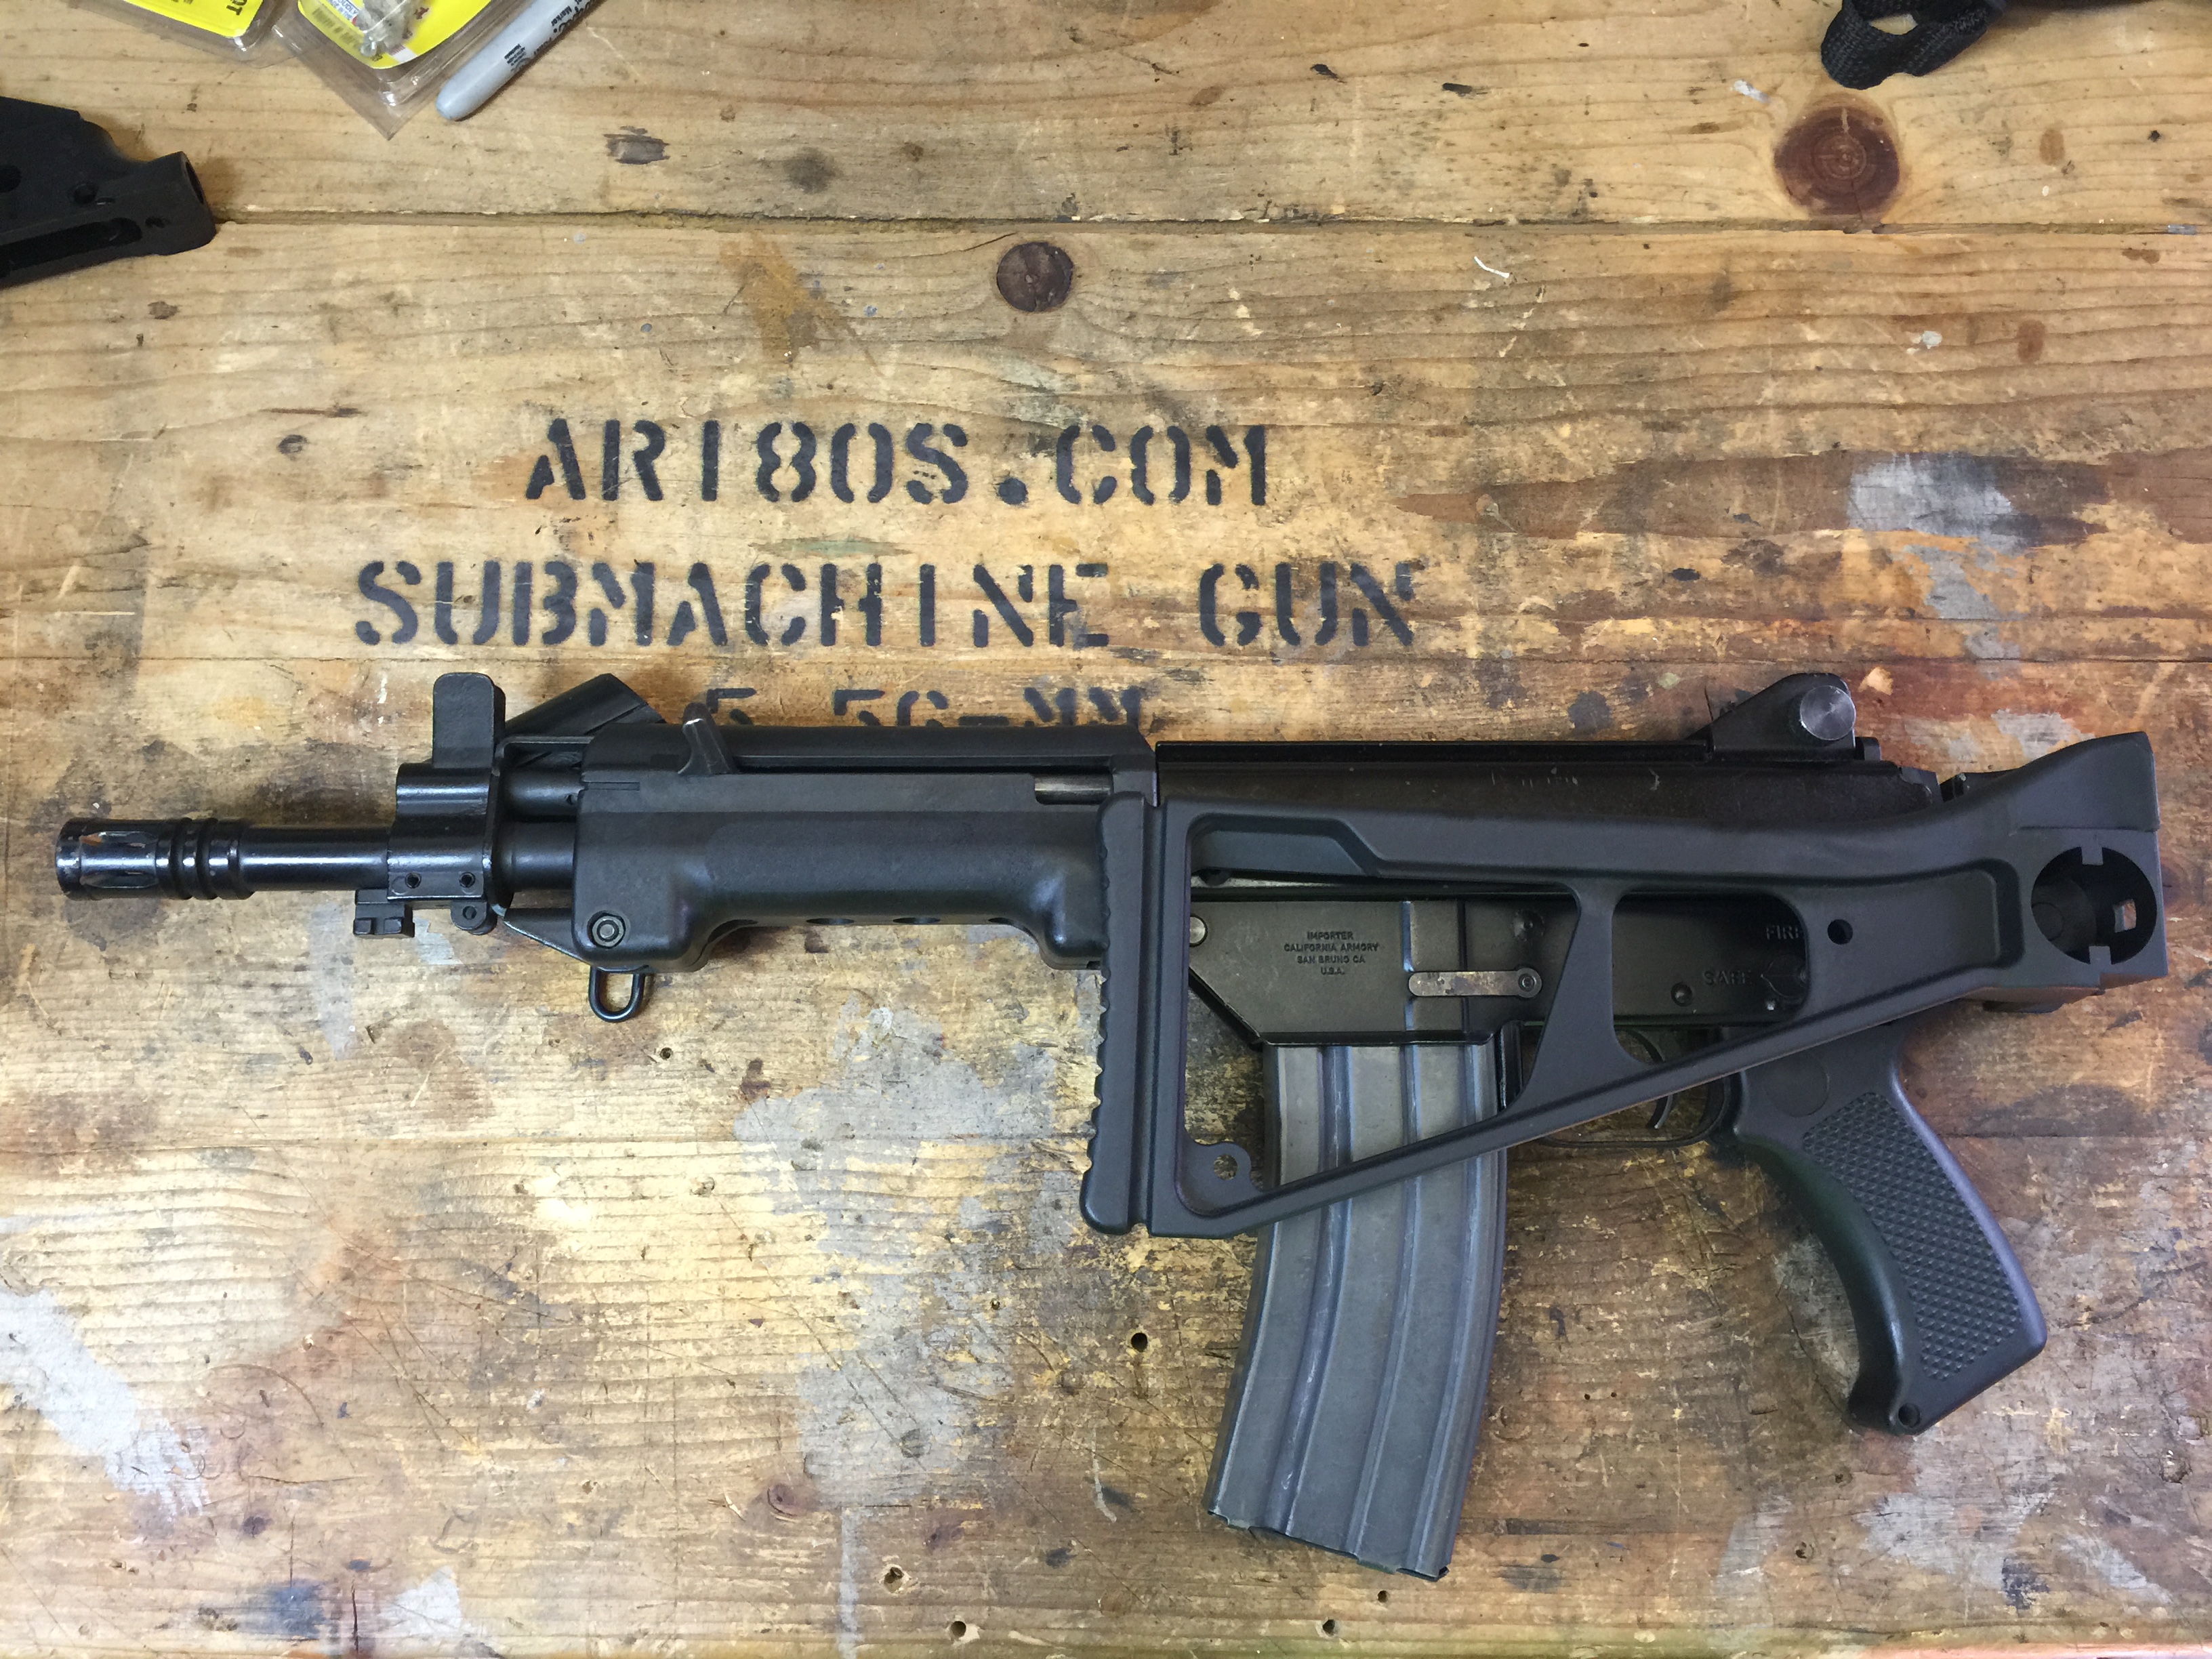
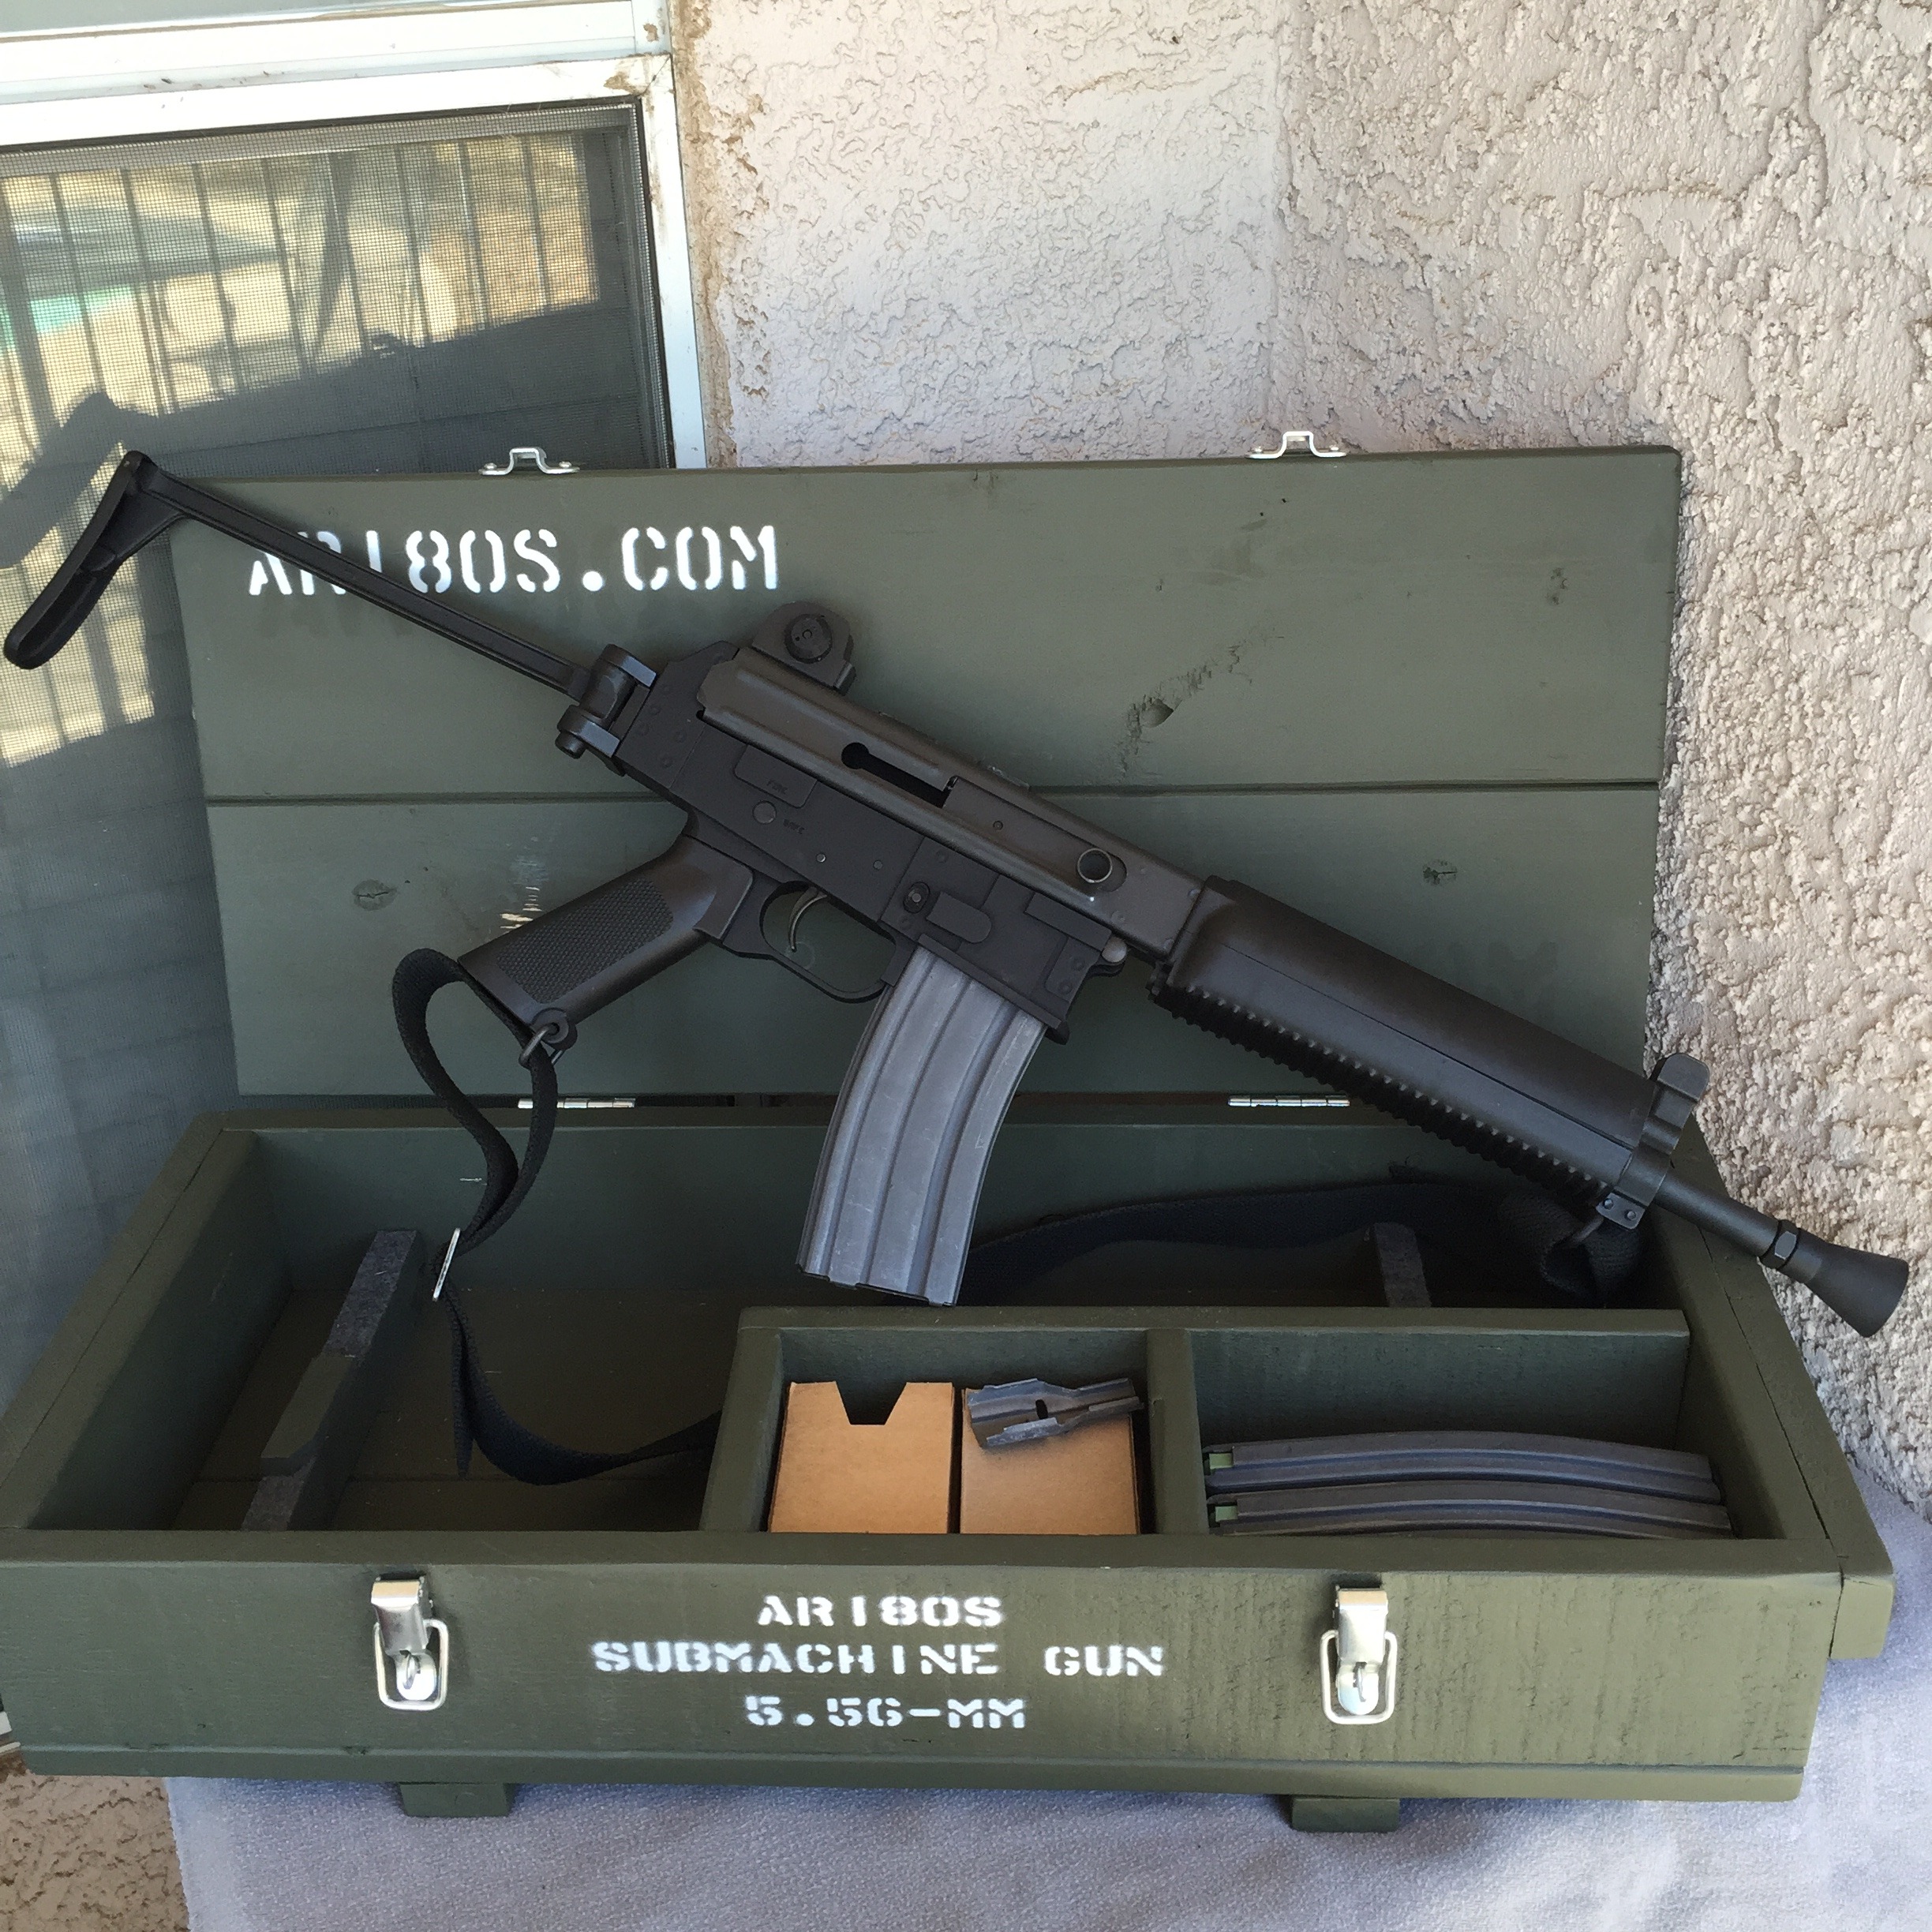
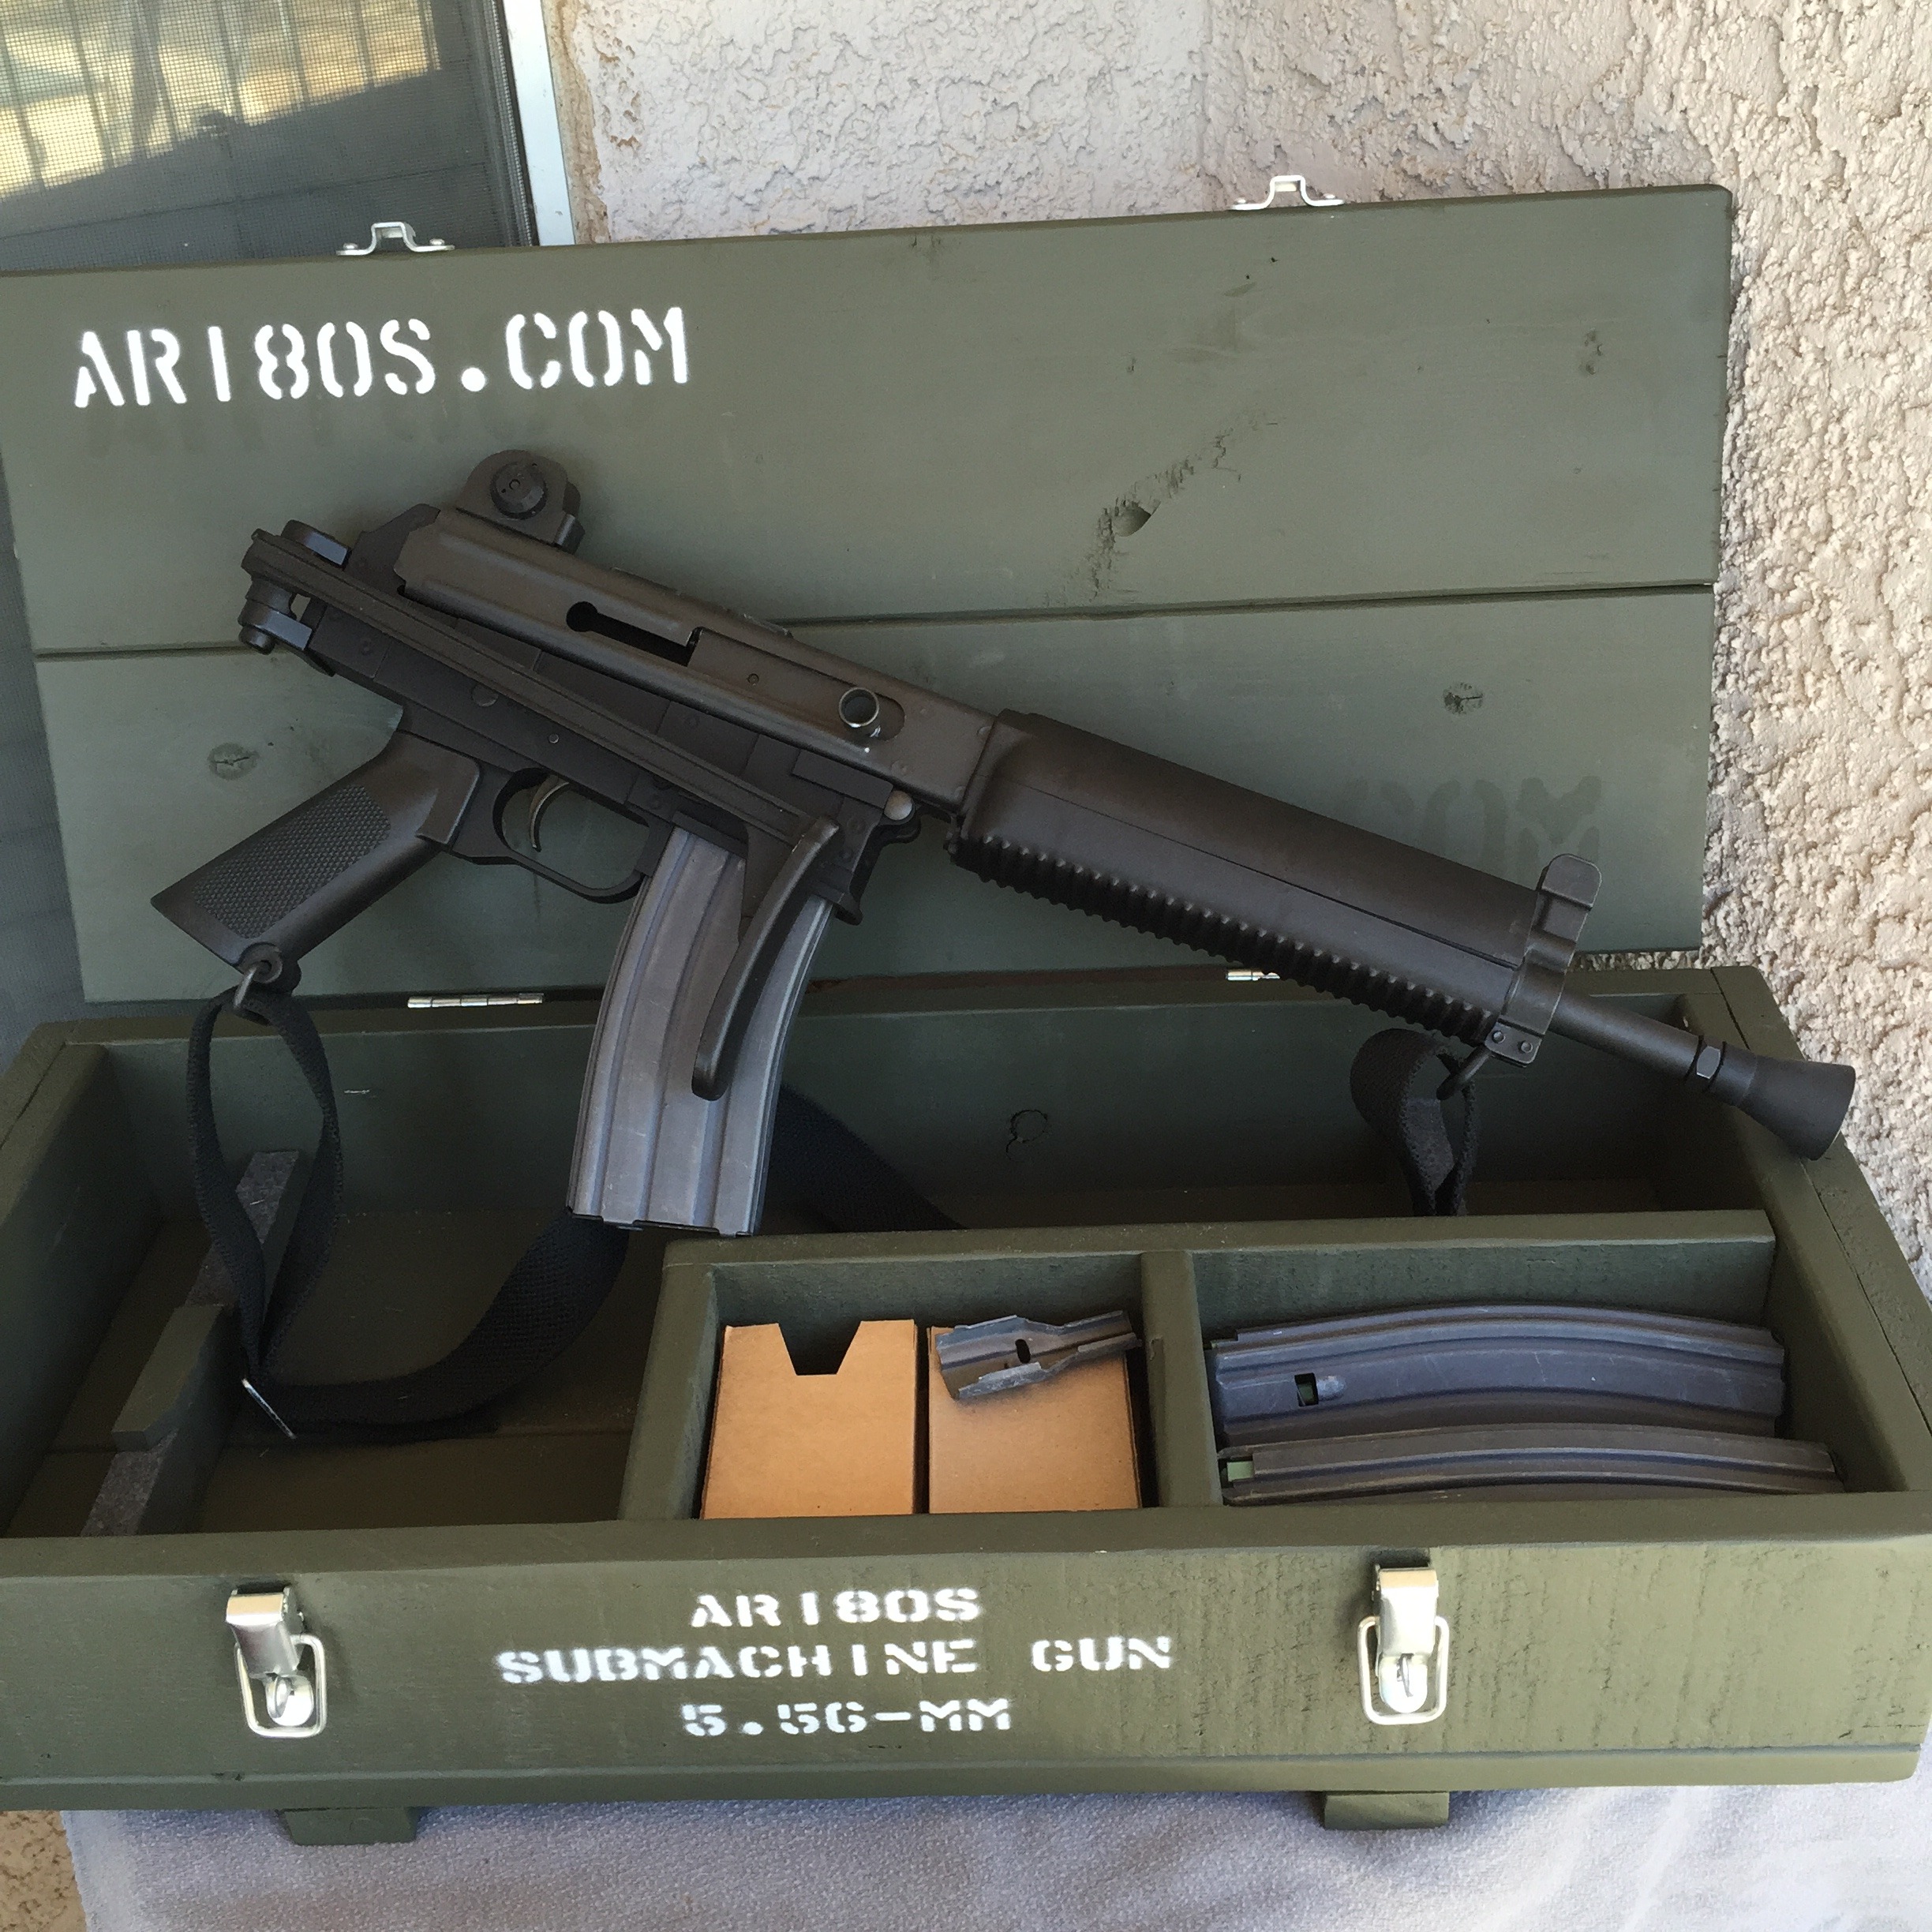
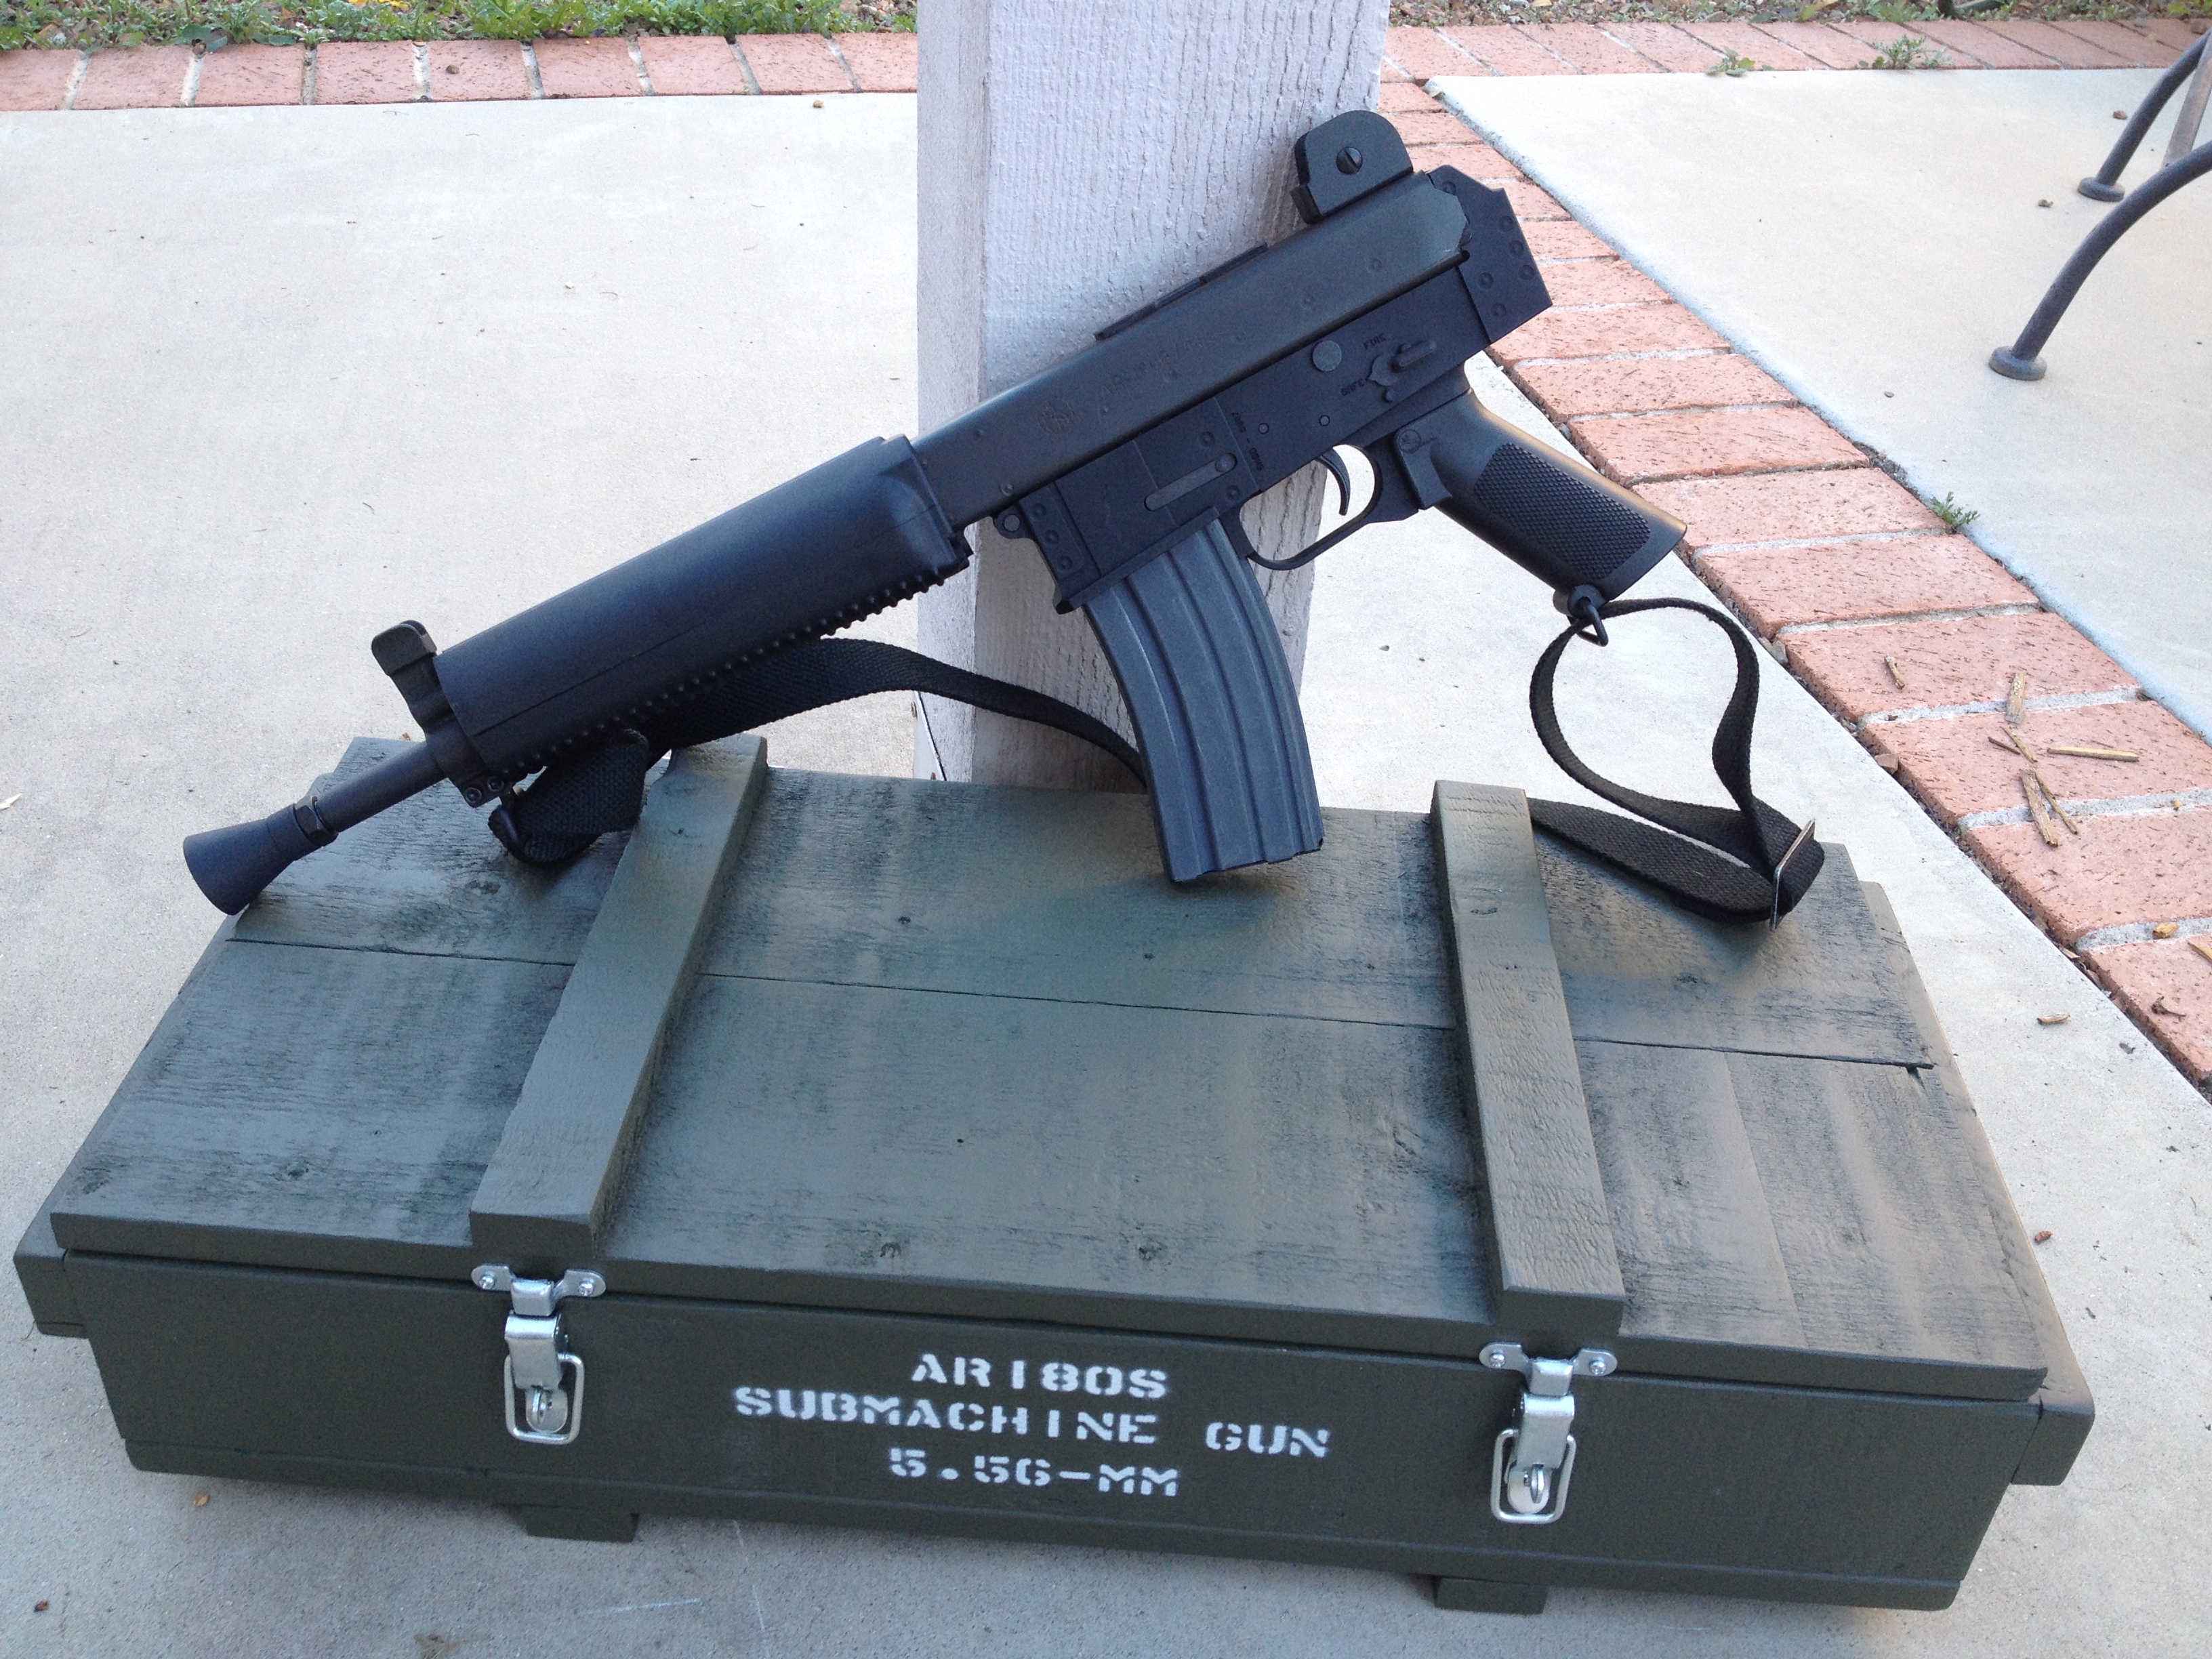
Some pictures that show what I have been up to for the last two days.

BAA27431-FC29-4C64-A01D-7BA5B691A574_zpsupjjv6pk A8E5D090-0D64-4122-9EF5-4E1F0425FE7B_zpswfvpyqae DA7C5E48-16C7-4747-8461-3EB436C12881_zpsxjaqzspa 109826B5-10FE-4A0E-81BB-1D1F8AF25A9E_zpsa4ffx1zk C2674BD1-29E5-4544-9617-A70BA6015107_zpsfmhx7zun

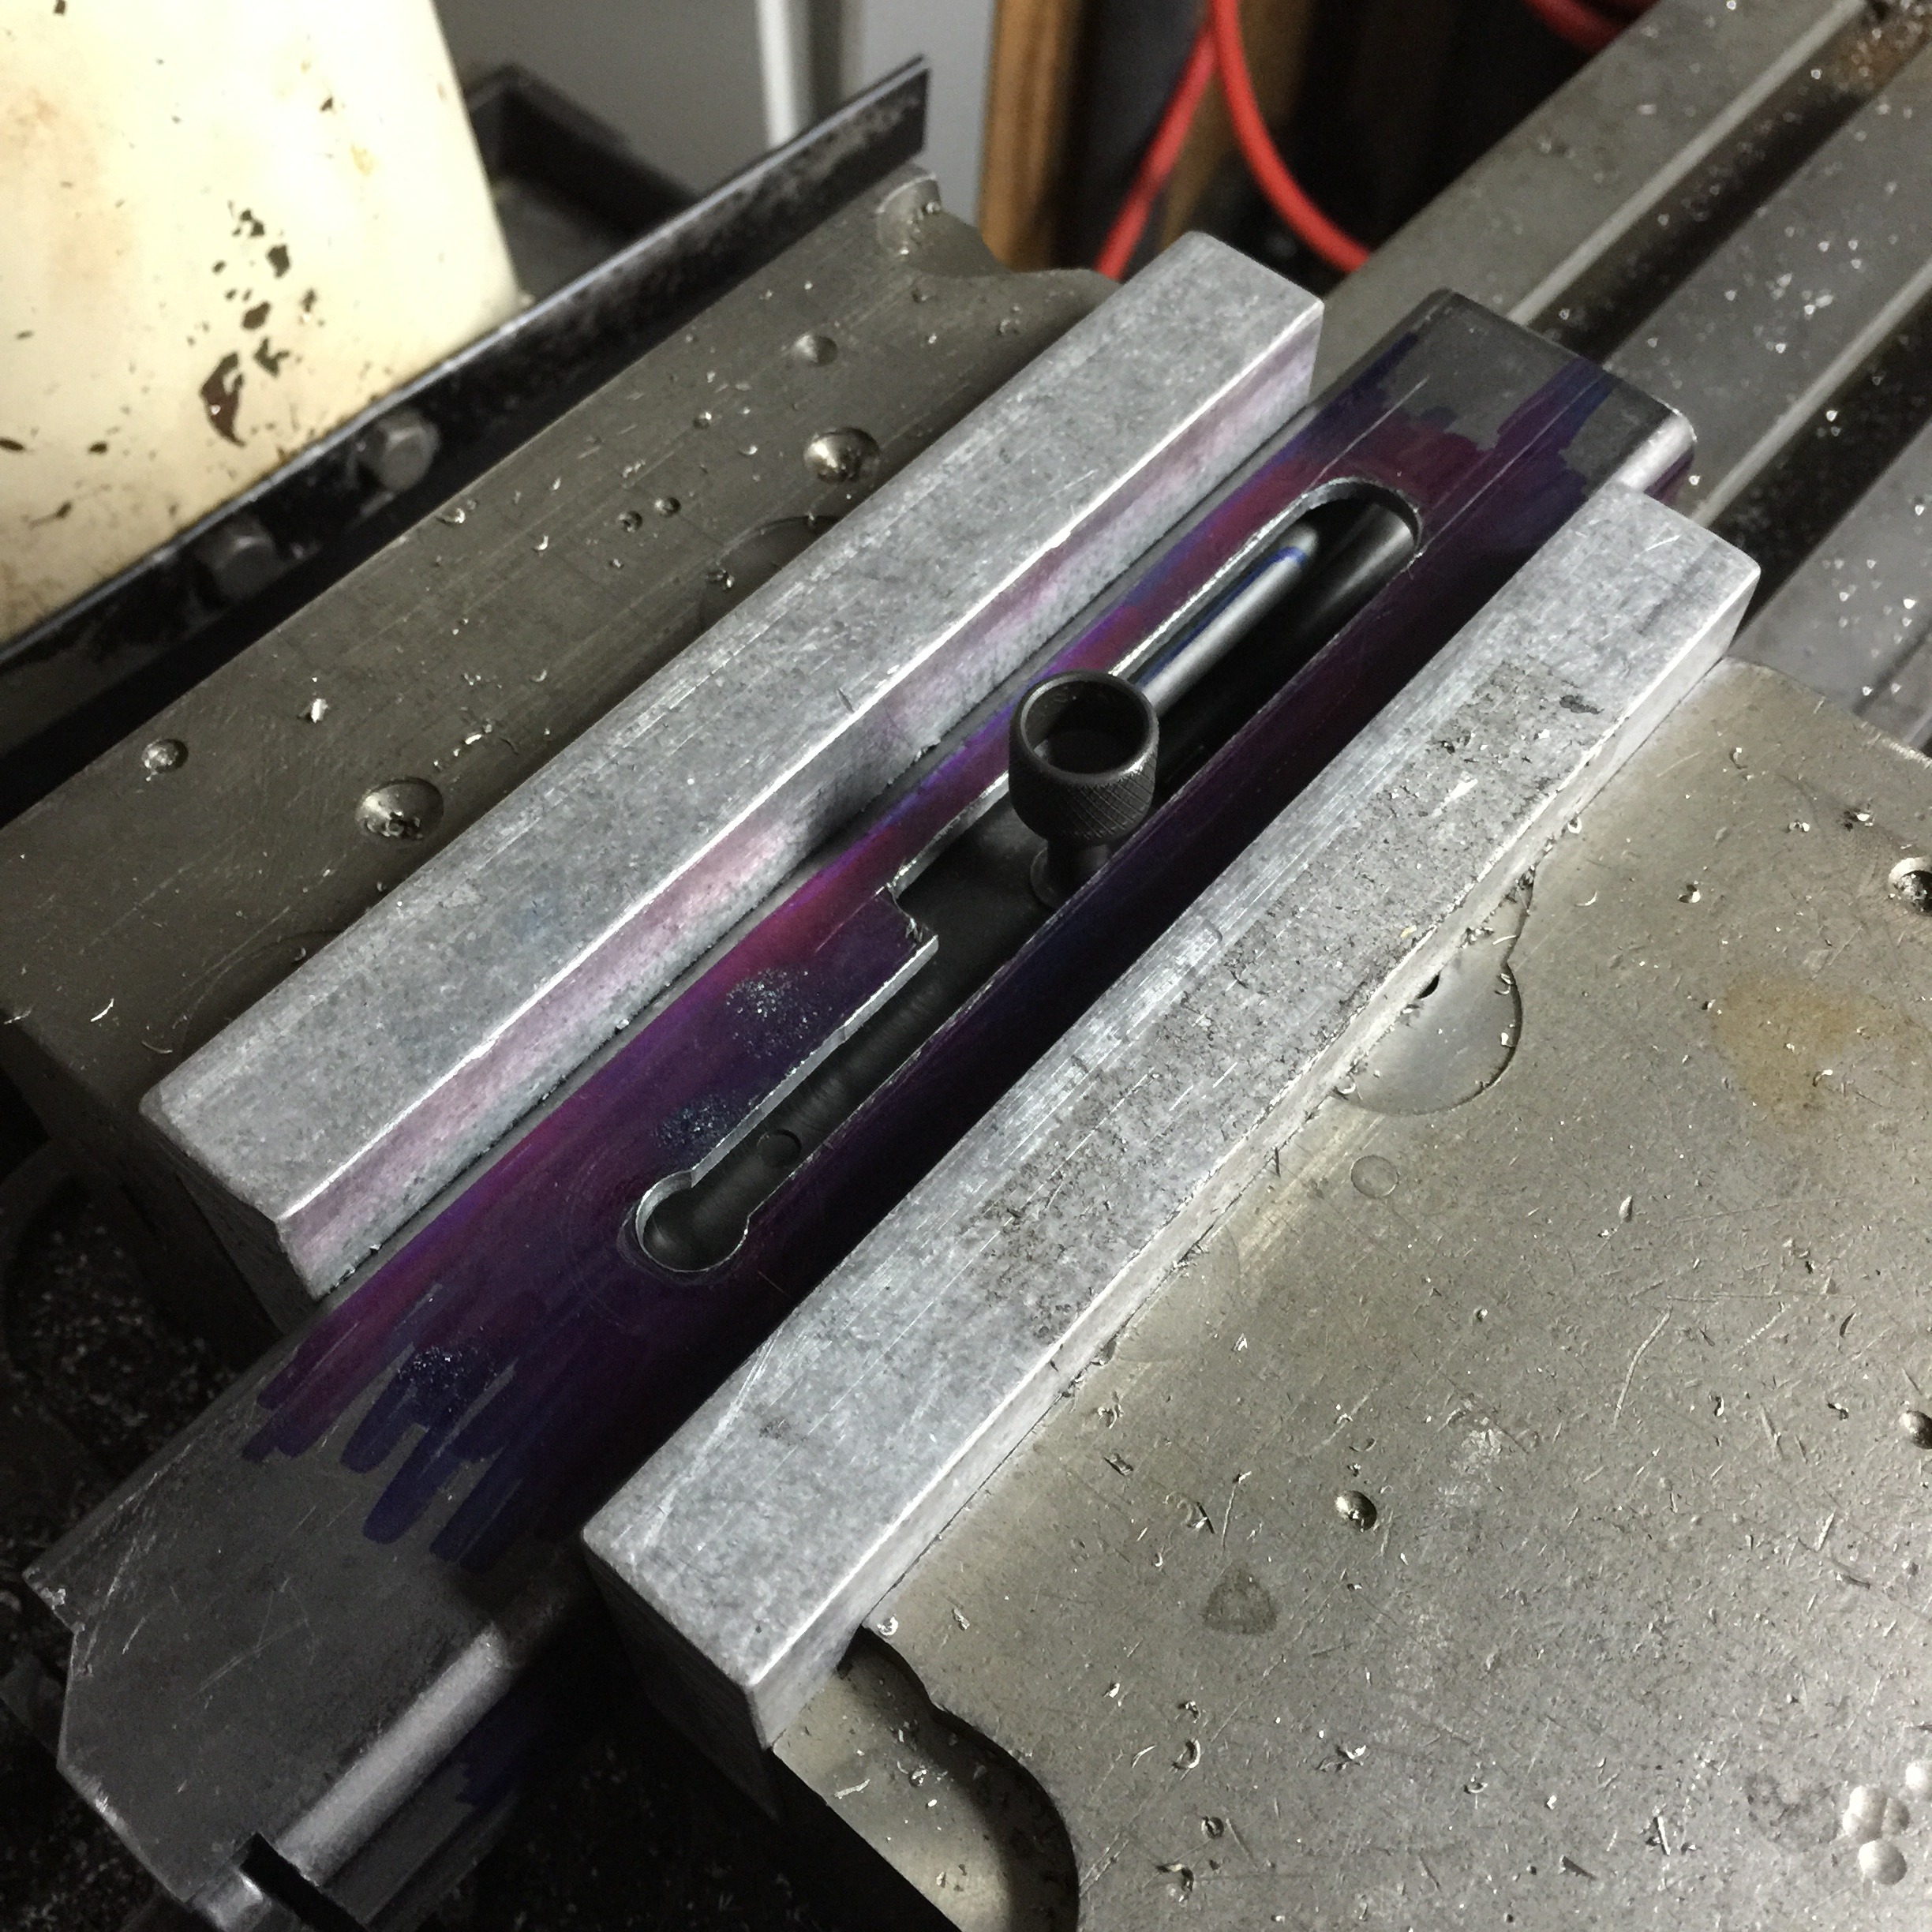
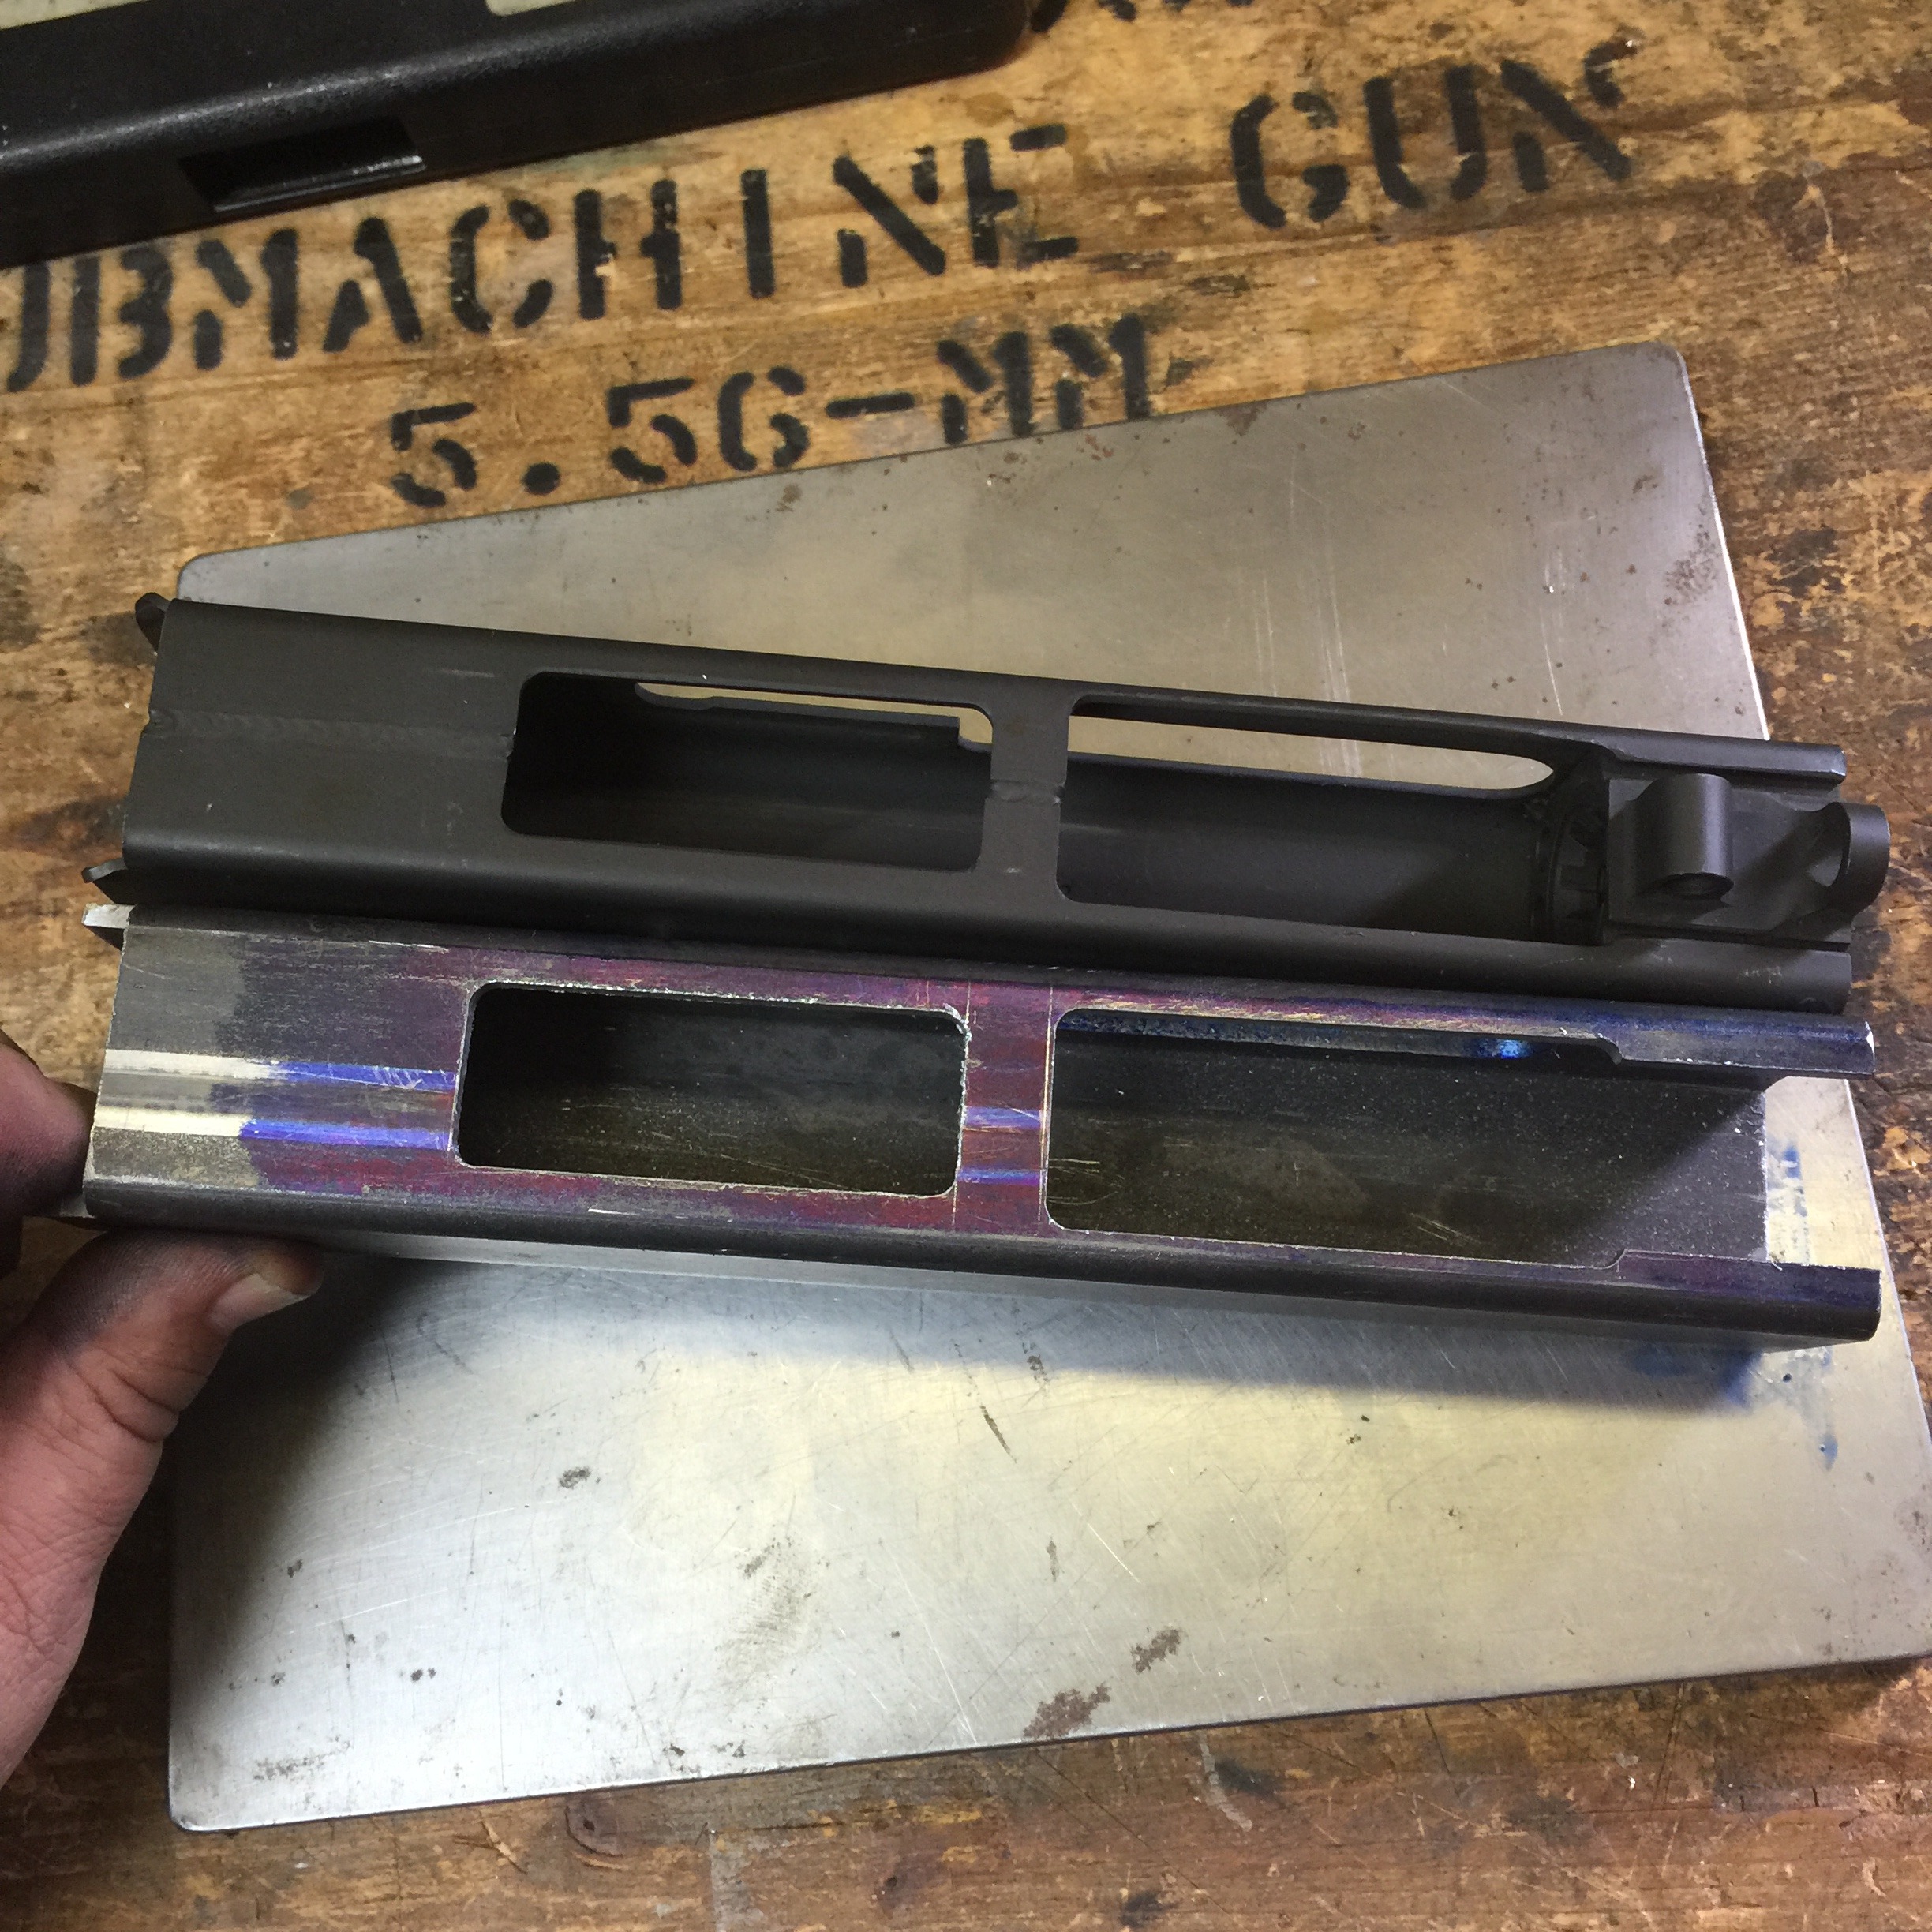
Some things to note if you attempt one of these yourself. The interior of the tubing is not perfectly square so some hand fitting will be necessary. The tubing spreads open once the bottom is cut. Some method of squeezing it back before welding would have to be considered. Lastly, all of this will be rendered moot once Chuck makes new uppers and flats available. Until then I will use this as a way to improve my machine skills and better learn my tools.


Testing the new MailChimp System

I am testing my new MailChimp subscriber system to see if it will automatically send out emails when I make a new post.

To make sure you get some value from this I will include some pictures that will be used in an upcoming article.

0004E447-2477-4FDD-A7A8-3097A6CB82C1_zps7glxldea 9FC75B47-D9A7-4F0F-97B0-3287668C55CE_zpsu1yl3r3u DCEFECD5-01B9-4620-8DE0-19D994755030_zpsagn1wlfa

AR-180B Shorty Project Pt. VI

The AR-180B Shorty Project has reached a new milestone.

The Stamp has arrived and I am now the proud owner of my first SBR.

07110DCC-BCF3-491B-8424-DF5C75B7EA76_zpsdiddyqul

So I installed my VZ-58 folding stock and I can’t wait to get it to the range.

5BD58D2F-C61D-4E06-9187-8B0B56877F0E_zpsqot4dnxi

A9423150-457B-4B66-BA76-72496BA42079_zpsbriohzaf

I am not finished with this project as I need to make an end cap for the hand guards. The JB Weld modified retaining pieces are not going to be a long term solution. The lower hand guard fell off as soon as I installed the butt stock. I also think I will make a try to make a shorty Sharpshooter Kit for it. It would be very cool in my opinion.

The box will need a bit of modification to fit, but this was to be expected.

I also plan to make an adapter to install an original butt stock at some point. Unfortunately the transition to my new job is taking all of my free time.

Thanks again to all of you who email me with your encouragement and suggestions for the site. My hope is to continue to give back to this community in any way I can.

AR-180B Shorty Project Pt. IV

Things have just been crazy but I was able to get to the range and test fire the AR-180B Shorty and it ran like a champ.

The original plan was to start with a .062″ gas port and work up from there. I decided to start with a .059″ and I am glad I did. It worked great and no further drilling was required.

Here is a quick video I shot when we had it out for the first time.


I also built a box to hold it when taking it to the range and I’m quite pleased with how it turned out.

I still have a couple of things I want to do before I call it “finished”. (Are projects ever really finished?) A new end cap that would fully retain the hand guards. This would allow them to be cut and installed with little fuss. And to get my paperwork and turn it into an SBR.

I hope you enjoyed following this project so far and please don’t hesitate to ask any questions if you want to make your own or have me build one for you.