AR180B Gunsmithing; A Cautionary Tale

Good friend of the site Oscar sent me an upper that another gunsmith attempted to remove the barrel on. He got it back from said gunsmith with the message that he was unable to remove the barrel and afterwords he was unable to tighten the barrel back up.

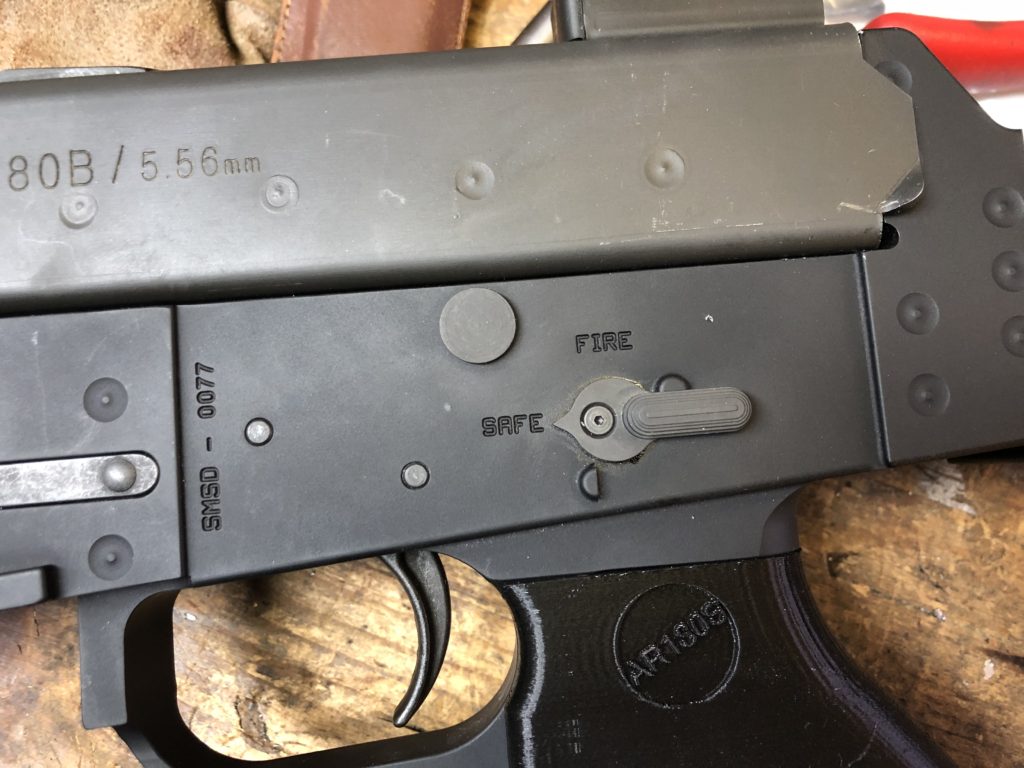
What many do not know is that the AR180B has a unique method of barrel retention and it is not at all obvious.

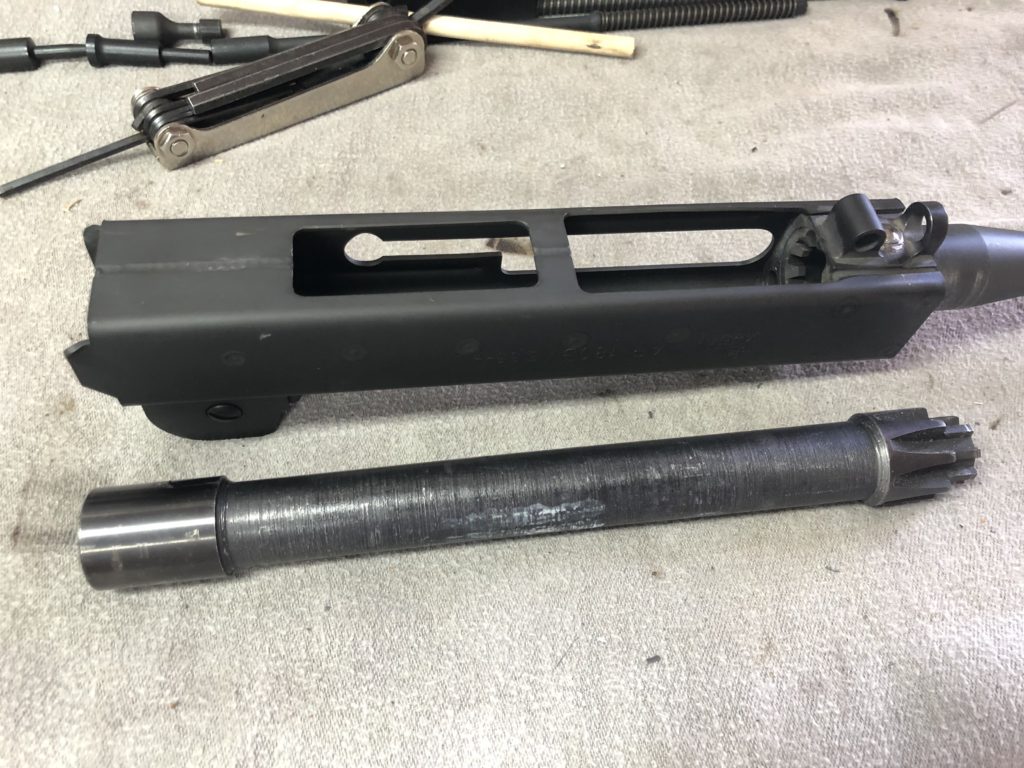
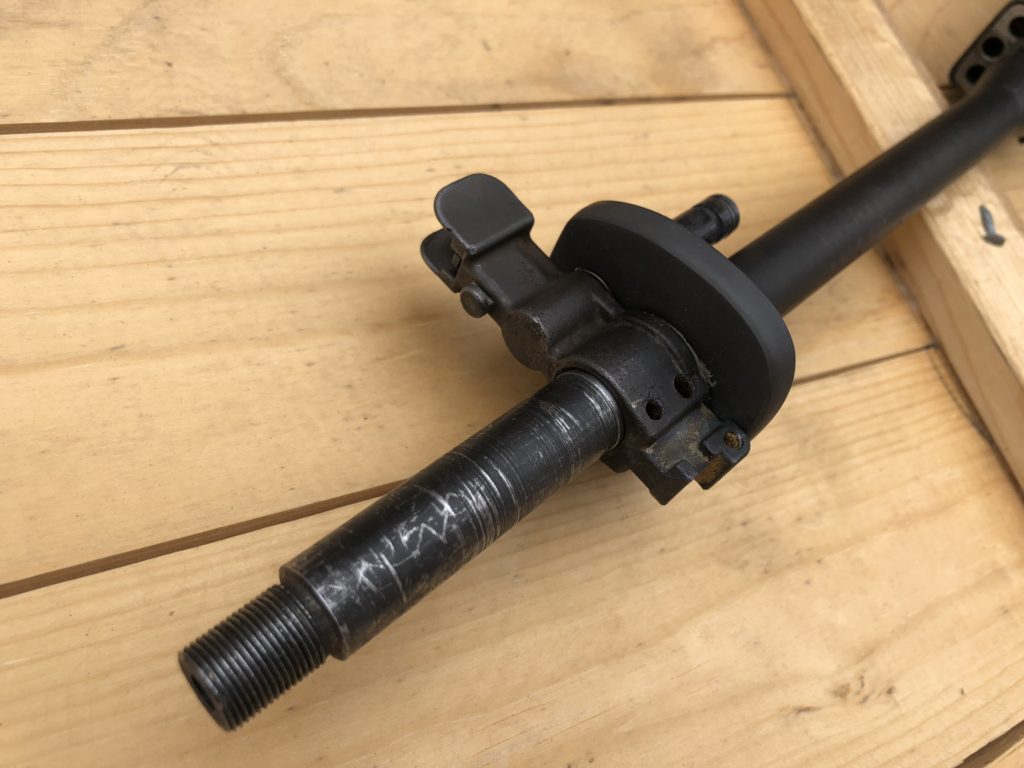
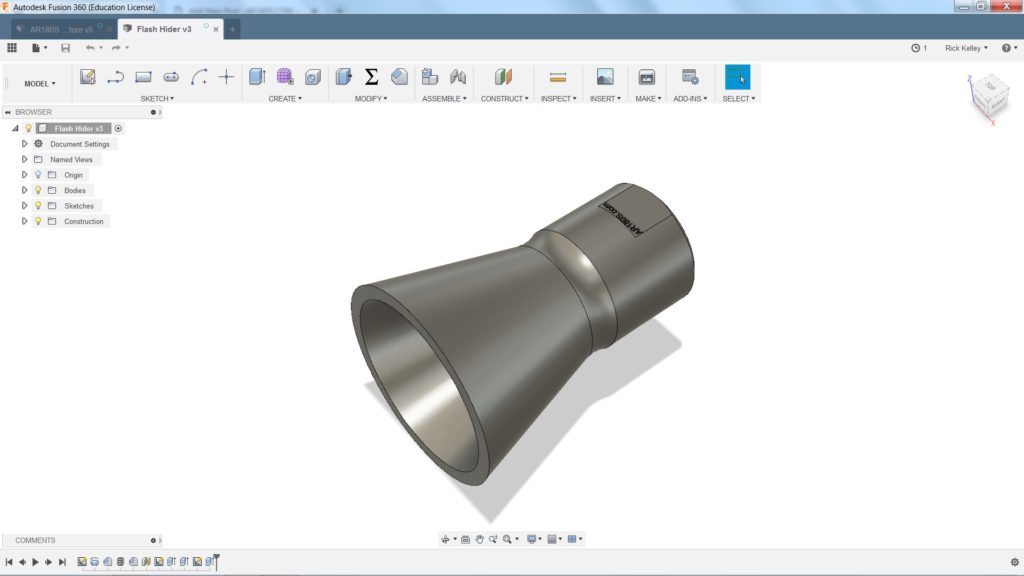
If we look at a bare trunion you will note that it has a large hole through the middle with a small step.

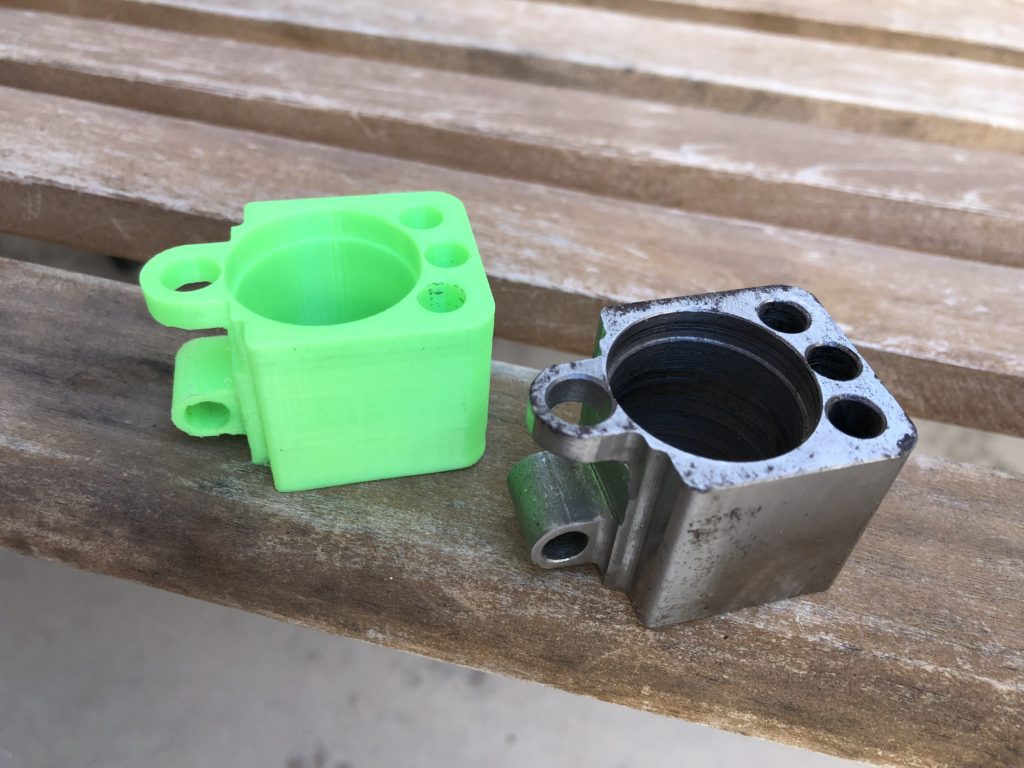
The barrel for this gun uses an AR15 barrel extension that is turned down and press fit into this trunion. That’s it! Nothing else. Just a press fit.

What happens then when the unsuspecting gun plumber puts a barrel wrench on the barrel and clamps that flat sided receiver in his vise? It makes funny noises and turns the extension in the trunion. Not good. Oscar mentioned that it shot terrible after he got it back and I suggested he send it to me for inspection. It didn’t take long to figure out my initial thoughts were correct.

Now how do I fix it so it is safe to shoot? I want to thank Oscar for being patient with me as I have had his upper for quite some time while I try to figure out what to do.

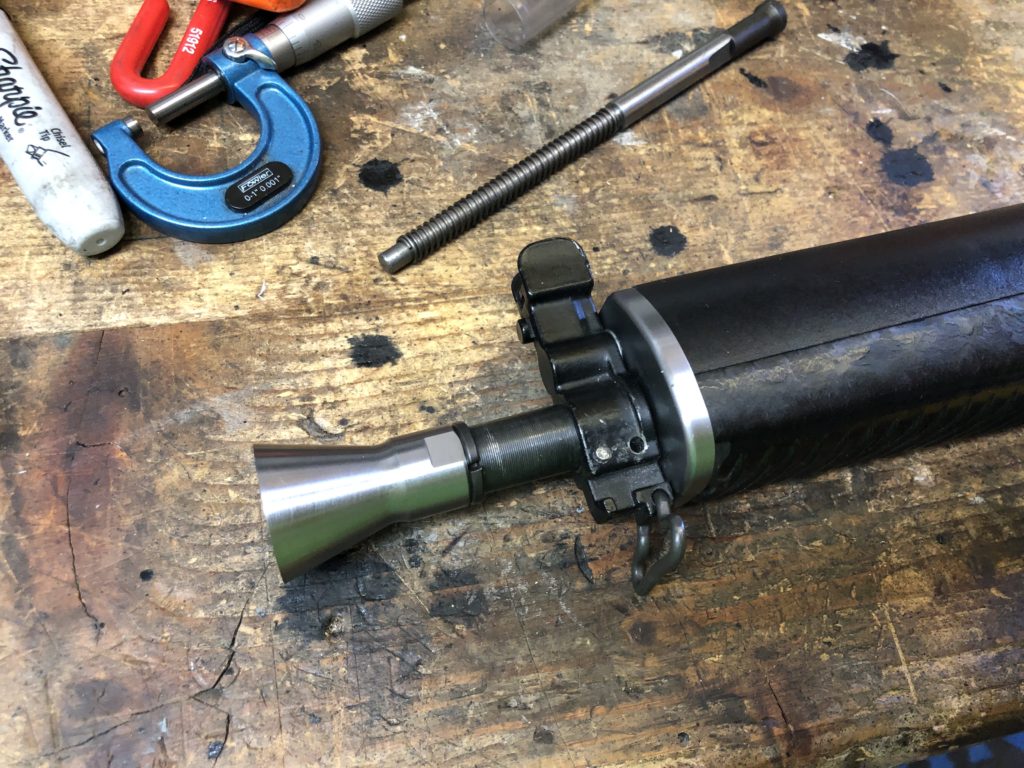
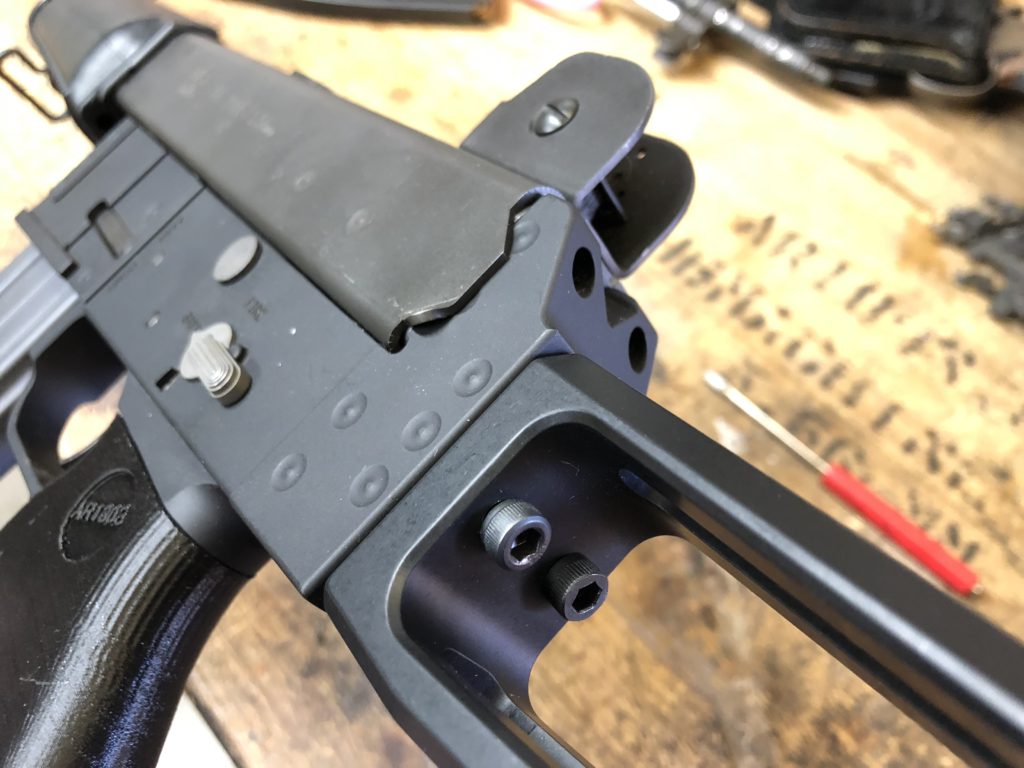
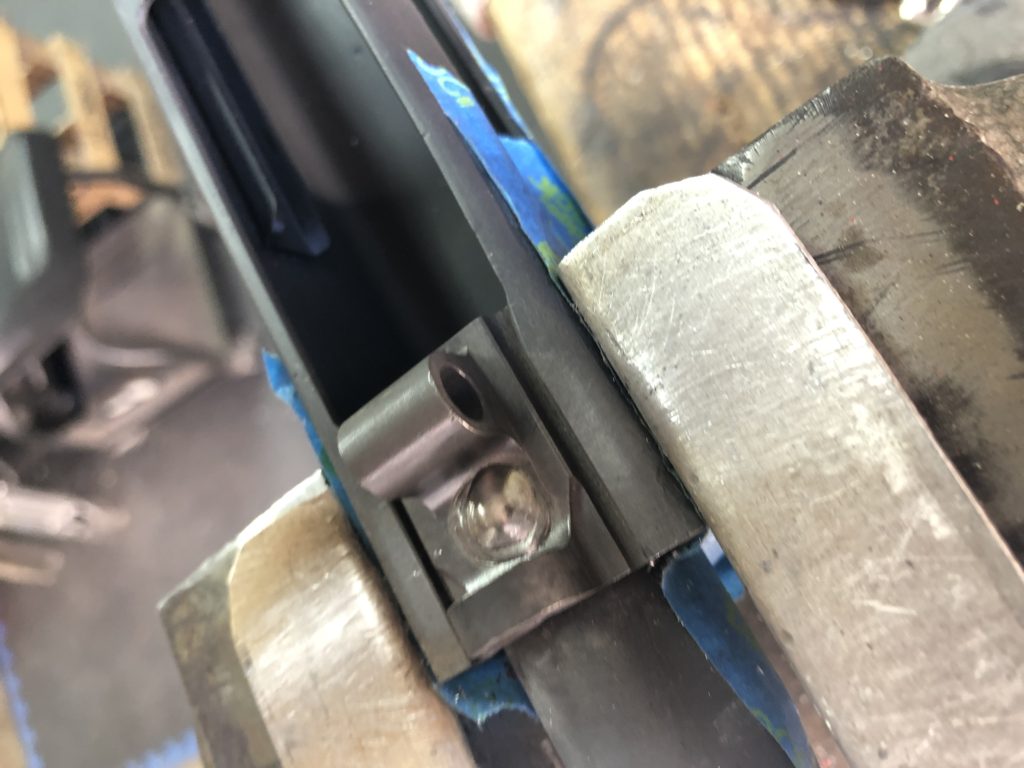
I settled on a shallow pin. I wanted it to not show unless you were looking for it and still be able to hold everything secure.

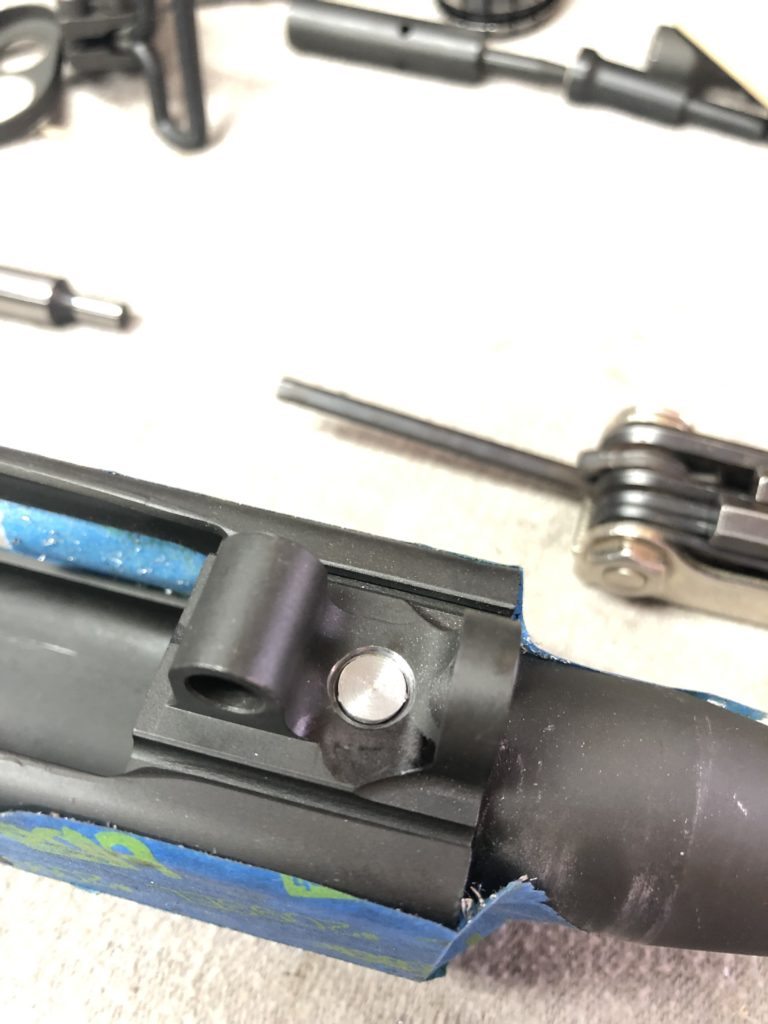
Sneaking the Tig torch in between the bosses was challenging but ended up with good penetration after I got the amperage dialed in.

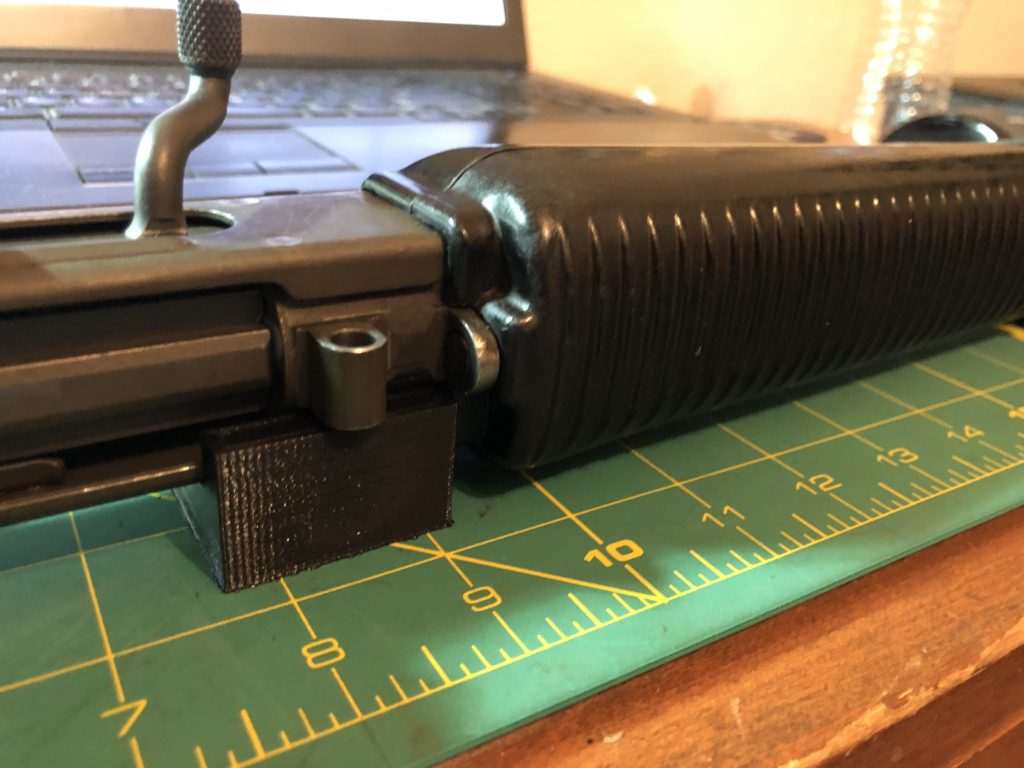
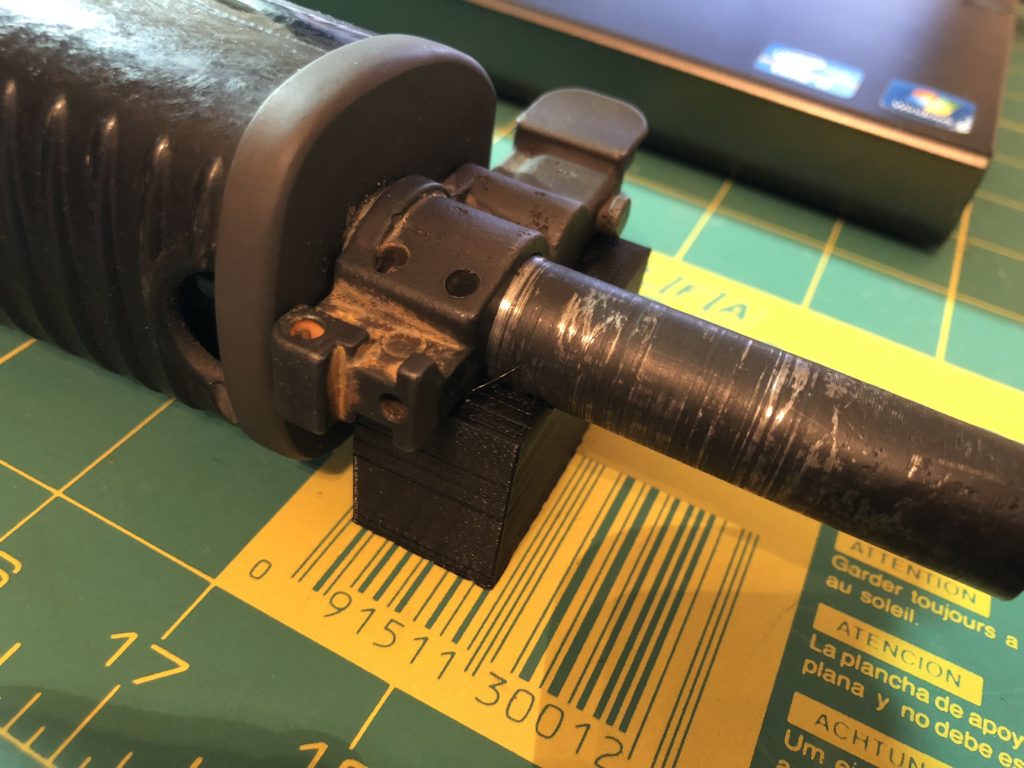
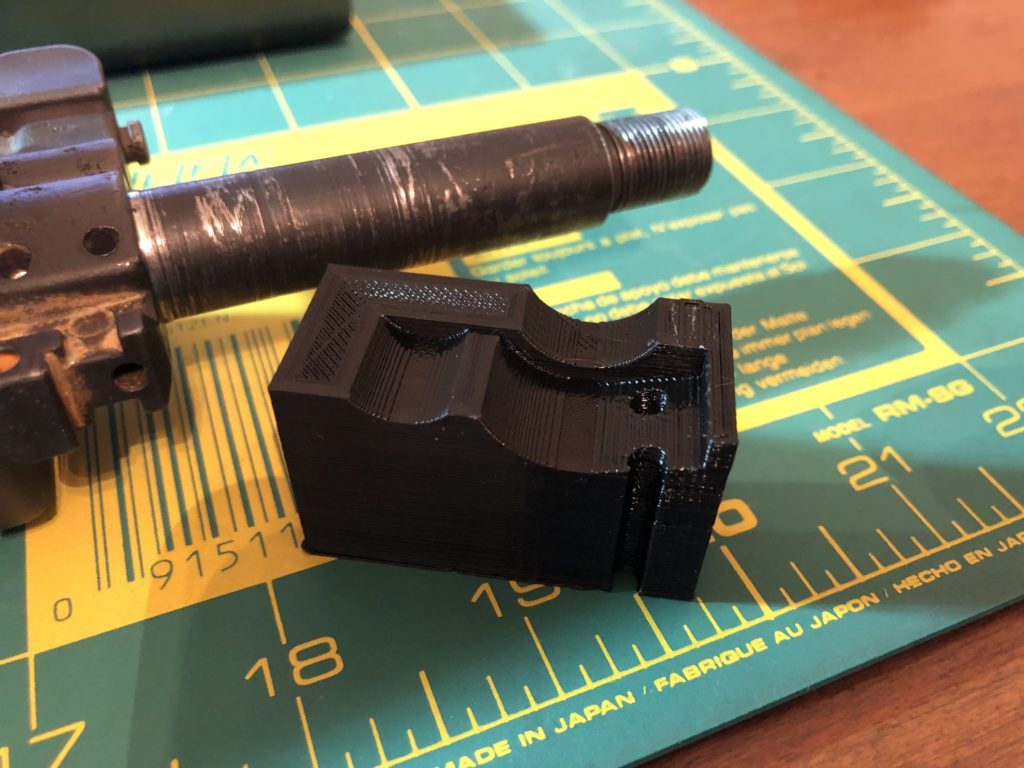
So what is the right way to remove a barrel for the 180 Bravo? Use a modified reaction wrench. Do not put any twisting force on the receiver itself.

New AR-180S Shorty Parts Have Arrived

I now have everything needed to offer shorty conversions or to sell the parts outright if you want to roll your own. CNC machined from billet steel these new hand guard caps will retain the cut down hand guards on an AR180 or 180B. Shoot me a message through the contact form if you need more details.

A Day in the Shop

Spent a full day in the shop just playing with stuff and it was very relaxing.

Started off with a new purchase that arrived while I was out of town.

The KGB Stinger47 pistol strut. It is designed for AK pistols and allows the use of a TailHook pistol brace. For those that haven’t heard the ATF now allows you to add a pistol brace without turning it into an SBR. I kept seeing Josh at Stormwerkz posting pics of his on different guns, including an AR180B. I had to snag one. Click here for info.

I have one of my pistol lowers that has been modified with two holes drilled and tapped so I didn’t need an adapter for mine.


I then decided to try out the folding mechanism I have. I was thinking I would fold it to the left like an original 180 but it blocked the safety so to the right it is.

I could not use the 180B charging handle so I swapped out the bolt carrier for one that I had modified back in the day. Stuck a Sterling charging handle in and Bob’s your uncle.

It then struck me that I have always wanted to add an original 180 ambi safety on a 180B so I fanally said “No more thinking about it, just do it.”

Took a spare safety that I sell as part of the Lower Completion Kit and broke out the tig welder. Stuck a big blob on the end then started turning and milling and filing and cutting a grove for the snap ring.

I then took it back apart and ran it through my table top park tank. The welded on section did not get as dark as I would have liked. Maybe I need to try a different filler metal next time.


I’m really happy with how it turned out even though it took me a long time.

A day in the shop is cheaper than therapy.

I also hand fitted and bagged up the last of the Lower Completion kits. If you are thinking about getting one or need the parts for spares just hit up the link at the top of the page. I am off next week and can get them shipped out right away.

If you are on Instagram give me a follow (BigRix)

I often post pics of what I am up to when I don’t have time to do a full blown blog post.


AR18-S Shorty Upper Project

Work progresses sporadically since I am mostly only able to work on this during the weekends. I formed a thicker front hand guard retainer and tried my hand at silver soldering for the first time. Got a little carried away with the amount of solder but at least the centering sleeve is not gonna come loose.

A quick glass bead to clean it up and off to my tabletop park tank. (stainless bowl from goodwill on a hot plate)

I also modeled up a set of fixtures to hold the front sight base and receiver for drilling and reaming the taper pins. Didn’t quite get it perfect the first time so I adjusted the model and printed another one.

Cut down a set of hand guards and we are almost there. Looking the part now.

Need another flash hider so I better get that modeled up as well.

Having built 5 shorty uppers so far I can say it is getting easier. I’ve worked out the bugs but even now I discover new things. What did I learn this time? I learned that the curves of an original AR180 upper hand guard are different than the AR180B. This is the first time I have cut down an original upper hand guard and now it makes sense why the retainers I have milled out of aluminum do not match pictures I have compared them to.

Upper Flat On Gunbroker

I just have not had the time to work out a bending method for the Upper Flats that I have so I have decided to put one on Gunbroker. Lets see if one of you can come up with something.

These were designed and built by Chuck at GunLab.net and match the dimensions of the factory built guns as far as I have been able to determine.

Upper Flat